About this 3D model
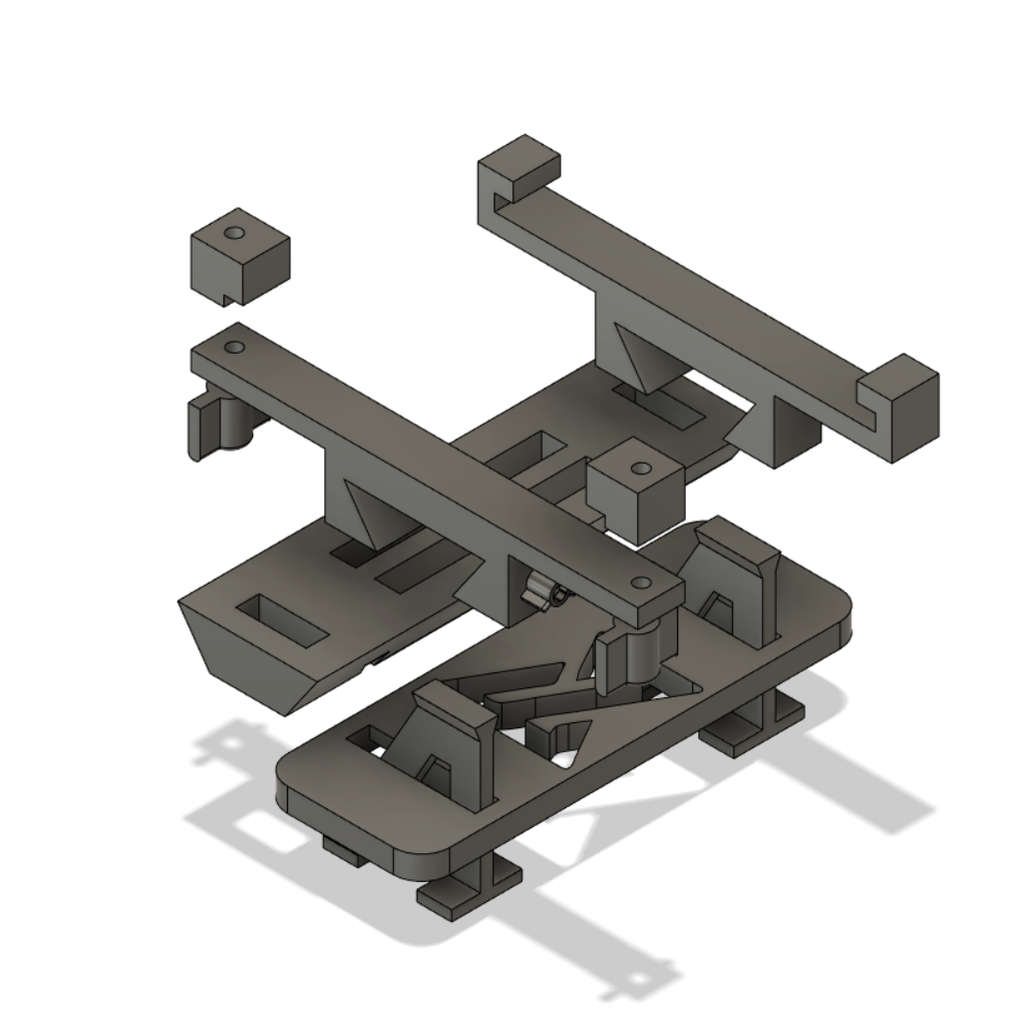
Summary Original design for use 10'+ tab with the fimi x8 controller. Designed to use with my Samsung tab S6 (160x245x7) and to use in travel, this holder come with multiple part. Be careful : orignal Fimi cable is to short to use it with ti adaptator : use tab original cable or similar. To use adaptive holder (screw and nut system), check last paragraph. You need : 1 base 2 arm (s) 1 holder rail one or more holder : holder one piece or adaptive holder Becareful, the present holder is design to use it with Samsung Tab S6. Print Settings Printer Brand: Creality Printer: Ender 3 Rafts: No Supports: No Resolution: .16 & .2 Infill: TPU :10% / PLA : 30% Filament: Prusament PLA / TPU Black Galaxy Notes: English I used TPU where tab is in contact with the holder for reduce the scratch risk on my device. If you can't print flexible filament, you can use silicon or similar to make the same (made more space for use it). All Piece must be a little hard to assemble (it's bad if it's loose). Try to print all parts on same printer for kept the same size. Français: J'ai utilisé du TPu sur les surfaces en contact avec ma tablette afin de limiter le risque de rayures sur mon équipement. Si vous n'avez pas la possibilité d'imprimer des filament flexible, vous pouvez également utiliser du silicone ou similaire pour réduire de rayures (pensez à redimensionner l'épaisseur/largeur). Les pièces doivent bien s’emboîter et être relativement proche afin qu'il n'y ait pas de jeu et donc aucun risque que les pièces bougent toutes seules lors de mouvement de la manette. How I Designed This More Info This version is the best i made for this moment, I use 2KG of prusament for alpha, beta and previous version. I try to find the best compromise to PLA used and security for the tab ( I really don't want to break my tab xD) Holder size (size in mm) (Extruded by 20mm) Holder rail size (size in mm) Hole size 6mm Adaptive holder Choose the correct layer for putting the M5 Nut General I designed two holder system : the first is the standart and the second come with more part but you can print it in TPU and it's more secure and adaptive than the first. For the second holder system, you need : 2 x M5 Nuts Must be placed during printing 2 x M5 Hexagonal screws 40mm ( check the size for your tab thickness) 1 x M3 Nut 20mm 1 x M3 Hexagonal (or 1 more M3 nut's) Screw Pause with Cura => https://all3dp.com/2/cura-pause-at-height-how-to-do-it/ PS : thing to delete the script after slice complete or the script will stay for next item... xD Just check the layer when the nut hole will be fill and plan a pause on the previous layer. On pause, just put the nut, check if the nut enter in the full hole, and press restart. Adaptive holder part