About this 3D model
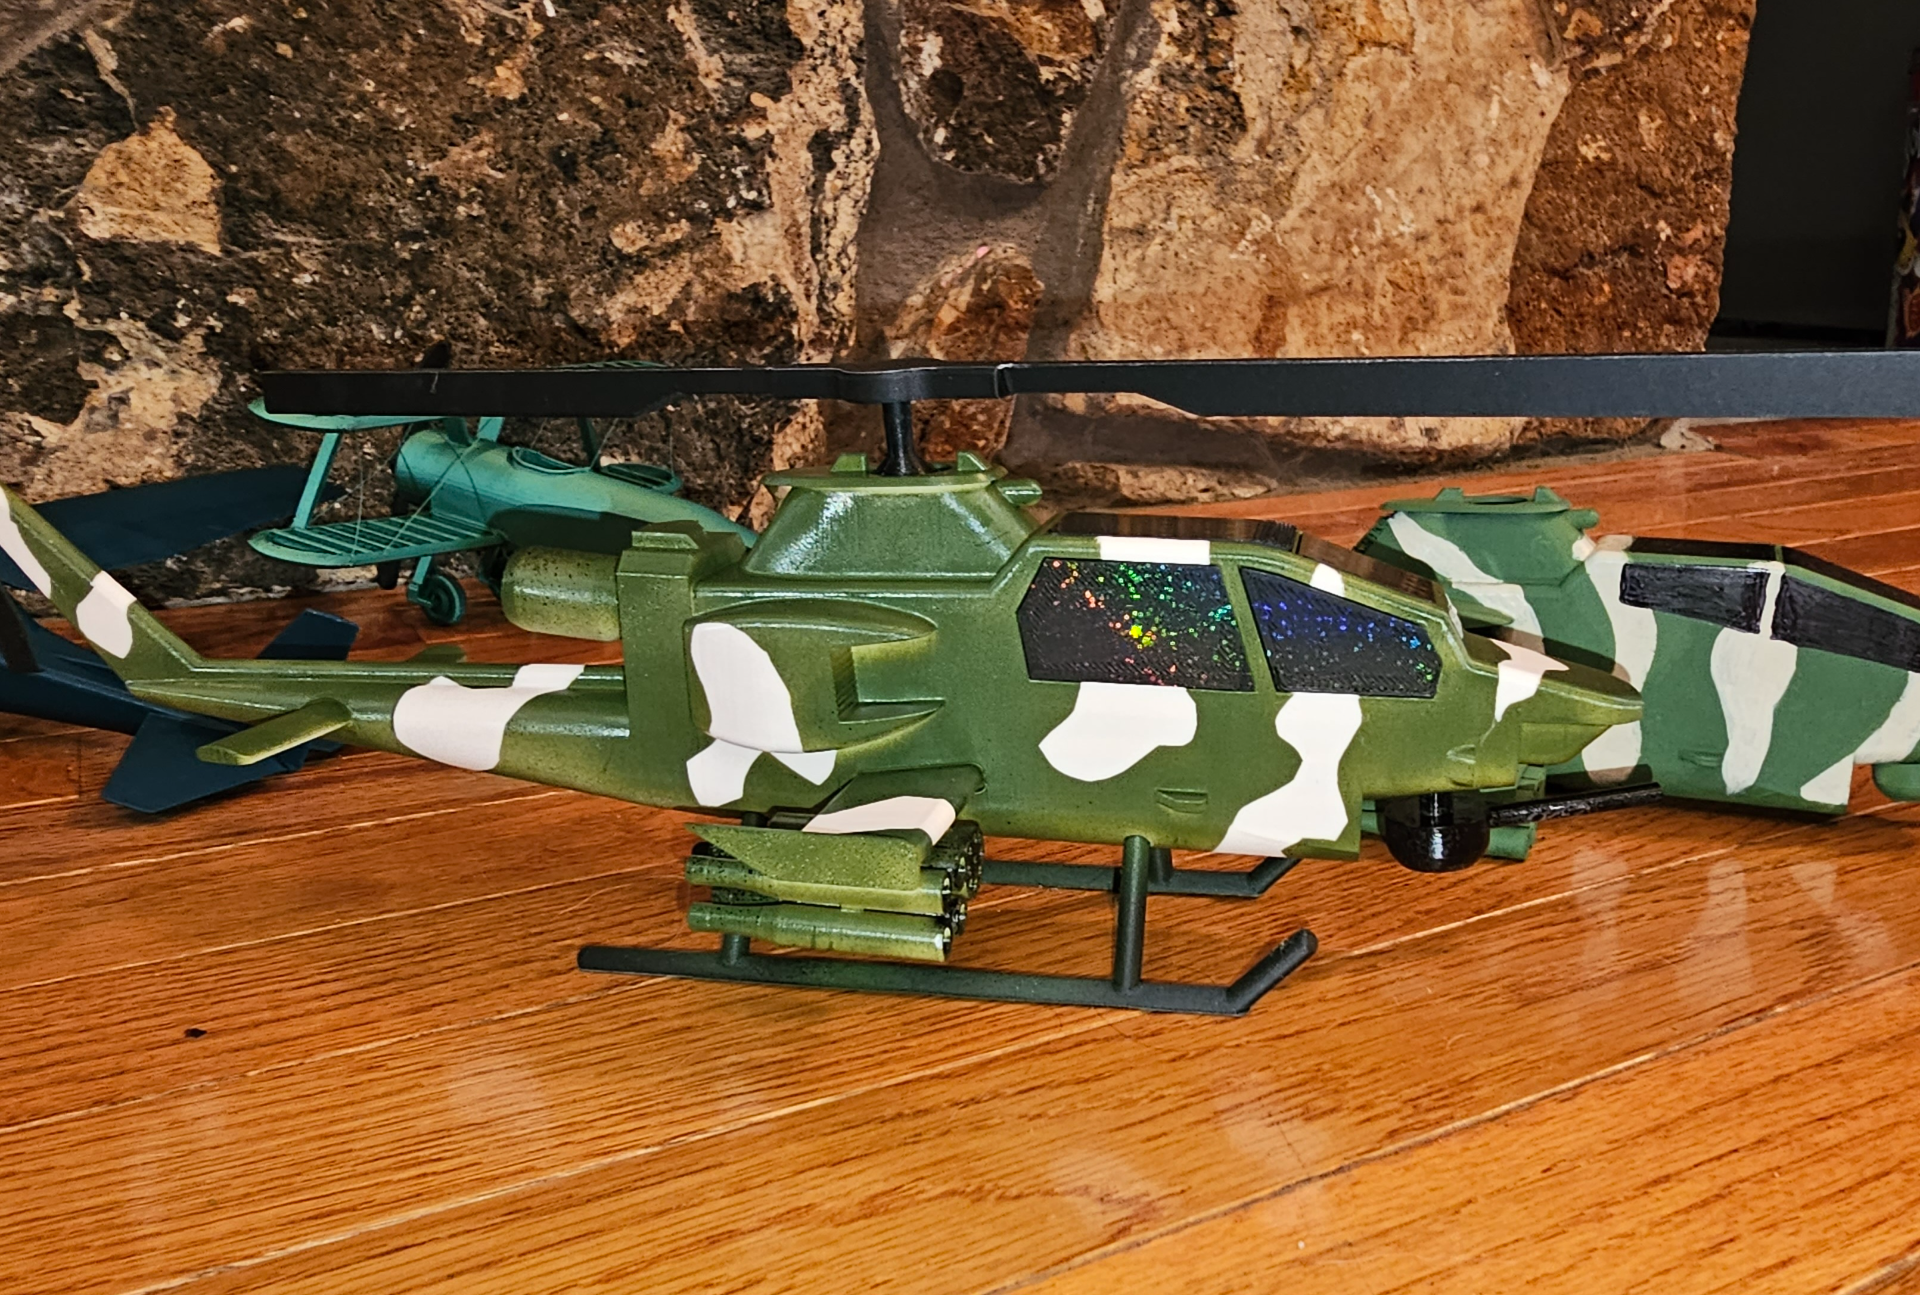
SUMMARY: This model is a replica AH-1S Super Cobra attack helicopter used by the Army and Marines. The model is designed to print and assemble easily, so there are minor modifications to the overall design in order to do that. The initial upload was the entire project file with multiple plates. I will be leaving this and v2 in the raw model files, but I’ve removed the print profiles as the latest revision supersedes these. If you come across any issues, please leave me some feedback. Assembly instructions are found below. Printing/Post-Processing: If you decide not to use the print profiles, these are the settings I used. Global Settings: 0.16mm Layer Height Arachne Wall Generator 3 Wall Loops Gyroid Infill Outer Wall Speed: 100 mm/s Overhang Speed: 25,50%: 40 mm/s 50,75%: 20 mm/s 75,100%: 20 mm/s Cabin: No object specific settings changed, uses global slicer settings only. Tail: Enable Support: Paint them on under the stabilizers only. Normal (Manual) Snug On Build Plate Only Once printed, I use a deburring tool to clean up any rough surfaces on the overhang of the tail as well as the bottom of the stabilizers. Wings/Cowl: Brim Type: No-Brim Enable Support: Painted on under the wings only. The remaining overhangs will print as is. Normal (Manual) Snug Once printed, I used a deburring tool to clean up the bottom of the wings. Rotors, Landing Gear, Mounted Turret: Layer Height: 0.12mm 8 Wall Loops Primary Rotor Brim: Outer Brim Only and 8mm Width. Turret: Enable Supports: Normal (Auto) Snug On Build Plate Only Once printed, I used a deburring tool to clean up the bottom of the turret barrel. You’ll also need to remove the brim from the rotor and landing gear. Windows: The windows were designed to print on the topside so you can use a patterned plate to create visual effects. There are 3 windows which need supports enabled. These are the rear left and right windows as well as the rear top window. The two side pieces may print fine as is, but have a very small angle at the corner. I’ve printed them successfully without supports, but why not? The top rear will definitely need the supports as it wraps slightly around the top. Enable Supports: Normal (Auto) Snug On Build Plate Only Assembly: The assembly requires no glue, but I recommend using super glue if this is going to be played with. The fit is fairly snug for most components, so all you need to do is press them into place. The connecting joints have sloped holes, so as you press the pieces into place, they will tighten down. I used a small clamp to make sure they were all pressed in sufficiently. Assemble the tail and cabin by inserting the alignment pin and pressing the pieces firmly together. Insert the wings into the cabin and press firmly into place. Insert the smaller alignment pins into the cabin and press the cowl onto the pins. Press the windows firmly into place. Push the primary rotor into the slot. This will require a little force, so I recommend either using a clamp and slowly tightening until it pops into place, or hold the piece parallel to the slot as much as possible and press directly onto the center of the rotor so you don’t bend the connector. Once it snaps into place, it should spin freely with no slop. Push the tail rotor into place. Try to press slowly and straight so you don’t snap the connector. Push the nose mounted turret into its’ socket. This will be tighter than the other two and once it snaps into place, it will have mild resistance when rotating. Finally, press the landing gear into the slots on the cabin and you’re done. That's all there is to it. I tried to break it up into pieces that would likely be the same colors, but the raw files are also up. Follow my facebook page, RC3D, for giveaways and entry details as well as my latest models. CHANGELOG: UPDATE (11/22/2023): I revised several pieces to either print in fewer pieces or to assemble easier without glue. The overall project was reduced to 4 plates that print with settings closer to the default profiles. Increased tail rear curve radius to print easier without rough spots on the rear of the tail. Revised the tail rotor to press into place without snapping as easily and to rotate freely without resistance. Decreased tolerance on alignment pin for cabin and body. This ensures a tight fit that doesn’t require glue to remain in place. Tightened tolerances for the wings, landing gear, and nose mounted turret. Increased turret guide shaft diameter to provide mild resistance when turning. Revised the connector to hold in place more firmly. Added connectors to the windows for a press-fit assembly. Added alignment pins for the cowl. UPDATE (11/13/2023): The tail piece for the v2 print profile was missing the supports under the stabilizers. v2.1 fixes that. UPDATE (11/5/2023): I've made numerous updates to improve printer friendliness, ease of assembly, and functionality. I've uploaded the v2 files into the raw files repository as 3mf files. I've also added print profiles for e