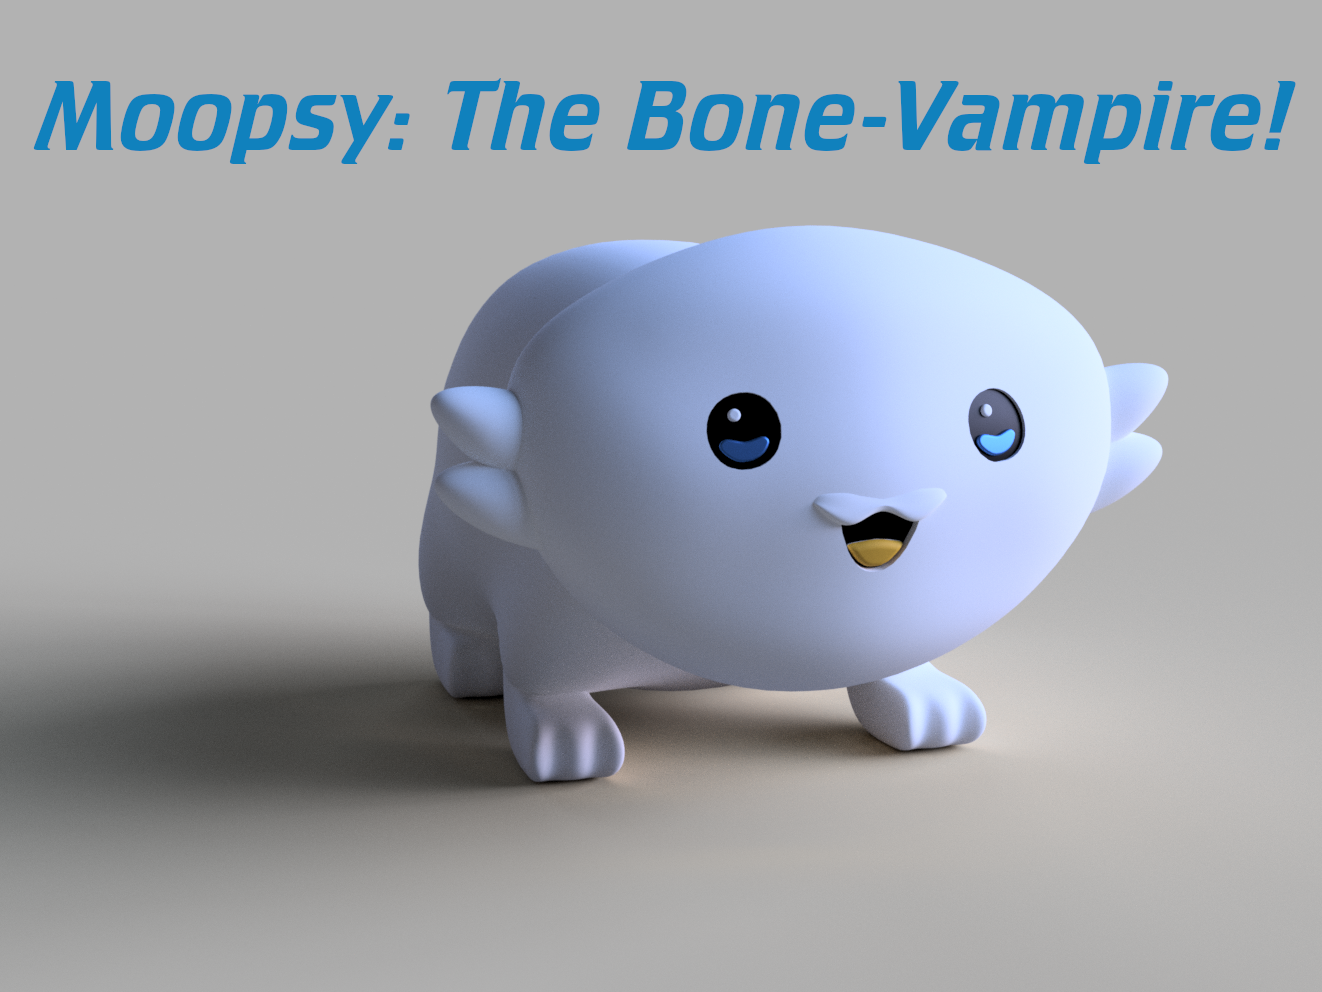
About this 3D model
Change log: 9/12/23 : Added photos of my make, and uploaded a STEP version. 9/13/23 (midnight): Added a multi-part version and instructions. Requires glue, but you only need a black sharpie/paint and single-color printing instead of fancy multi-color printing. 9/13/23 (actual morning): Drastically improved and simplified instructions and model so that one multi-part model should serve everyone's needs. Updated STEP file too. This also will improve multi-color printing ease and final product significantly due to slicer glitches with the earlier model. 9/19/23 : Smaller head version now available here for people who prefer this look. Moopsy was first seen in the episode “I Have No Bones Yet I Must Flee” of Star Trek: Lower Decks , where it caused havoc in a galactic menagerie. Moopsy is one of the most terrifying aliens ever introduced in Star Trek, despite its cute appearance. I could not help myself by try to replicate this creature. I'm a total novice at Fusion360, but I tried my best to produce a faithful looking replica… with way too much effort. I actually think it looks pretty decent. Requires some supports, as shown. Printed here in 4-color PLA on my X1C to match the picture shown above from the show. You could probably just print it all one color though and paint it. Flavor text I made for this critter: Moopsy is a small, furry alien with big eyes and a round body. It looks harmless and adorable, but it has a hidden ability to launch itself at high speed towards its prey and sink its sharp teeth into them. Moopsy drains the bones of its victim, leaving behind a boneless sack of flesh. Moopsy is very hungry and will chase after any food source relentlessly. How To Print Multi-color (MMU/AMS): Supports are needed . Sit him on the designed-in flat butt area, as shown. I designed it to minimize the amount of support needed. I used snug supports and PETG as an interface layer, but organic supports should work well here. 0.2 mm layer height . At the top I used variable layer height to go down to 0.12 gradually to get a better top finish, but you can do as you like. The color objects have been broken out. Here's my recommended coloring: If you can do 5 filaments at once, you can do some neat stuff. Here's my setup with in 4x PLA colors + PETG as PLA support interface with snug supports. How To Print Multi-color (one color at a time): This version makes it easy even if you're bad at using a sharpie/paintbrush to get a good looking result… but you have to print little bits of colored plastic and glue them in place. All the parts you need are in the same 3MF file. I suggest printing it so that the eye and mouth parts are part of the main body because the eye and mouth parts would be a little hard to get the fit in perfectly.. but you can try if you like! To accomplish this, delete the little eye bits and tounge from the model so you get a setup that looks like this. Print the setup above. Instructions above around orientation, supports and layer heights apply. Color in the empty eyes and mouth with a black sharpie or black paint. The result should look like this, more or less: Now, using the thinnest layer height you can afford print 1x each of these tiny eye/mouth parts individually. They won't fit 100% perfectly to the curvature of the face, but they'll be really close… and if you want you could always warm them up a little with hot water and press them onto the face to get a good fit before gluing. Tounge (suggest in yellow) LeftEyeHighlight (suggest in white) RightEyeHighlight (suggest in white) LeftEyeColor (suggest in blue) RightEyeColor (suggest in blue) These tiny little parts look like this: Once printed, glue these in place as shown on top of the black-eyed base to end up with the composite product. How To Print (Single Color): This version is ideal for people who are good with a paintbrush and can color in little details with precision. Instructions above around supports and layer heights apply. Print the combined 3mf file in one color. Paint or use sharpies if desired to add color.