About this 3D model
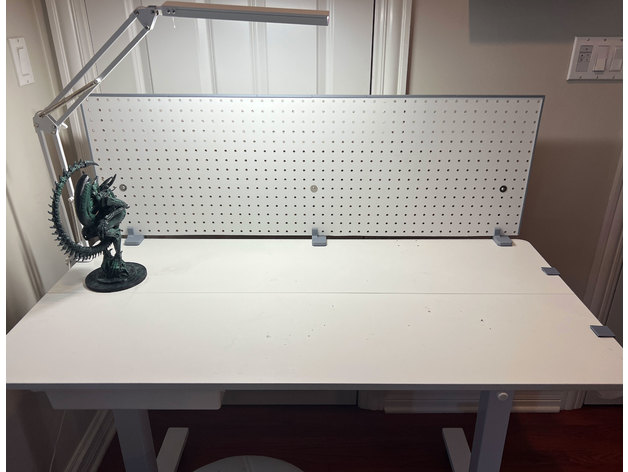
Want to add a pegboard to the back of your craft table? Here is an easy-to-print and easy-to-install option. The intent is to take advantage of the various pegboard accessories you can download and print, and not to hold heavy tools. There are three files: -Pegboard desk clamp THINNER desk.STL for desks up to an 1" (25mm) thick -Pegboard desk clamp THICKER desk.STL for desks between 3/4" (15mm) and 1 1/2 (35mm) thick -Pegboard desk clamp screw fits either clamp The thicker clamp STL file will not work on very thin desks because of the screw length - print the thinner version! What you will need: -Standard pegboard that is 0.1875" (5mm) thick (example in the US - https://bit.ly/45whCcI ) -I strongly recommend applying non-skid rubber pads to any desk clamps ( https://bit.ly/3ODUV0j ) -Screws/nuts/bolts/washers to attach your pegboard to the clamps (I used M4x25) Notes: -I printed this using PLA with 30% infill (feel free to use something stronger like PLA+ or PETG) -I cut down the pegboard to a height of 15"(380mm), you could go taller but may have stability issues -For my 45" (1150mm) wide pegboard, I used three clamps -Attach the clamp to the desk, and attach the pegboard to the clamps using whatever screws/nuts/bolts/washers you have -This is much more stable then you think - all the weight goes down vertically to the desk EDGE GUARDS Pegboard edge guards are included for a cleaner look. Print four corner pieces and as many straight pieces as you need. Adjust the length of the straight pieces in your slicing software for a perfect fit. Glue to the pegboard using crazy or super glue.