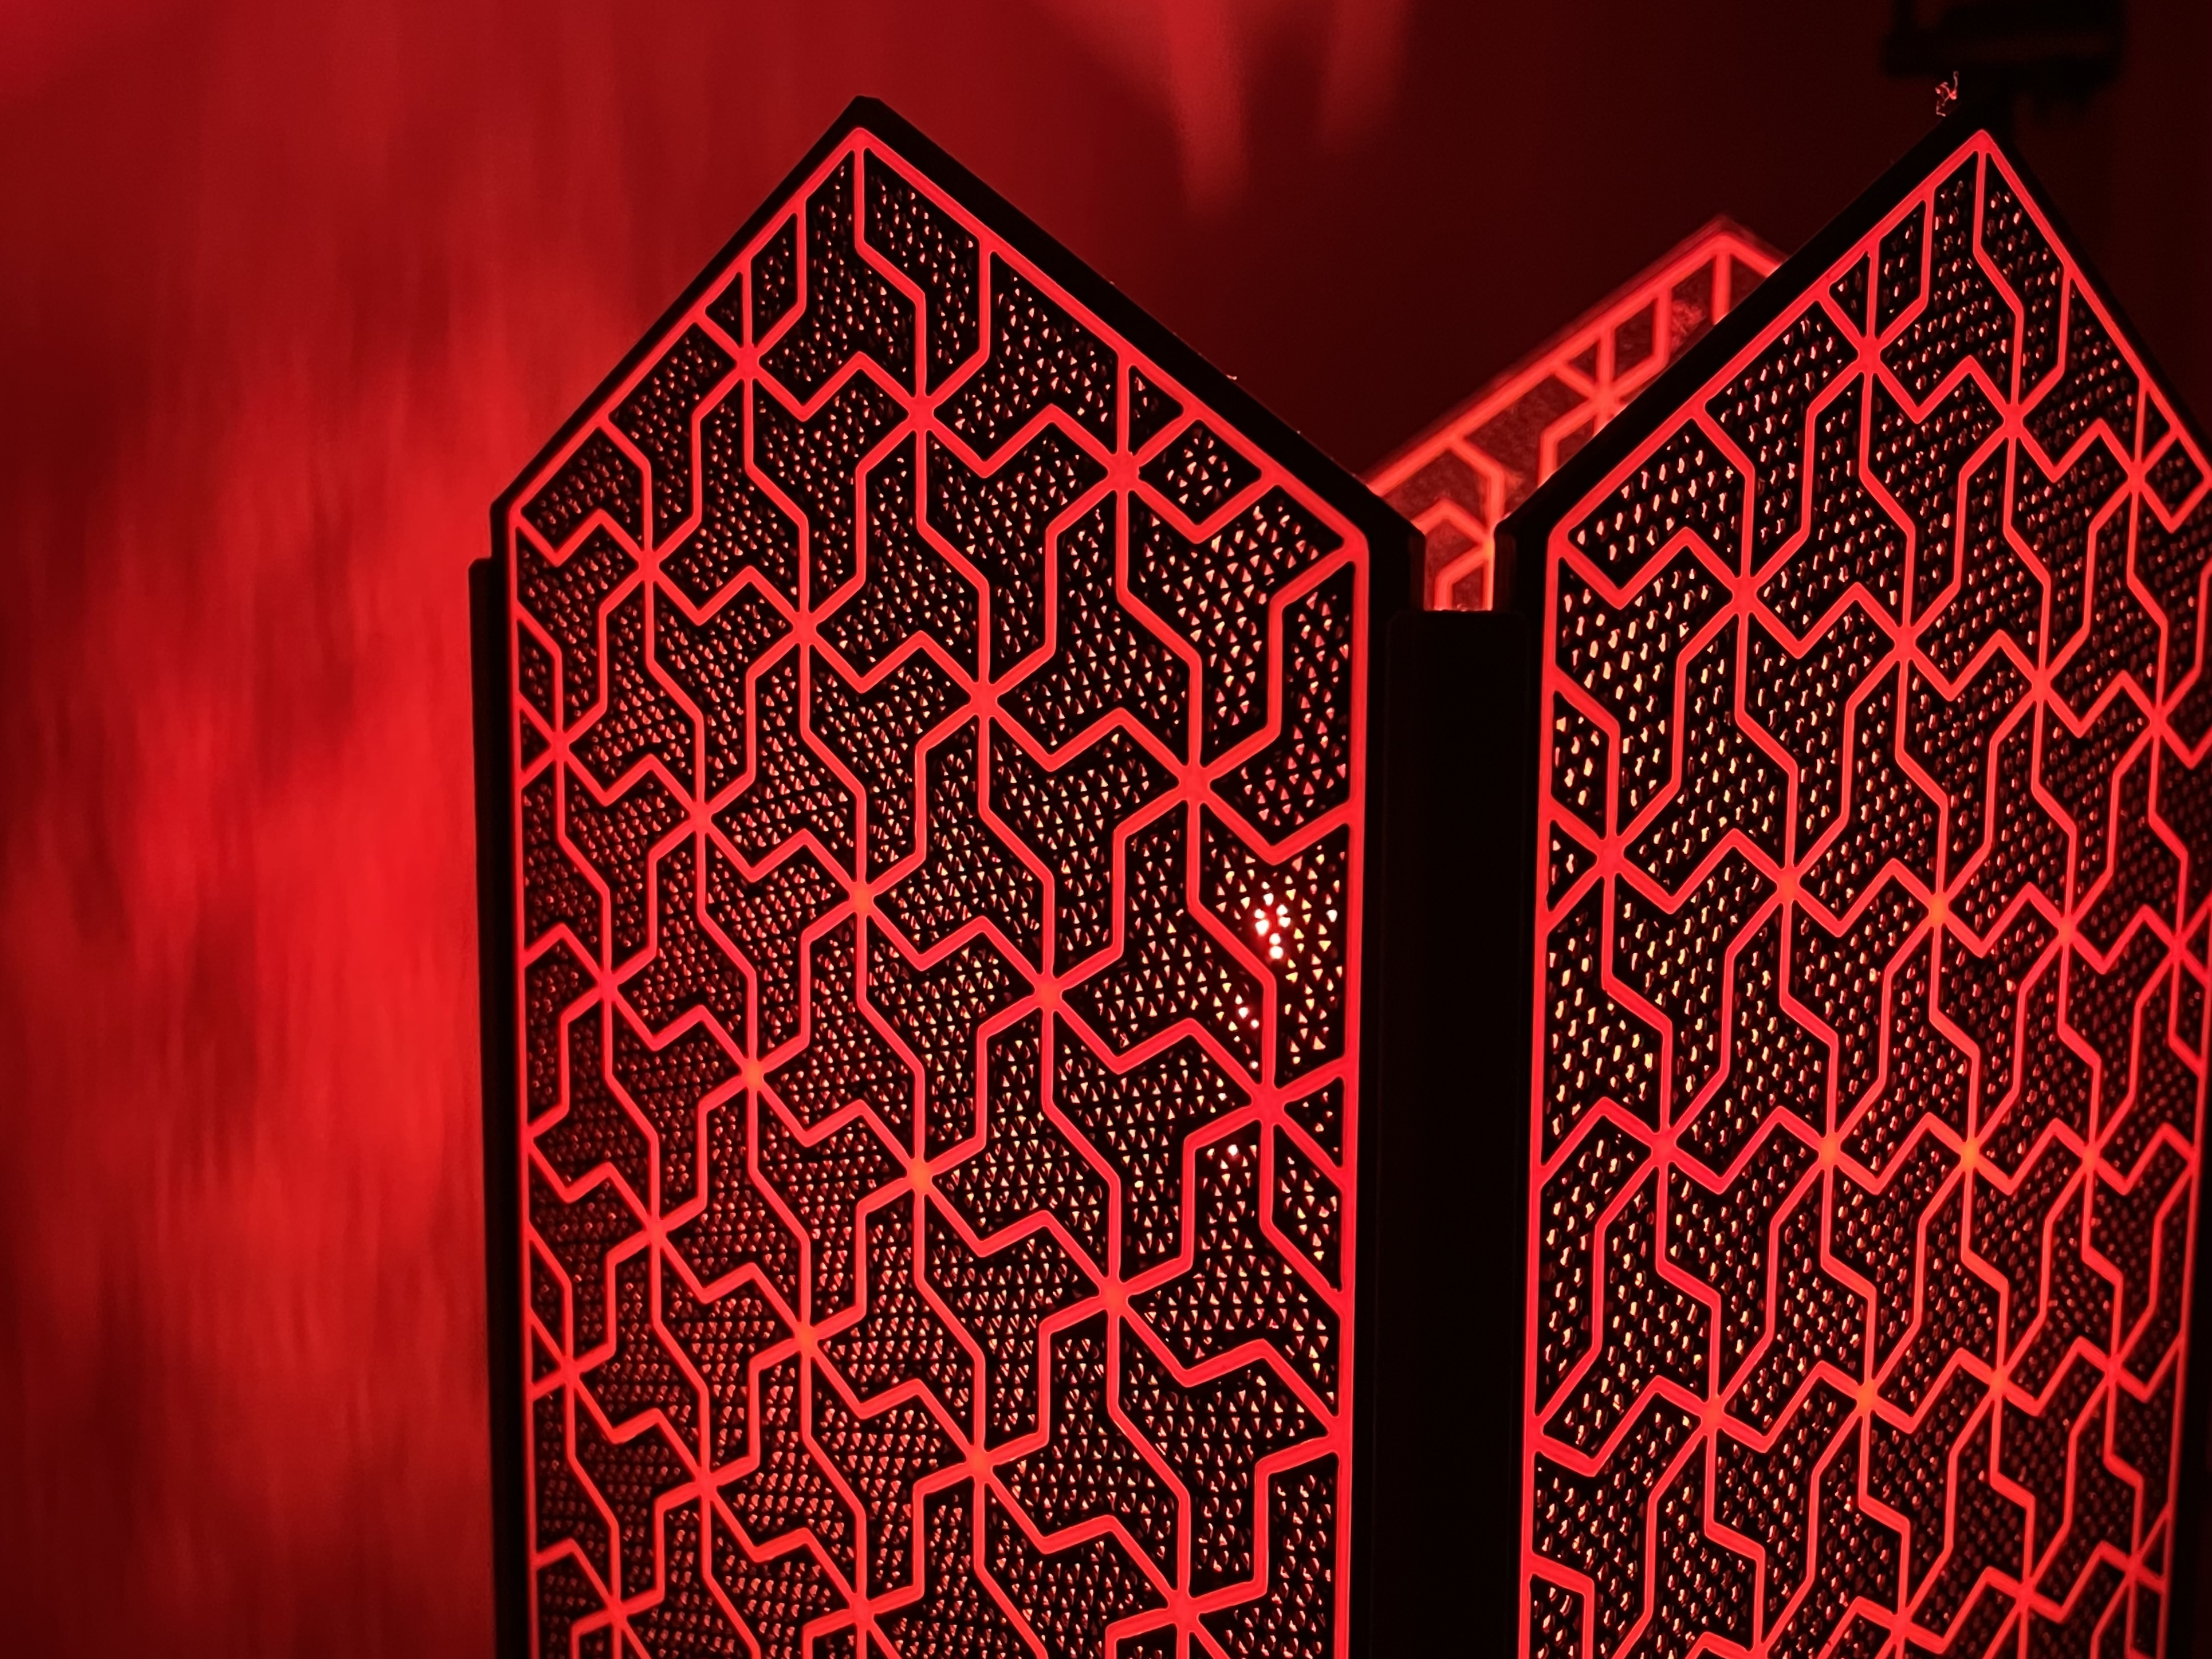
About this 3D model
Before printing the whole lamp, test out your colours and print settings with the test prints. Print settings to start with: Import Inlay, Border, Mesh Inside and Mesh Outside into your slicer together to make sure they're all aligned properly to each other. They should load in the correct orientation with the “outside” of the lamp facing down. Parts are designed for 0.4mm nozzle with 0.25mm layer height (including first layer) but other nozzle sizes should work if you're using a recent slicer with Arachne. Inlay Using a light colour may let the lamp shine through making the inlay stand out more (like in my example) 4 walls, disable “single wall first layer” and “single wall top layer” if you have these options. If you can't control this (like in the vanilla Bambu slicer), use “concentric” surface pattern Frame “Concentric” surface pattern for the bottom layer for a clean look Mesh Inside Using a light colour will make the lamp brighter as less will be absorbed. The colour used will affect the light temperature (if you use yellow or red inside, you will have a warmer light tone, etc.) No top, no bottom 1 wall 60% density triangle sparse infill “Minimum sparse infill threshold” - 1mm^2 Mesh Outside Same as above but with a different colour Base Slicer defaults should be OK