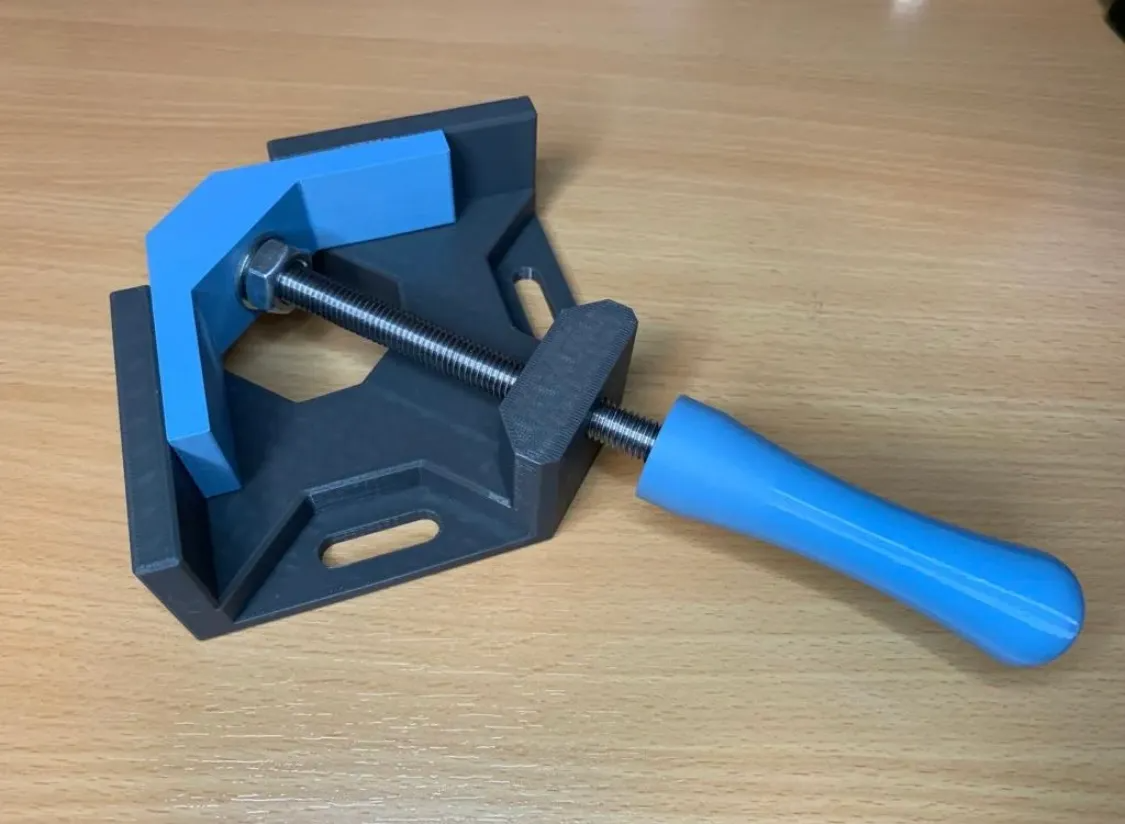
About this 3D model
Hardware: 4 x M10 nuts (self locking) 1 x M10 Washer 1 x threaded rod M10 - 200mm lenght Threadlocker Settings: 0.20mm Standard +custom settings: Wall loops: min. 5 Outer wall: 25 mm/s Infill 30 % supports are not necessary ABS / PETG Base Part Add a pause in Slicer at 36mm height - that you can insert an M10 nut with 17mm wrench size. Handle Add a pause in Slicer at 18,2mm height - that you can insert an M10 nut with 17mm wrench size Assembling: As a reminder, if you use threadlocker instead of self-locking nuts, you must let it dry first before use. Step 1 Turn the threaded rod into the main part. Then put an M10 nut and a washer on it. Step 2 Put the clamp part on it and then the second nut, fix the outer nut with threadedlocker or a self locking nut so that the nut and the rod are flush (green line). Step 3 Slide the clamping part over the outer nut and screw the middle nut together and secure it again with threadlocker. ATTENTION do not clamp the part it must be able to rotate freely! Step 4 Put a drop of threadlocker on the rod about 57mm from the edge and screw the handle on.