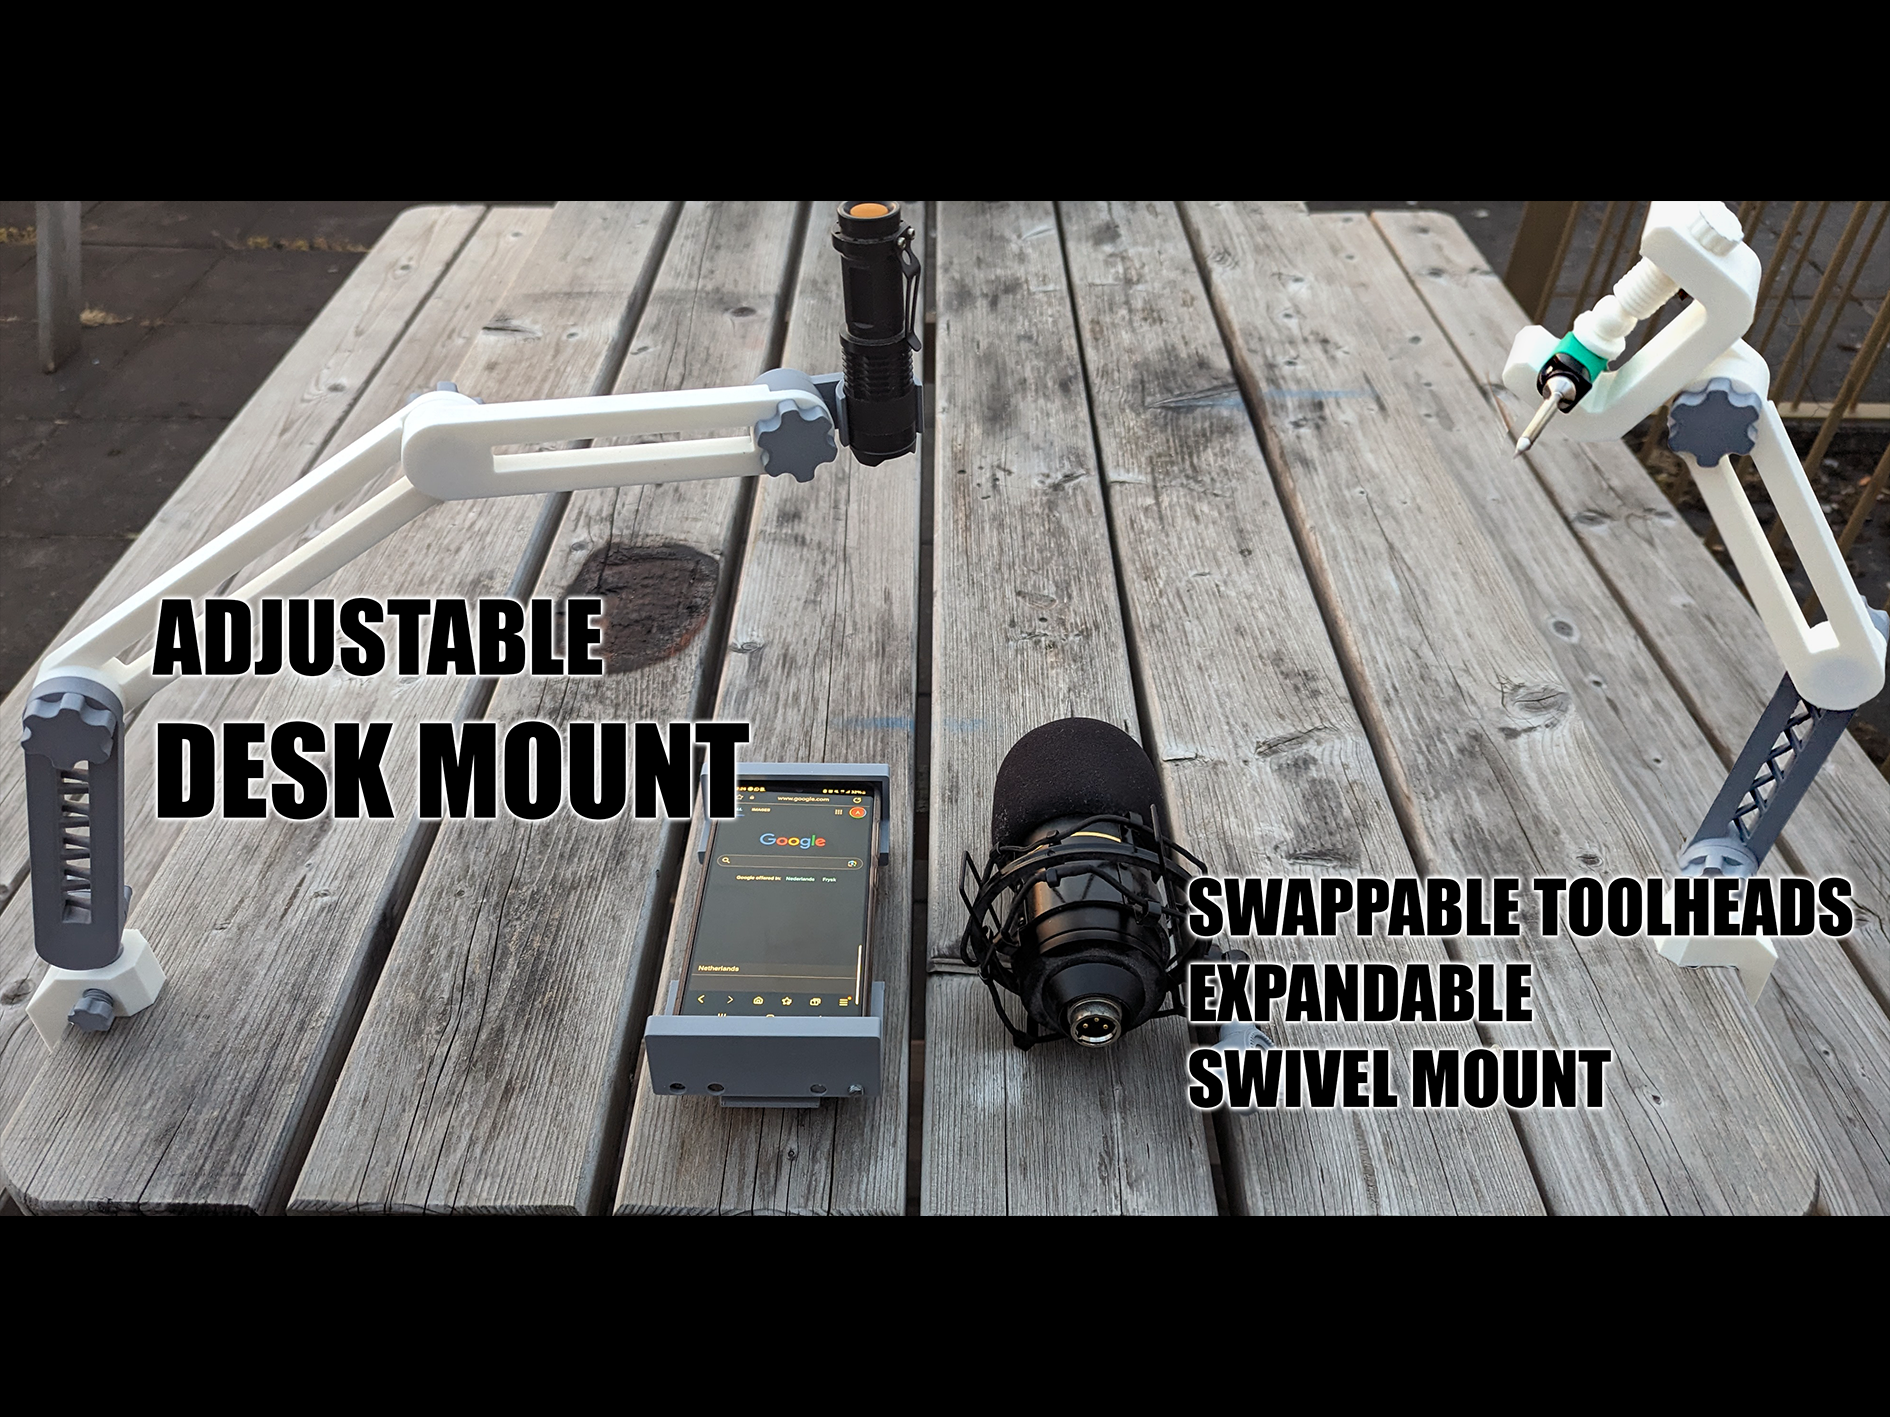
About this 3D model
Whether you need a small adjustable holder for a pocket light or a new mount for your microphone, this model does it all, is adjustable (mechanical lock, not a friction lock) and clamps right onto any surface. Should be able to carry anything under a kilo or so depending on material and print settings (I have managed to load two connected light duty arms in PLA with 2.5kg, but it will flex). Want to design your own toolhead? Please do and share it! I have included a blank toolhead for you to use. Boost Me I spend a lot of time making these models. Do you like them? Please consider boosting me (it's free)! The mount consists of the following parts: Table clamp Arms Light duty (150mm) !only recommended for light loads! Mid/Heavy duty (150mm) Tool heads Traditional adjustable clamp Circular clamp Microphone thread (5/8" 27 tpi) Phone holder Blank toolhead (make your own) PRINTING AND ASSEMBLY The model is easy to assemble and print. Just follow the instructions and recommended settings below. All .stl files are already correctly oriented. Clamp assembly Print settings: Outer walls: At least 4 Infill: At least 30% gyroid (100% rectilinear is recommended for arm swivel connector) Brim recommended for main body No supports To assemble the clamp first screw the large clamp screw into the large hole. Then push the screw cap onto the screw and screw in the small locking screw. Glue the knob onto the arm connector using the hexagonal hole and protrusion. Place the arm connector into the clamp. Arms Print settings: Outer walls: At least 4 Infill: At least 30% gyroid Brim strongly recommended No supports Glue the knobs onto the arms using the hexagonal hole and protrusion as a guide. Screw the arms connector on the clamp into the first arm part. Keep connecting arms until you are satisfied. Tool heads connect the same way. Tool head: Traditional clamp Assembles and prints the same as the main clamp assembly. Tool head: Circular clamp Print settings: Outer walls: 4 No supports No assembly required. If you want a different diameter than the .stl files, you can make your own size by using the Fusion 360 file. Go to Modify → Change user parameters to change it to the diameter of the tool you want to clamp. Tool head: Microphone thread Print settings: No specific requirements No assembly required. Tool head: Phone holder Print settings: Supports ON To assemble this tool you will need an elastic band and 4 rods (6mm diameter) that are roughly the size of your phone. I used some M6 threading cut to size. You can 3d print 6mm diameter cylinders, but I prefer to use metal. Glue the rods into the holes of the top part of the phone holder (the shorter part). Glue the circular arm connector into the round hole of the bottom part of the phone holder. Connect the two parts by inserting the rods into the bottom part of the phone holder. Put a rubber band around the hooks on the back.