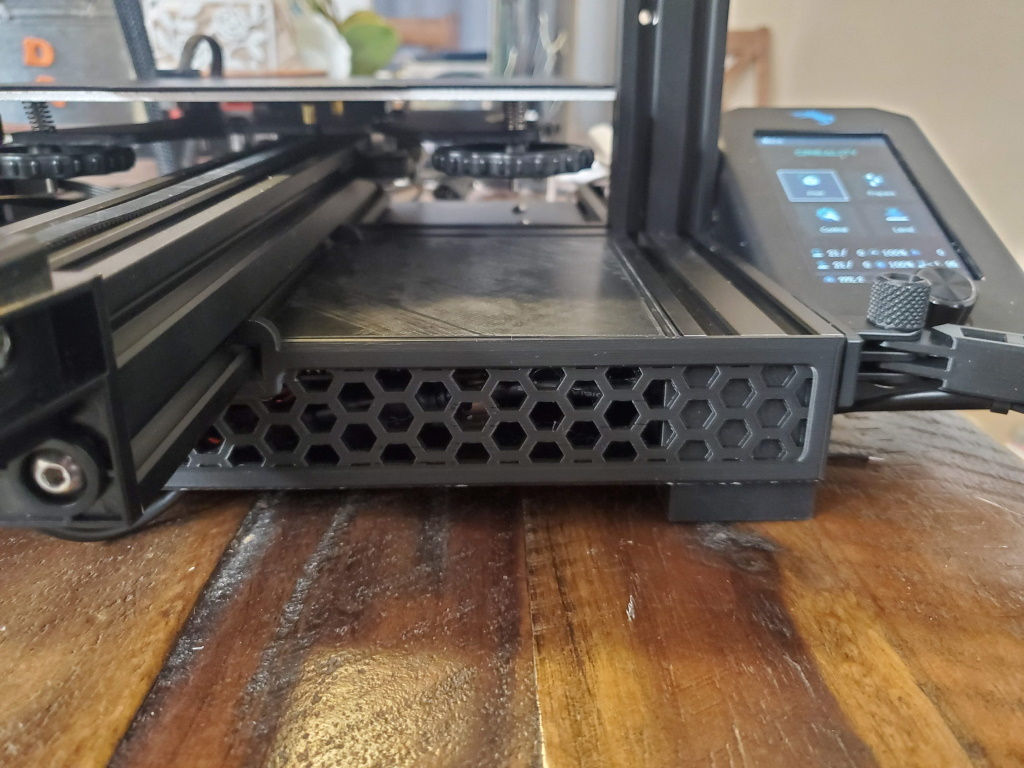
About this 3D model
There are lots of other Raspberry PI drawers available but I wasn't a fan of how they looked. I also wanted something a little more modular so I could spend less time printing if I decided to change things (like add a buck converter). This design uses a snap-in bottom so that you don't have to reprint the entire drawer if you make changes. I've provided the following bottoms: * Bottom.stl - Mounting for a Raspeberry PI 3/4 * Bottom_With_Buck_Converter.stl - Includes a mounting point for a 24V - 5V 5A buck converter The bottom is tapped for M2.5 screws to secure the Raspberry PI. The back (far left) pegs have short extensions to align the PI without screws. Cut these extensions off with a knife if you want to use screws here. A STEP file is included for you to modify to suit your needs. Print Settings Printer Brand: Creality Printer: Ender 3 Rafts: No Supports: Yes Resolution: 0.2mm Infill: 20% Notes: Base You should use tree supports with a support blocker to prevent supporting the cooling holes. Make sure that the support blocker is above the bottom of the guide rails and below the top arms (see attached images) Bottom No support is required. Lid No support is required. Get your Prusameters… Post your Makes! If you like this project, please don't forget to ❤ Like and ★ Rate!