About this 3D model
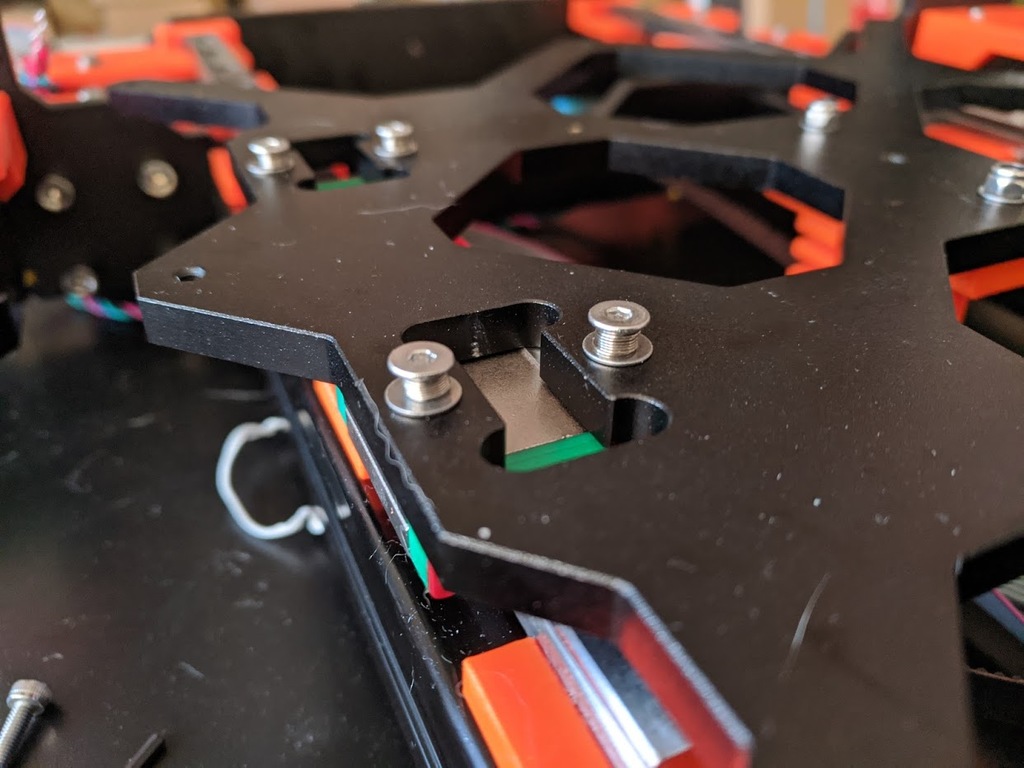
Linear rail mod for Prusa mk3 This mod use 300mm MGN12 linear rails. (I used the Chinese one, that only cost under $15 each) No need to cut the rail. The parts are design to match the original build height(Z) and Y movement spaces, so NO build volume lost and NO needed to modify the firmware. It will pass all the self-test calibration. Easy to setup, the springs will keep the bed secure while leave the blocks some space to align itself. You will need to modify the PSU holder if you have the old sliver-PSU( not needed in rev2)-> Demo video https://www.youtube.com/watch?v=MpT0MBIkZBg Change log 2020/04/21 Updated rev2 Adjust Square nut slot and blot hole size. More compact and stronger Tail and Bridge mounter. All part can be printed with out support. Can be use with both older sliver and newer black PSU without modify the PSU case. Why The Chinese liner rail is cheap and it much stable and quieter than the smooth rod - bushing combo. The linear rail look neat.Q/A Q : But the Y rod is 330mm, your rail is only 300mm.. A : Look at the last picture.Parts list Bolts and washers 2x 300mm MGN12 rail 3x MGN12C block 2x M3x10 bolt 10x M3x12 bolt 4x M3x15 countershunk bolt 6x M3 washer 12x M3 spring washer 4x 4x10mm spring (or can be cut from ball point pen sping) 4x M3 nut 4x M4 nut 4x M4 washer 4x spring washer 4x M4 T-nut 8x M3 T-nut 8x M3x15 bolt 8x M3 square nut spring washer are optional ### Printable part rev2 2x head mount 4x node mount 2x tail mount (need to be mirrored in slicer)Installation Put m3 nut(nylocs are recommended) into the Tail printed parts. Mount the printed parts to the printer frame. Tail parts use M4 bolts. Install the Rails using M3x10 bolts. Don't over tighten the bolts, this will make the part to deform. Install 2x MGN12C on the left side, 1x MGN12C (MGN12H will also work) on the right side Use M3x10 bolt,washer,spring washer to secure the Y carrier to the left block. Make sure it nice and tight. Use M1x15 countershunk bolt, 4x10 springx m3 washer to secure the Y carrier to the right blocks. DO NOT tighten the bolts too much, leave it some space to align the block itself. I'm too lazy to write the full tutorial, check the pictures for more details. Print Settings Rafts: No Supports: Yes Resolution: 0.2mm Infill: 30% Filament: Any PETG or ABS Any Category: 3D Printing Tests