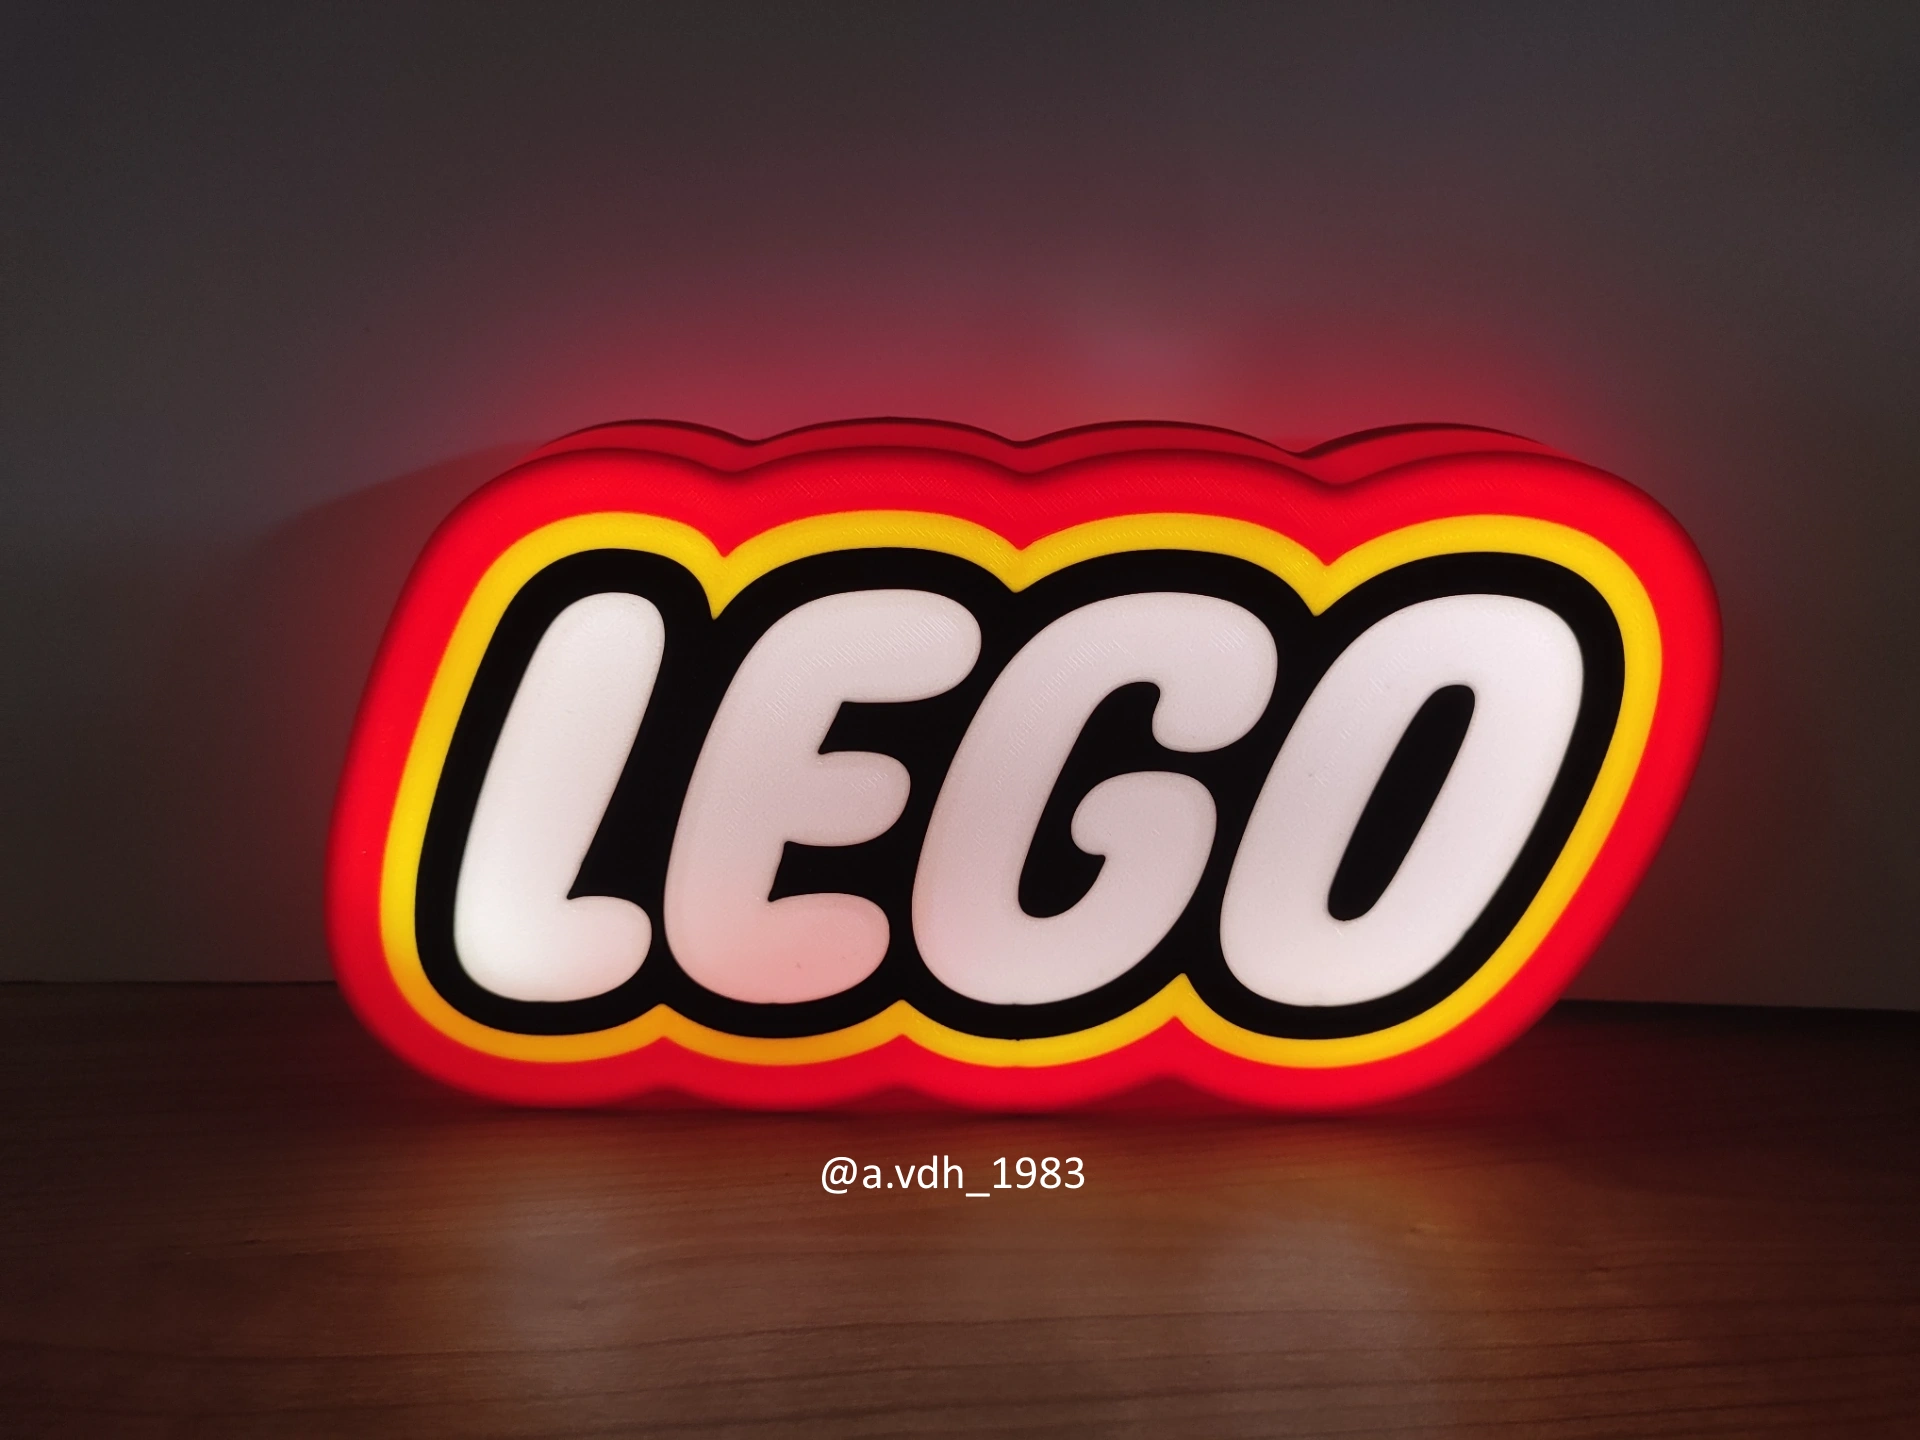
About this 3D model
Boost Me I’d greatly appreciate a BOOST to support me in creating more free files. It's free! The 3D model of a simple lightbox is a tribute to the beloved world of creativity and building. This minimalistic yet iconic design showcases a symbol of imagination and play. When illuminated, the lightbox brings a sense of nostalgia and fun, making it an ideal addition to any enthusiast's collection or a child's room. Let the warm glow of this lightbox kindle the spirit of innovation and creativity in your space, paying homage to the timeless joy of building blocks. It's not just a lightbox; it's a beacon of inspiration. ??? If you don't have or don't want to install LED's you can just glue the parts together and have an awesome sign! WARNING! - remove purge line at the beginning of the print, it may interfere, specially with bigger prints! Materials and tools: - glue gun - aluminum tape - led strip (here is the one I use ): simple 1m white led USB or go wild with RGB - as long as the LED density isn't too low (very few LED's per meter) you should be able to achieve a good result - soldering iron (optional) RECOMMENDATIONS - use a textured PEI sheet - use the print profile, it has quite a few setting changes that help achieve the best results - make a hole for the USB strip wherever you like it best with a soldering iron, drill or in the slicer - use the aluminum tape on the inside of the backplate to help with light diffusion - glue the LED's the further away from the colored design possible; placing them too close ruins the diffusion and the individual LED's become visible Bambu Studio Settings: I always recommend using the print profile I provided since it has settings with which I've been able to get the best results. If you choose not to here are the main slicer settings I recommend: - preferences (ctrl + P) → activate developer settings → Quality →Advanced → First Layer Flow Ratio: 1.04 - Quality → Wall generator → Arachne - Quality → Wall transitioning threshold angle → 50º - Strength → Advanced → Infill/wall overlap → 20% - Quality → Advanced → Avoid crossing walls - Increasing retraction / reducing temperature can help reducing wisps - Order color printing from lightest to darkest color How to make a hole in Bambu Studio: Assembly video: