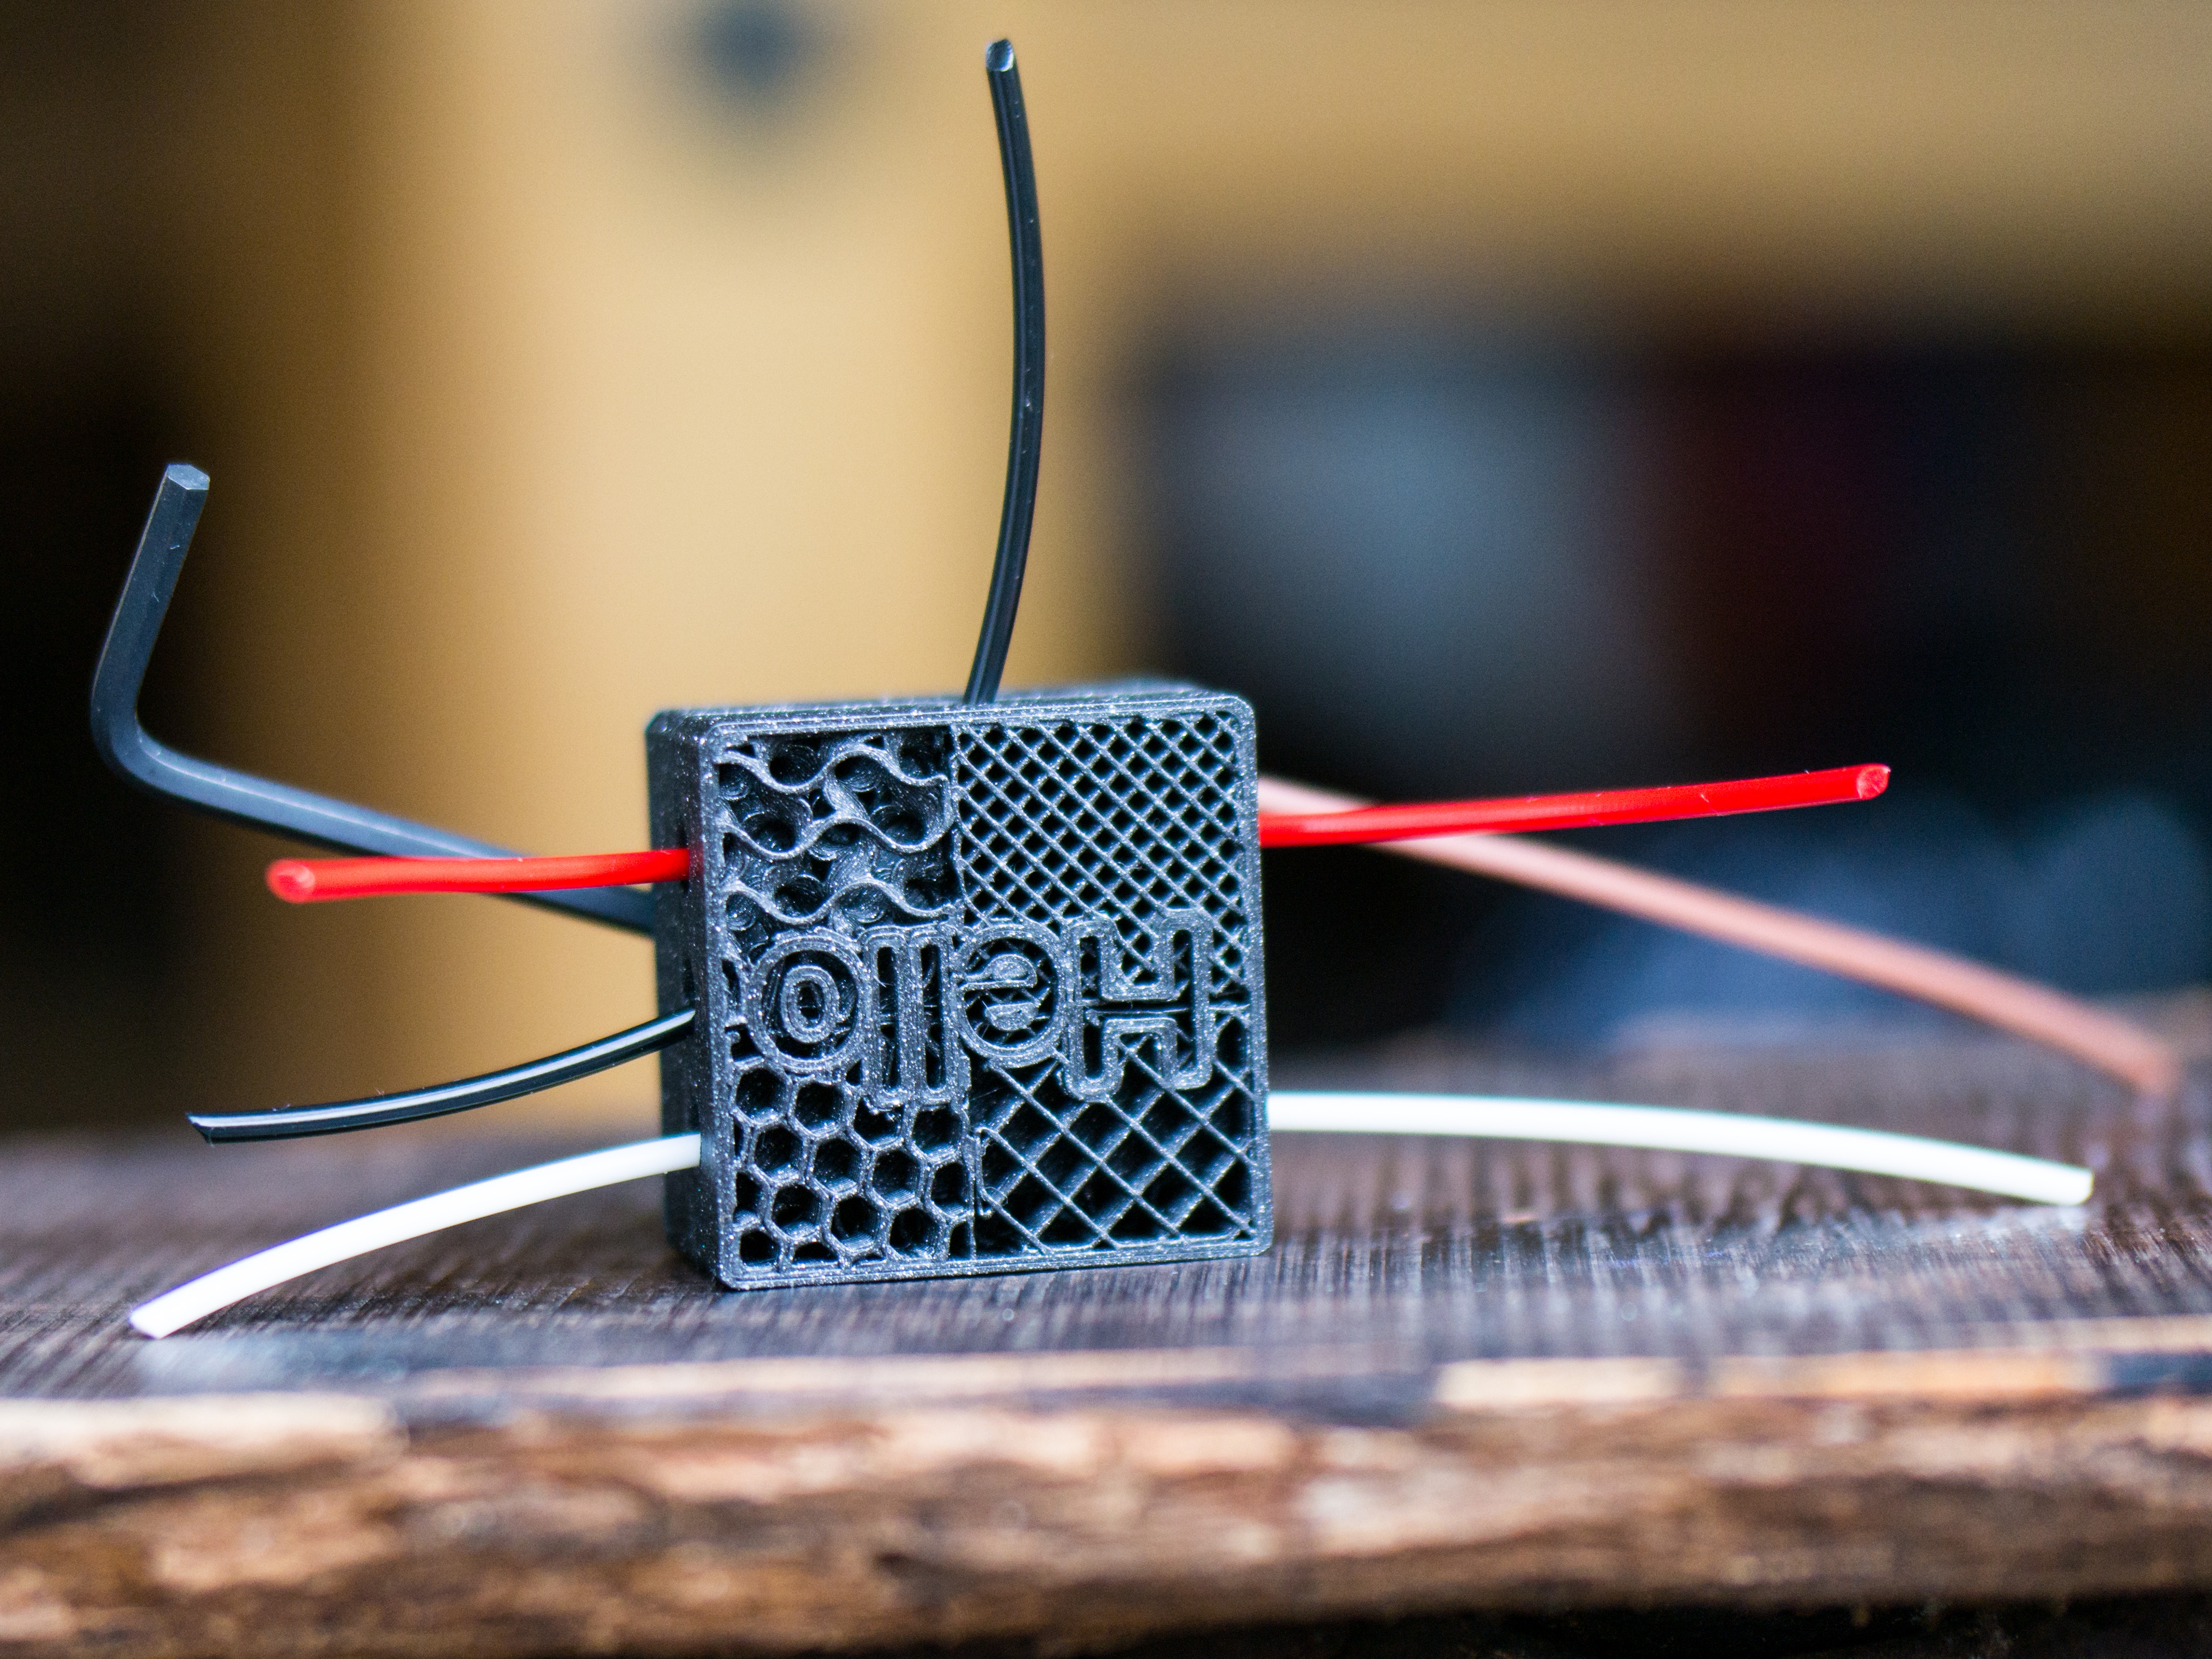
About this 3D model
I was asked to help some students at a lokal shool to improove their 3D printing skills. So I printed a Hotend model and packed some of my prined parts. But I was still missing something to show many of the cool features that are possiblie with 3D Printing in one Design. So I designed this FDM Cube to demonstrate the following possibilities that are not possible with standard procedures like drilling, cutting, …. Creating internal structures (Tunnel, Magnet, M3 Nut). Creating several pieces in one Part (tiny drawer). Different Materials/ Colours in one part. Different possibilities to attach screws (Nut, Plastic. Insert is not included yet) Different possibilities to fill the cavitys (Infill is visible!) I started with some TPU Filament and asked them what they think where it will poke through. First the filament wents straight through the piece. The Second hole will direct it to the bottom. I show them that it is possible to see only through 1 of the bigger holes. They were quite surprised when the 3. hole led to the same side of the cube as the first one :) Also there is a tiny hole at the bottom which is built like a snail shell and you can put quite a long distance of filament into it until it is full :) Print & Assembly Instructions I used 2 Colours of PLA printed with a 0,4 mm Nozzle and 0,15 mm layer height. You need a good first layer and flow calibration to print the tiny drawer without problems. As additional parts you may add 1 magnet (max 6 x 9 mm cylindrical but smaller are possible too and add a nice rattling to the cube!) 1 x M3 Nut 2 x M3 Screws 1 or more Filament pieces. I prefer (soft) TPU but PETG will work too for the bigger holes. Slicing with Prusa Slicer Add a color change at around 0,8 mm height. Add a printing break at 9,95 mm heigt to insert the magnet and M3 nut. Add a height range modifier at 15,2 - 20 mm: Set the top solid layers to 0 (Layers and Perimeters). Add modifier boxes to change the Infill in the upper part of the cube. As an alternative the project settings are preset in the .3mf file or use the Gcode (MK3s, PLA)