About this 3D model
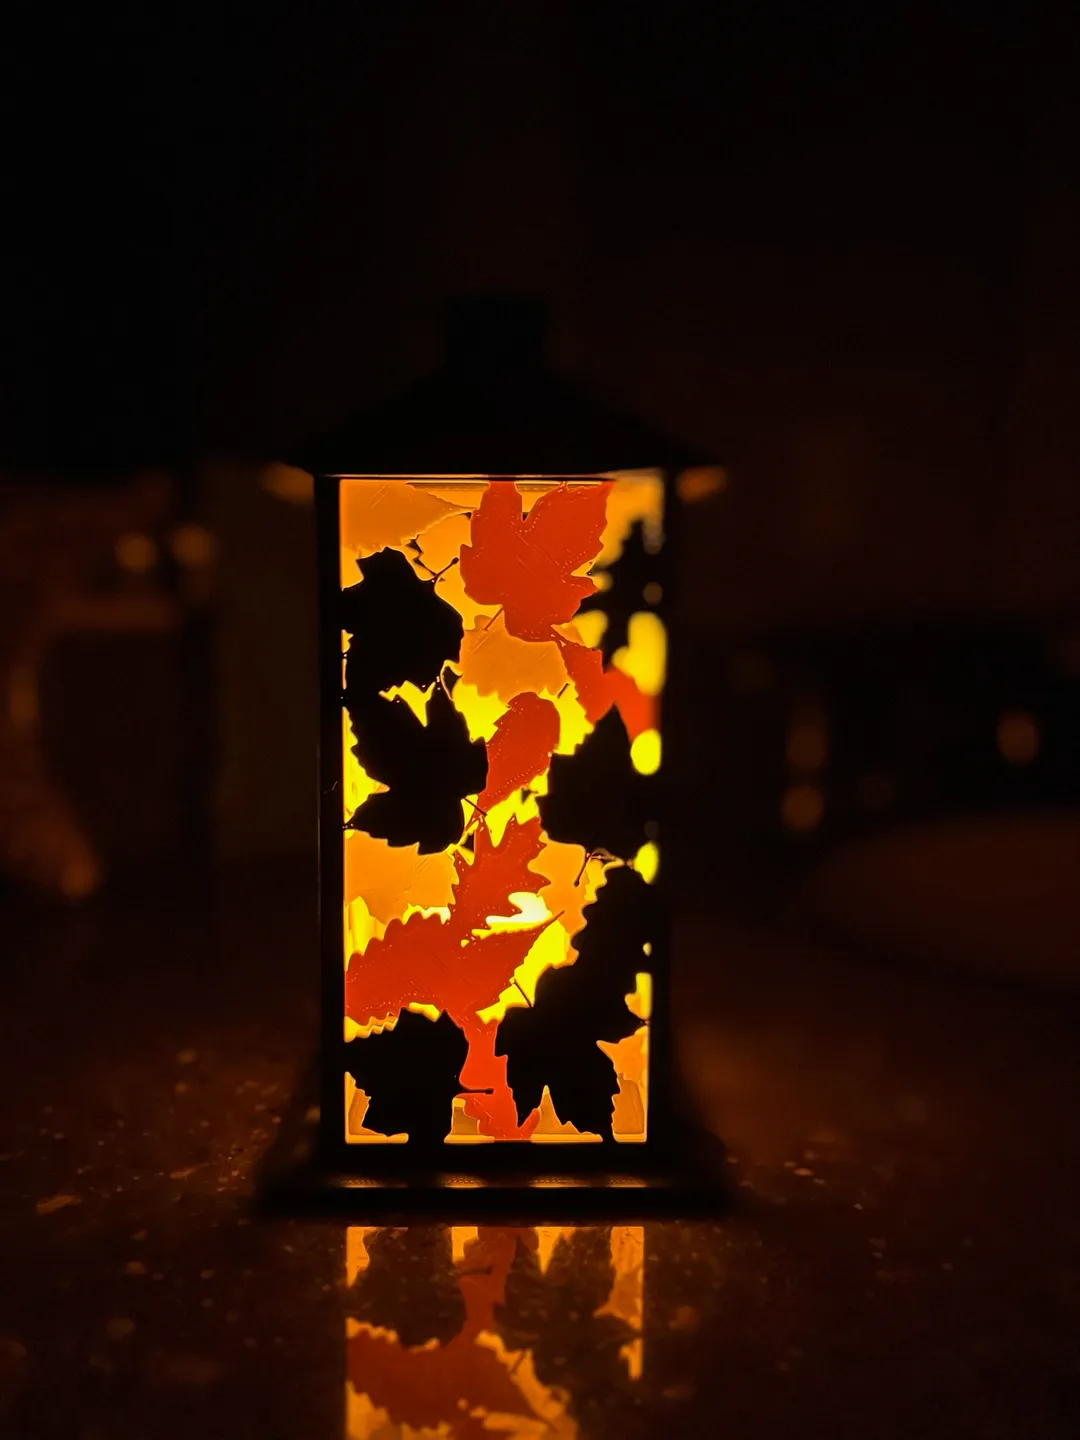
I took the amazing Lantern design made by Laptop-Guy and made a few fixes he did for future lanterns. My biggest issue with the original was due to how it was assembled one side would end up thicker than the other so I added a 45 to the panels so they fit together better and have an even overall look and adjusting the size to match later lantern designs. In doing this I also had to adjust the base to fit the new dimensions. Finally I made a custom decorative lantern cap for a bit more style. If you don't like the decorative cap print the base twice, or don't use a top, the choice is yours. For joining the panels I recommend double sided tape but you could use glue if you like. For the light inside I have a small led battery operated candle or you could use a votive led light as well. I printed mine in a yellow, orange, and black pla. Printing Instructions: I printed the panels with a .4 nozzle at a .2 layer height with 100% infill. Layers 1-5 I printed in yellow I added a pause at the start of layer 6 and switched to orange. I finally added a pause at the start of layer 11 and switched to black The base and top I printed with a .4 nozzle at a .2 layer height with 20% infill. The decorative lantern top will require supports.