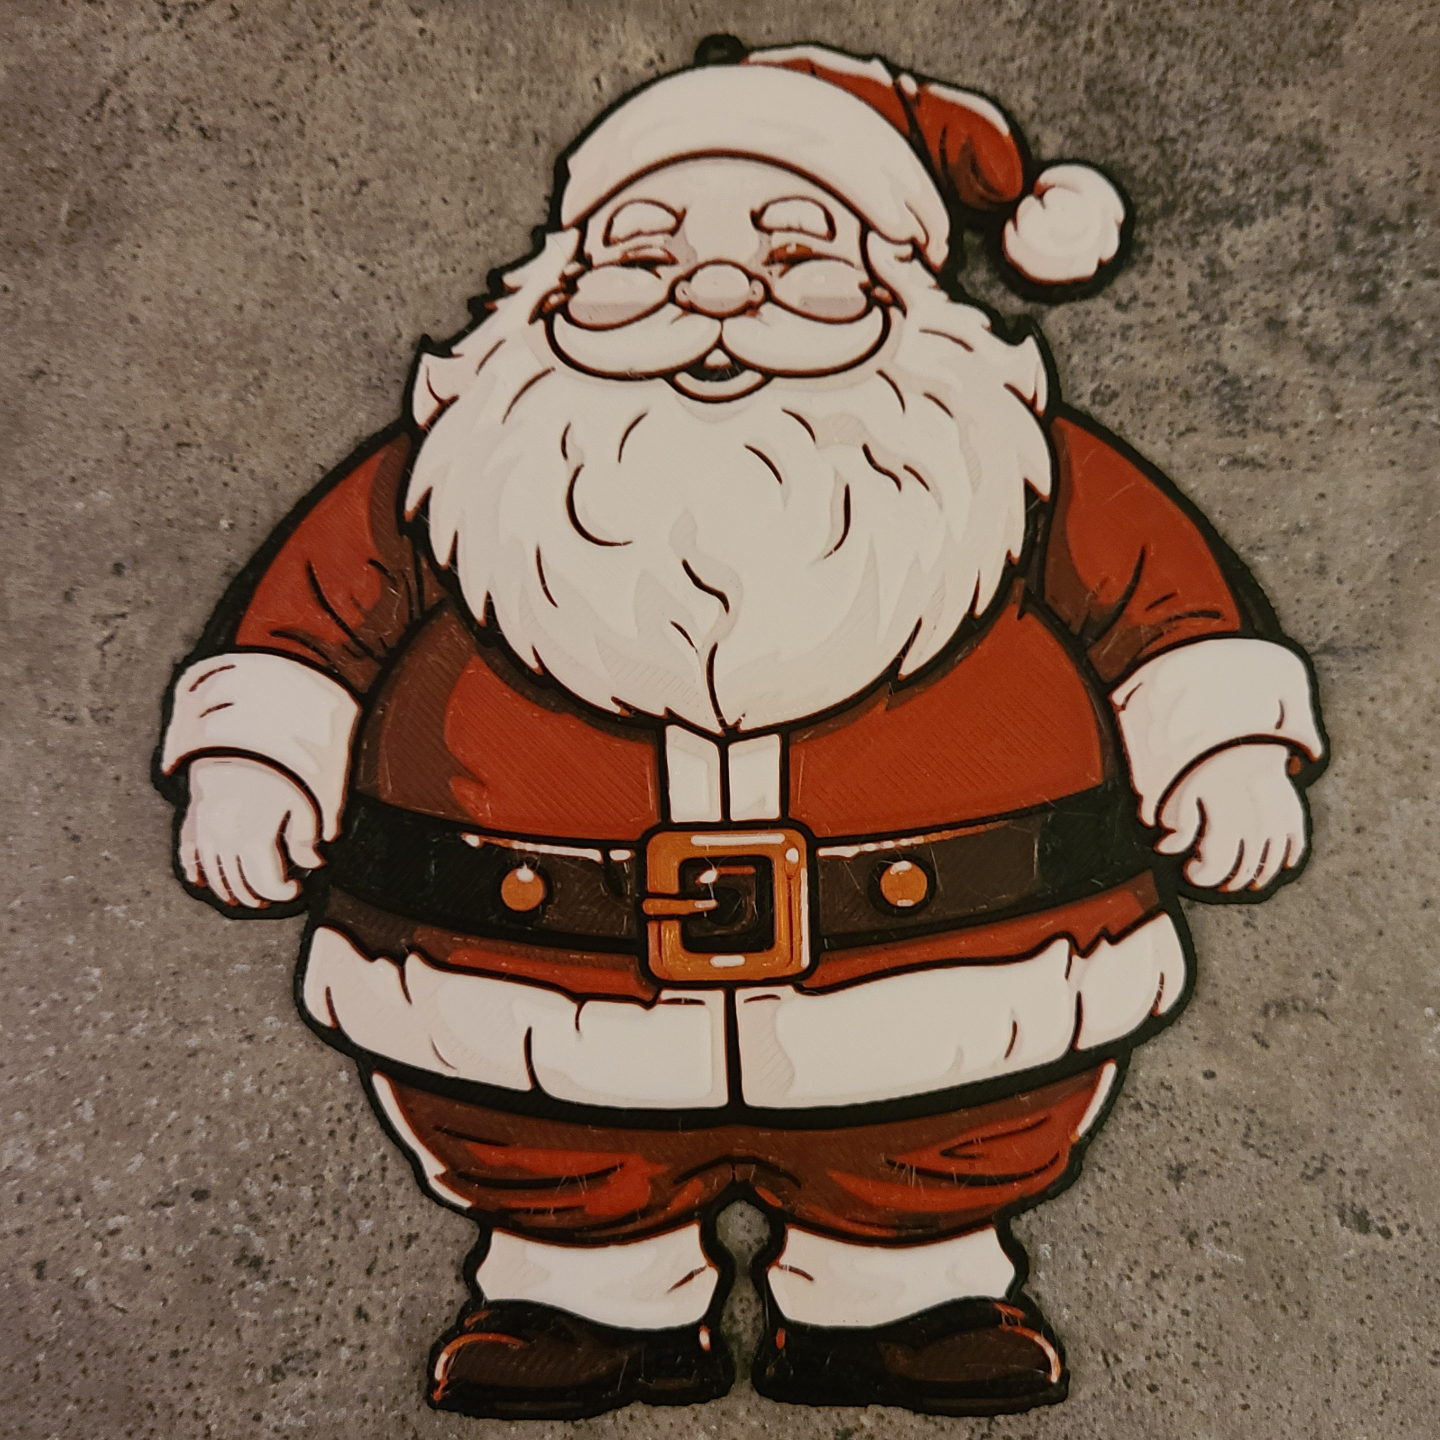
About this 3D model
Update: I have added a profile for people with NO AMS unit. For the NO AMS profile you will need to manually unload/load your filaments as described in the “Swap Instructions” in the order below at each pause. This ornament is perfect for hanging on a tree or as anywhere else. The photo attached is the printed ornament (I have enlarged the hanging ring on this upload). Like all Hueforge prints this model produces very little waste (5 poops total). Some of my other prints have more notes and tips for first time Hueforge printers. IMPORTANT: READ BEFORE PRINTING I have uploaded two 3MF Files along with the STL. The First for 1 AMS and the second for people with 2 AMS units. To print this with 1 AMS unit you need to manually switch out your black spool (ams slot 1) to white (ams slot 1) when the black has completed and fully retracted. I recommend waiting until the red starts printing, then proceeding to swap out spools as indicated above. (Note when swapping mid print the AMS unit does not auto feed the spool like it does before you start printing, so make sure you push at least three to four inches in and that the light indicator goes on. When it comes time to print the 5th color (white) it will feed as normal.) If you substitute colors results will vary. If you have two AMS units just use the 2 AMS print profile, load the filaments as below and print. If you do not have an AMS, fear not, you can still print this by changing your filaments manually. Avoid other print profiles that try to save time by using a thicker layer height. This layer height is necessary to blend the colors. This model is for personal use only. Print at 100% infill with a layer height of 0.08mm with a base layer of 0.16mm Filaments Used: PLA BambuLab Basic Black Transmission Distance: 0.6 PLA BambuLab Basic Red Transmission Distance: 4.9 PLA PolyLite Yellow Transmission Distance: 10 PLA BambuLab Basic Beige Transmission Distance: 8.3 PLA BambuLab Basic Jade White Transmission Distance: 5 Swap Instructions: Start with Black At layer #15 (1.28mm) swap to Red At layer #23 (1.92mm) swap to Yellow At layer #27 (2.24mm) swap to Beige At layer #32 (2.64mm) swap to Jade White for the rest.