About this 3D model
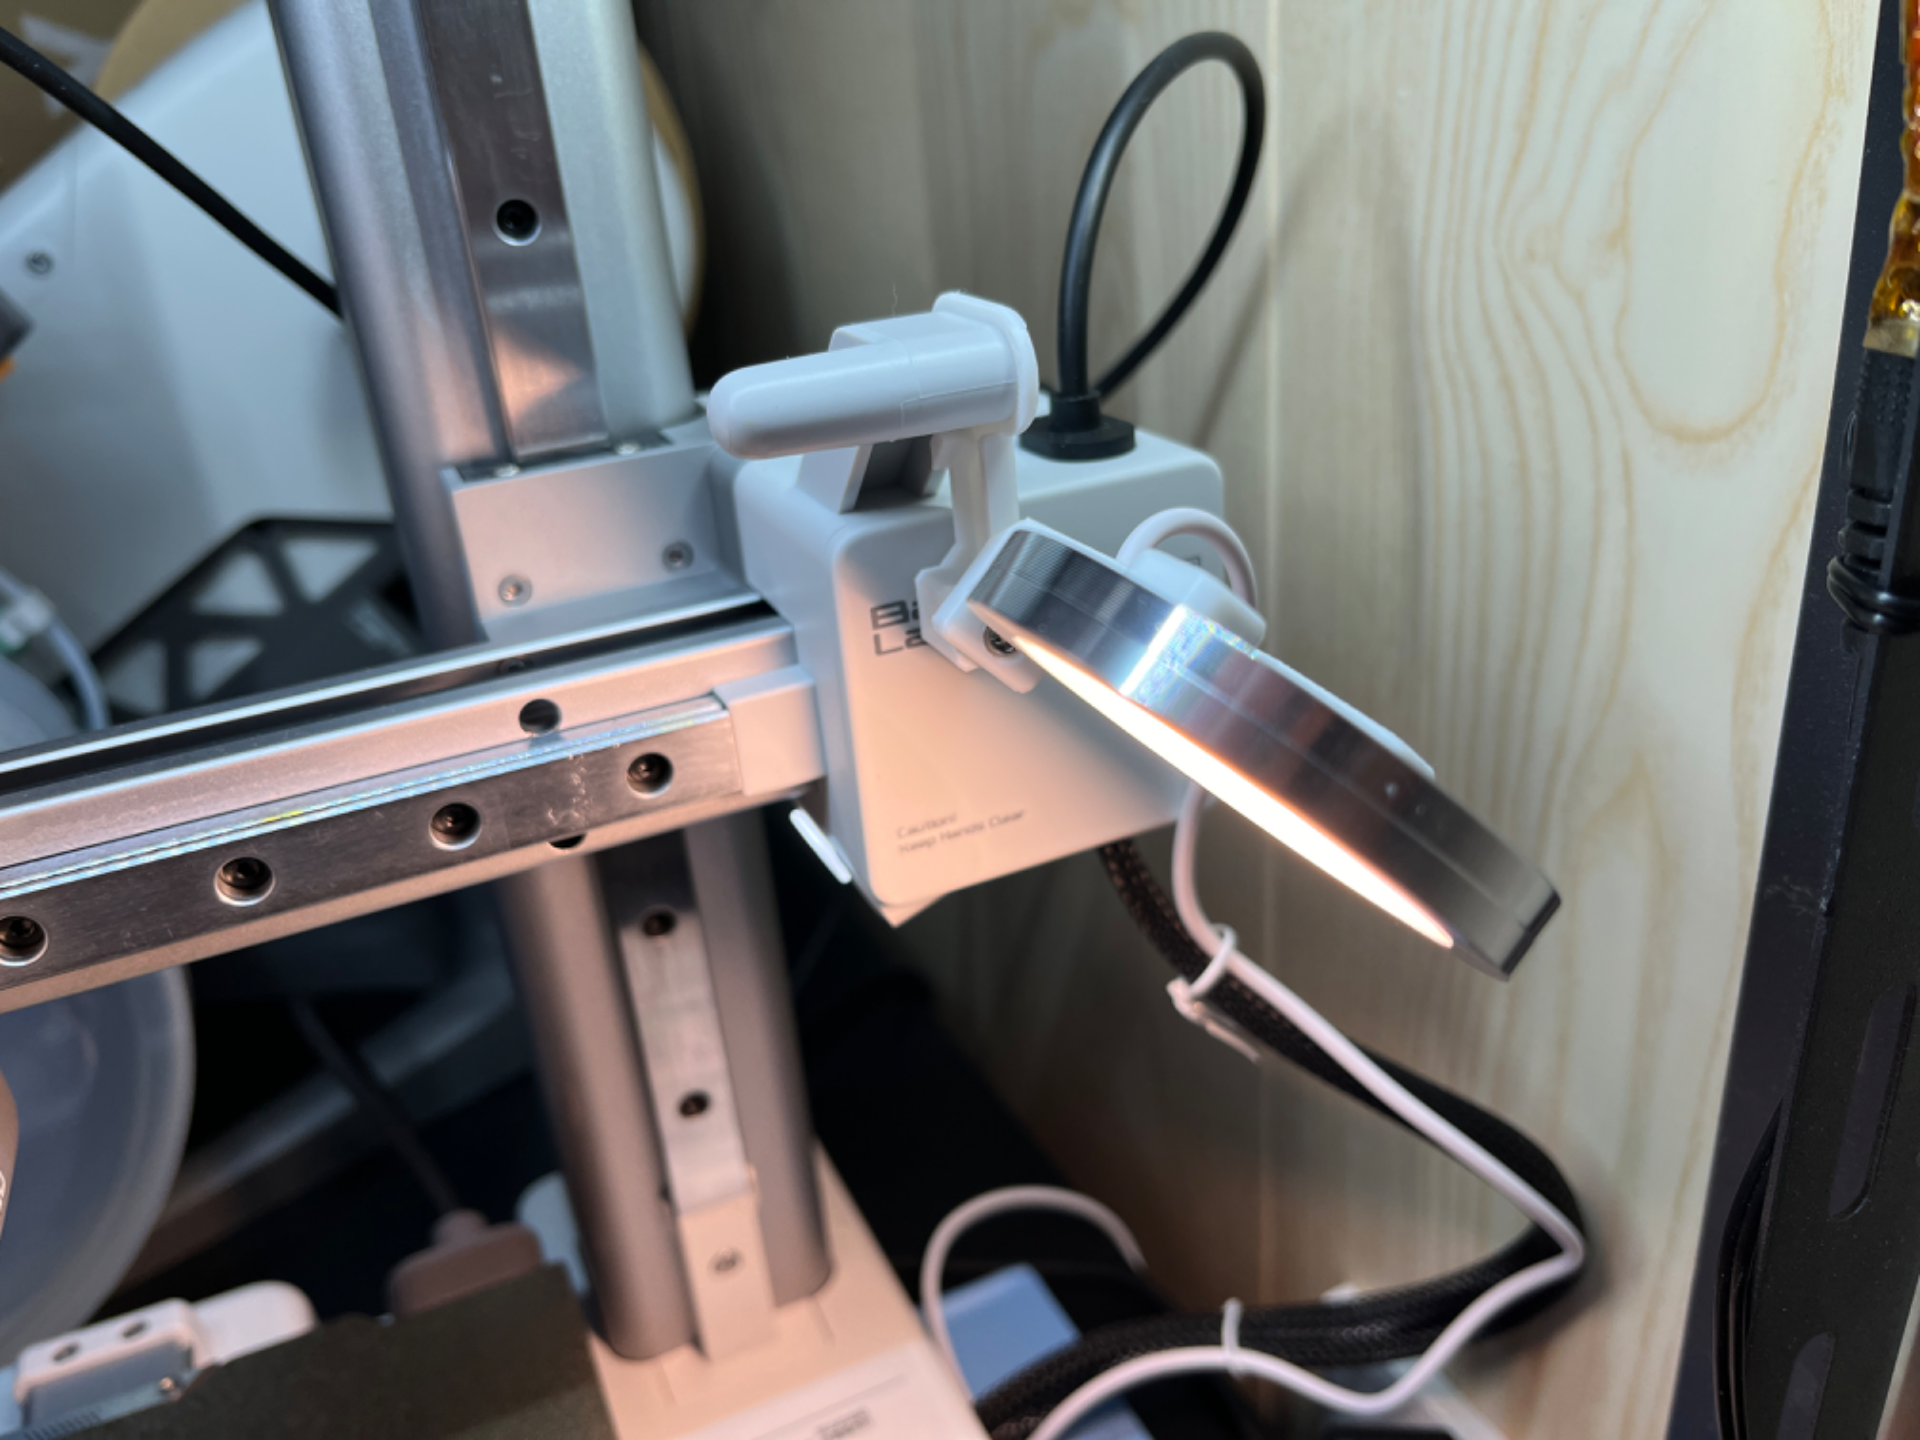
The built-in lighting on the A1 mini is not very bright. Fortunately, the mystery box I received when I purchased the A1 mini included an LED light kit, so I designed a lighting fixture using this kit. Required accessories: 3 M3 screws (8-12mm in length), 3 M3 nuts, 1 set of Bambu LED light components. Assembly instructions are shown below: I added a 0.2mm thick layer in the middle of the screw holes on the lamp frame, so it can be printed without supports. When installing, simply use the screws to puncture it. After installation, bundle the LED light power cord to the x-axis cable to prevent interference during printing. The illumination angle of the lighting fixture can be adjusted according to your needs, and the lighting effect is quite good. If you connect the power supply to a smart socket, you can achieve remote control, linkage, and other functions.