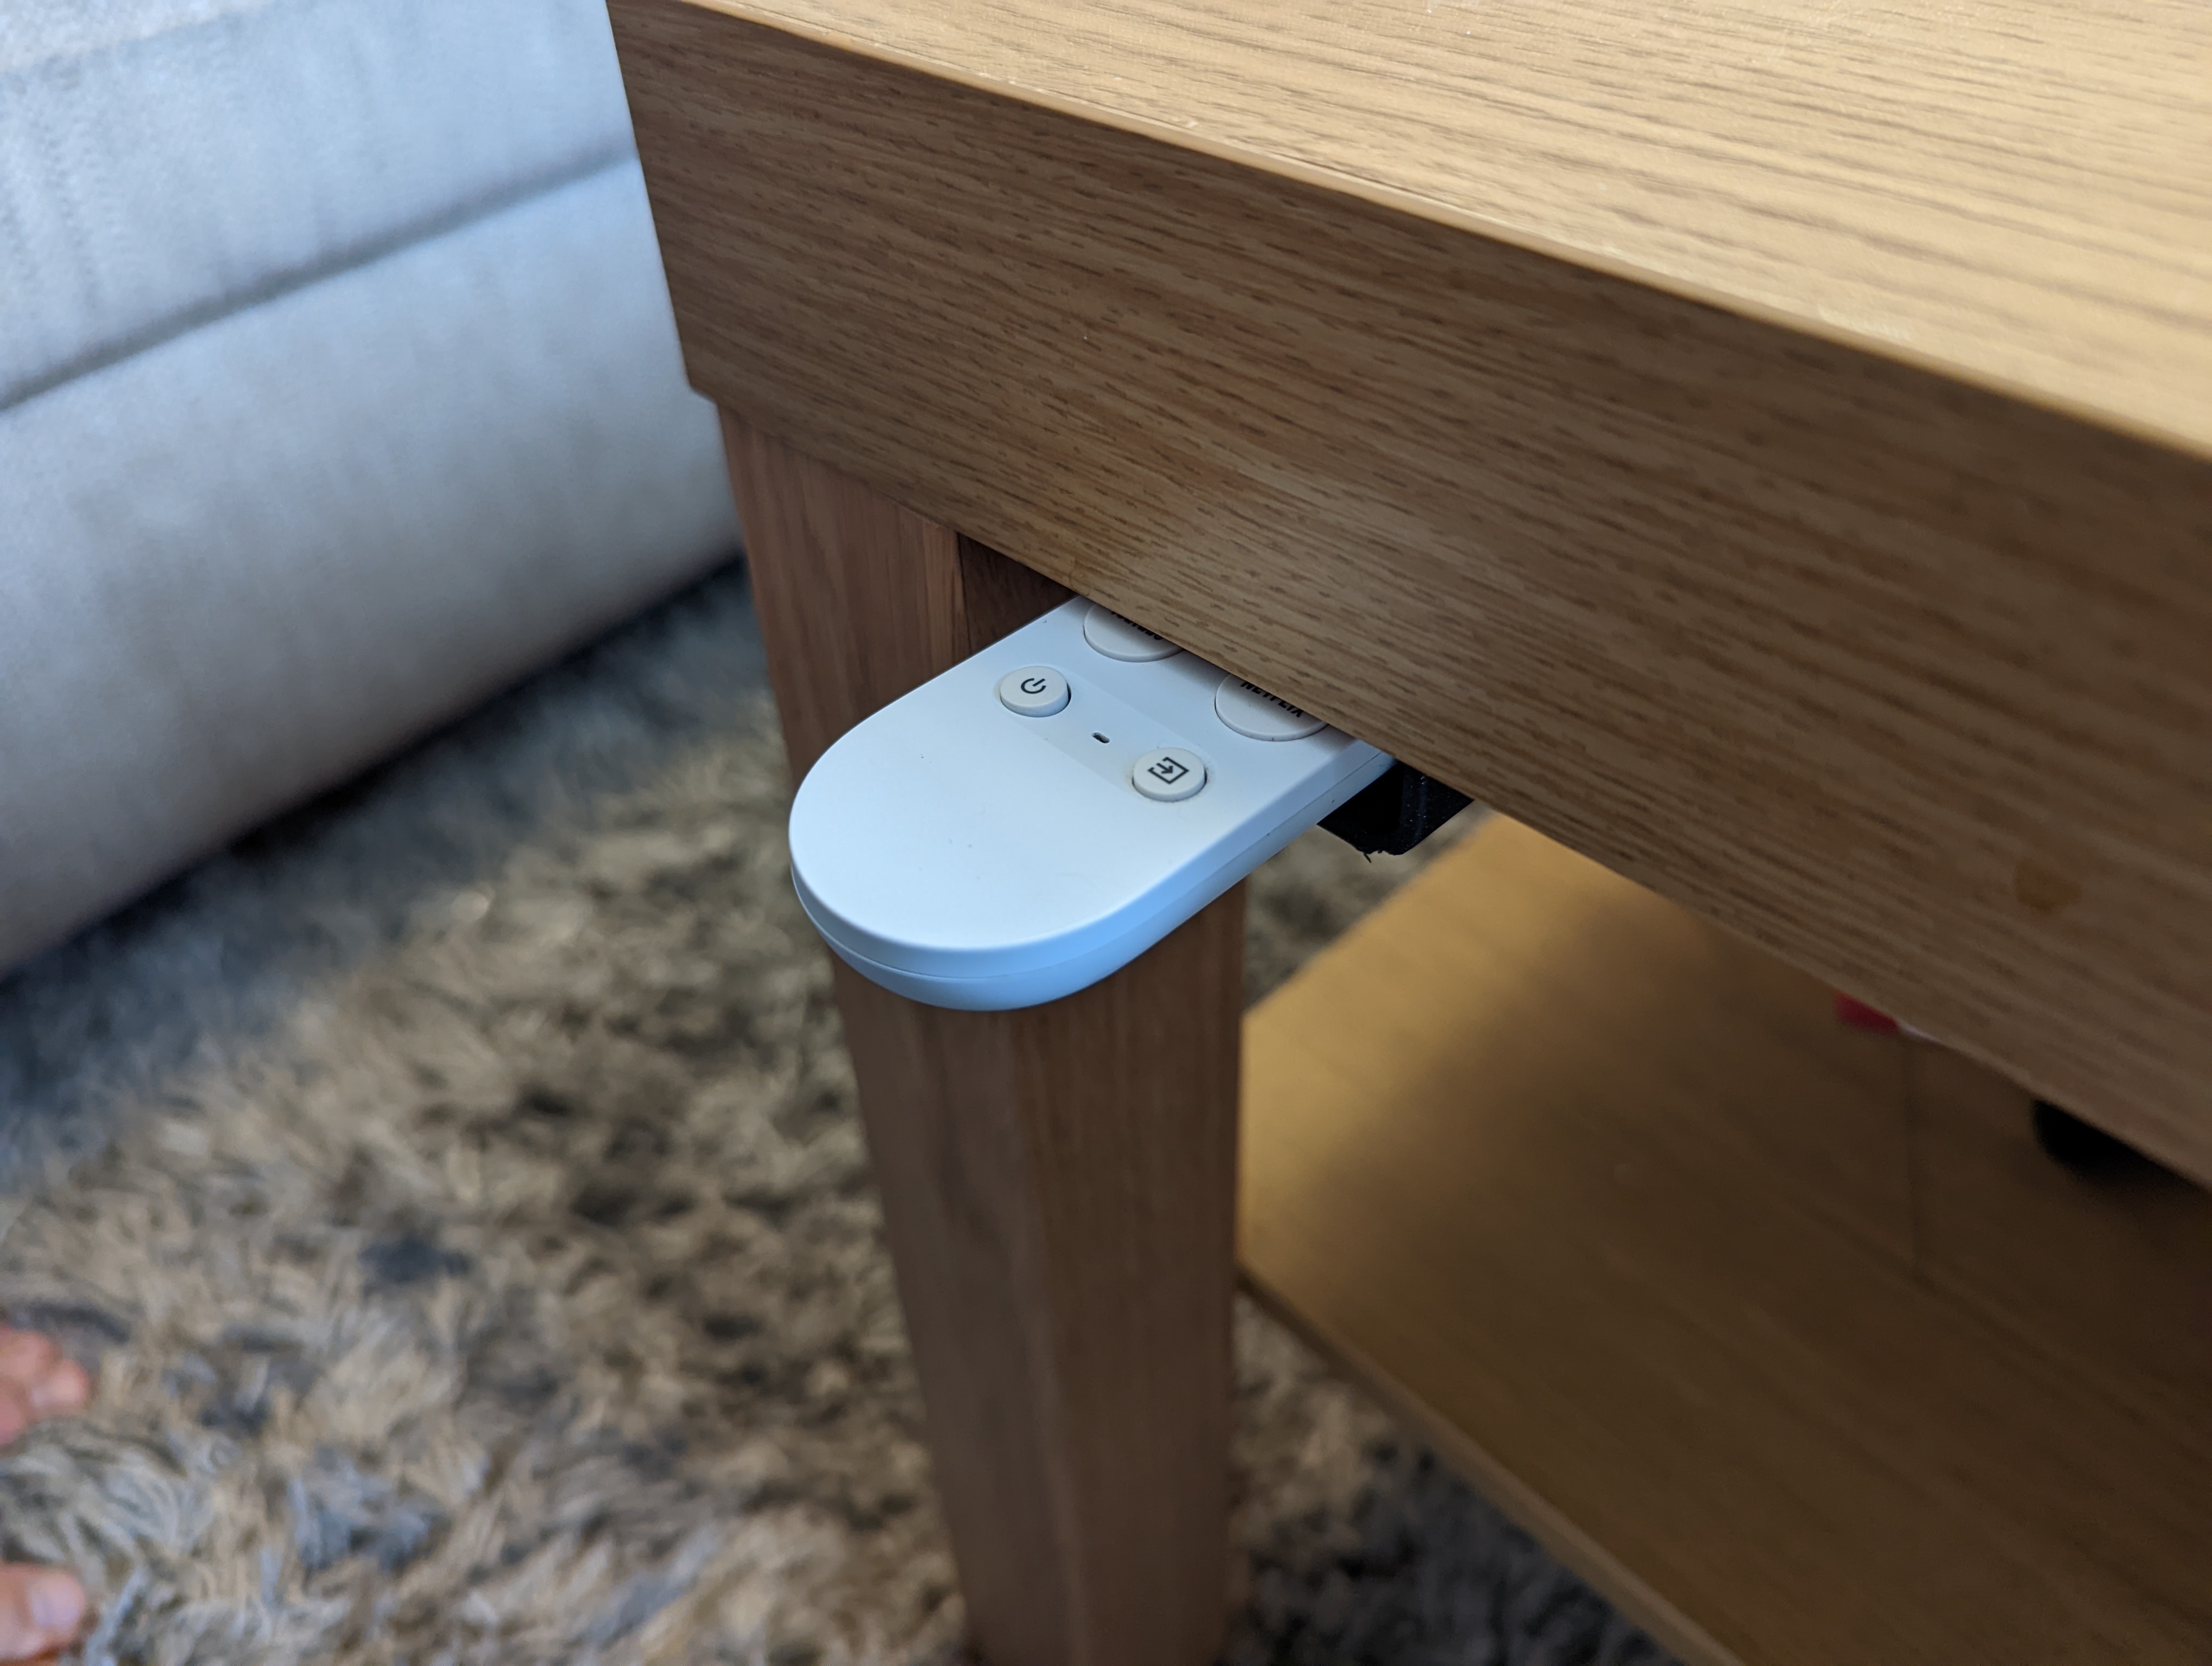
About this 3D model
This push-to release mount for the Google Chromecast TV remote, stores the remote under a coffee table, and a simple push on it's obscured base, and it ejects the remote for easy access like this: As well as being a cool way to keep your able that tiny bit neat (and to avoid losing the control), it's a fun little project for those looking to experiment with printing moving mechanical parts. I've posted a brand new video to my YouTube channel 3D Revolution, about this design, check it out now and don't forget to like & subscribe: I hope you enjoy this design and consider printing and using it. To help me keep designing and uploading more things, you can tip me via 'Buy Me a Coffee' here: https://www.buymeacoffee.com/JoshForwood In addition to the printed parts, you'll also need: 2x 10mmOD/9mm Compressed Length/50mm Free Length springs (I used these https://amzn.to/3Pc2Fn9 ) 3x M3x8 bolts 2x M3 nuts 6x M4 screws for fitting to the surface If you're slicing these yourself rather than using the 3MF I've uploaded, here's my recommended settings for each part. Recommended print settings: Holder 40% Infill 0.2mm layer height Support material for screw eyelets Print on large flat base Rout 20-40% Infill 0.2mm layer height No support material needed Print on large flat base Rods 60% Infill 0.2mm layer height Support material required For strength, print this on it's side with both rods stretching horizontally with support material Spike 90% Infill 0.2mm layer height Support material required For strength, it's very important that this is printed on it's thin long side with the little bit poking out to the side using support material Building Instructions Once you've printed your parts, this is everything you should need (apart from your 6 screws for fitting to your table). In the photos below, you may notice that a couple of parts look very slightly different, that is just because I've improved the design for better functionality since taking the photos. Insert rout part into holder with curved wall towards the thinner tunnel Place springs onto rods Place rods into the base of the rout part Insert nuts into the two recesses at the wide end of the holder part Screw through the opposite side of the rods part into the nuts, locking it in place Insert the final M3 bolt into the hole of the spike Screw the spike down into the top of the flat section of the rods part, ensuring the spike is sitting inside the rout recess. Screw down the bolt so the top is flush with the top of the holder, but make sure it's not so tight that the spike part can't rotate freely. Checking Mechanism Works Before fitting it to your table, check that it's all working fine. Screw it where you want it Enjoy