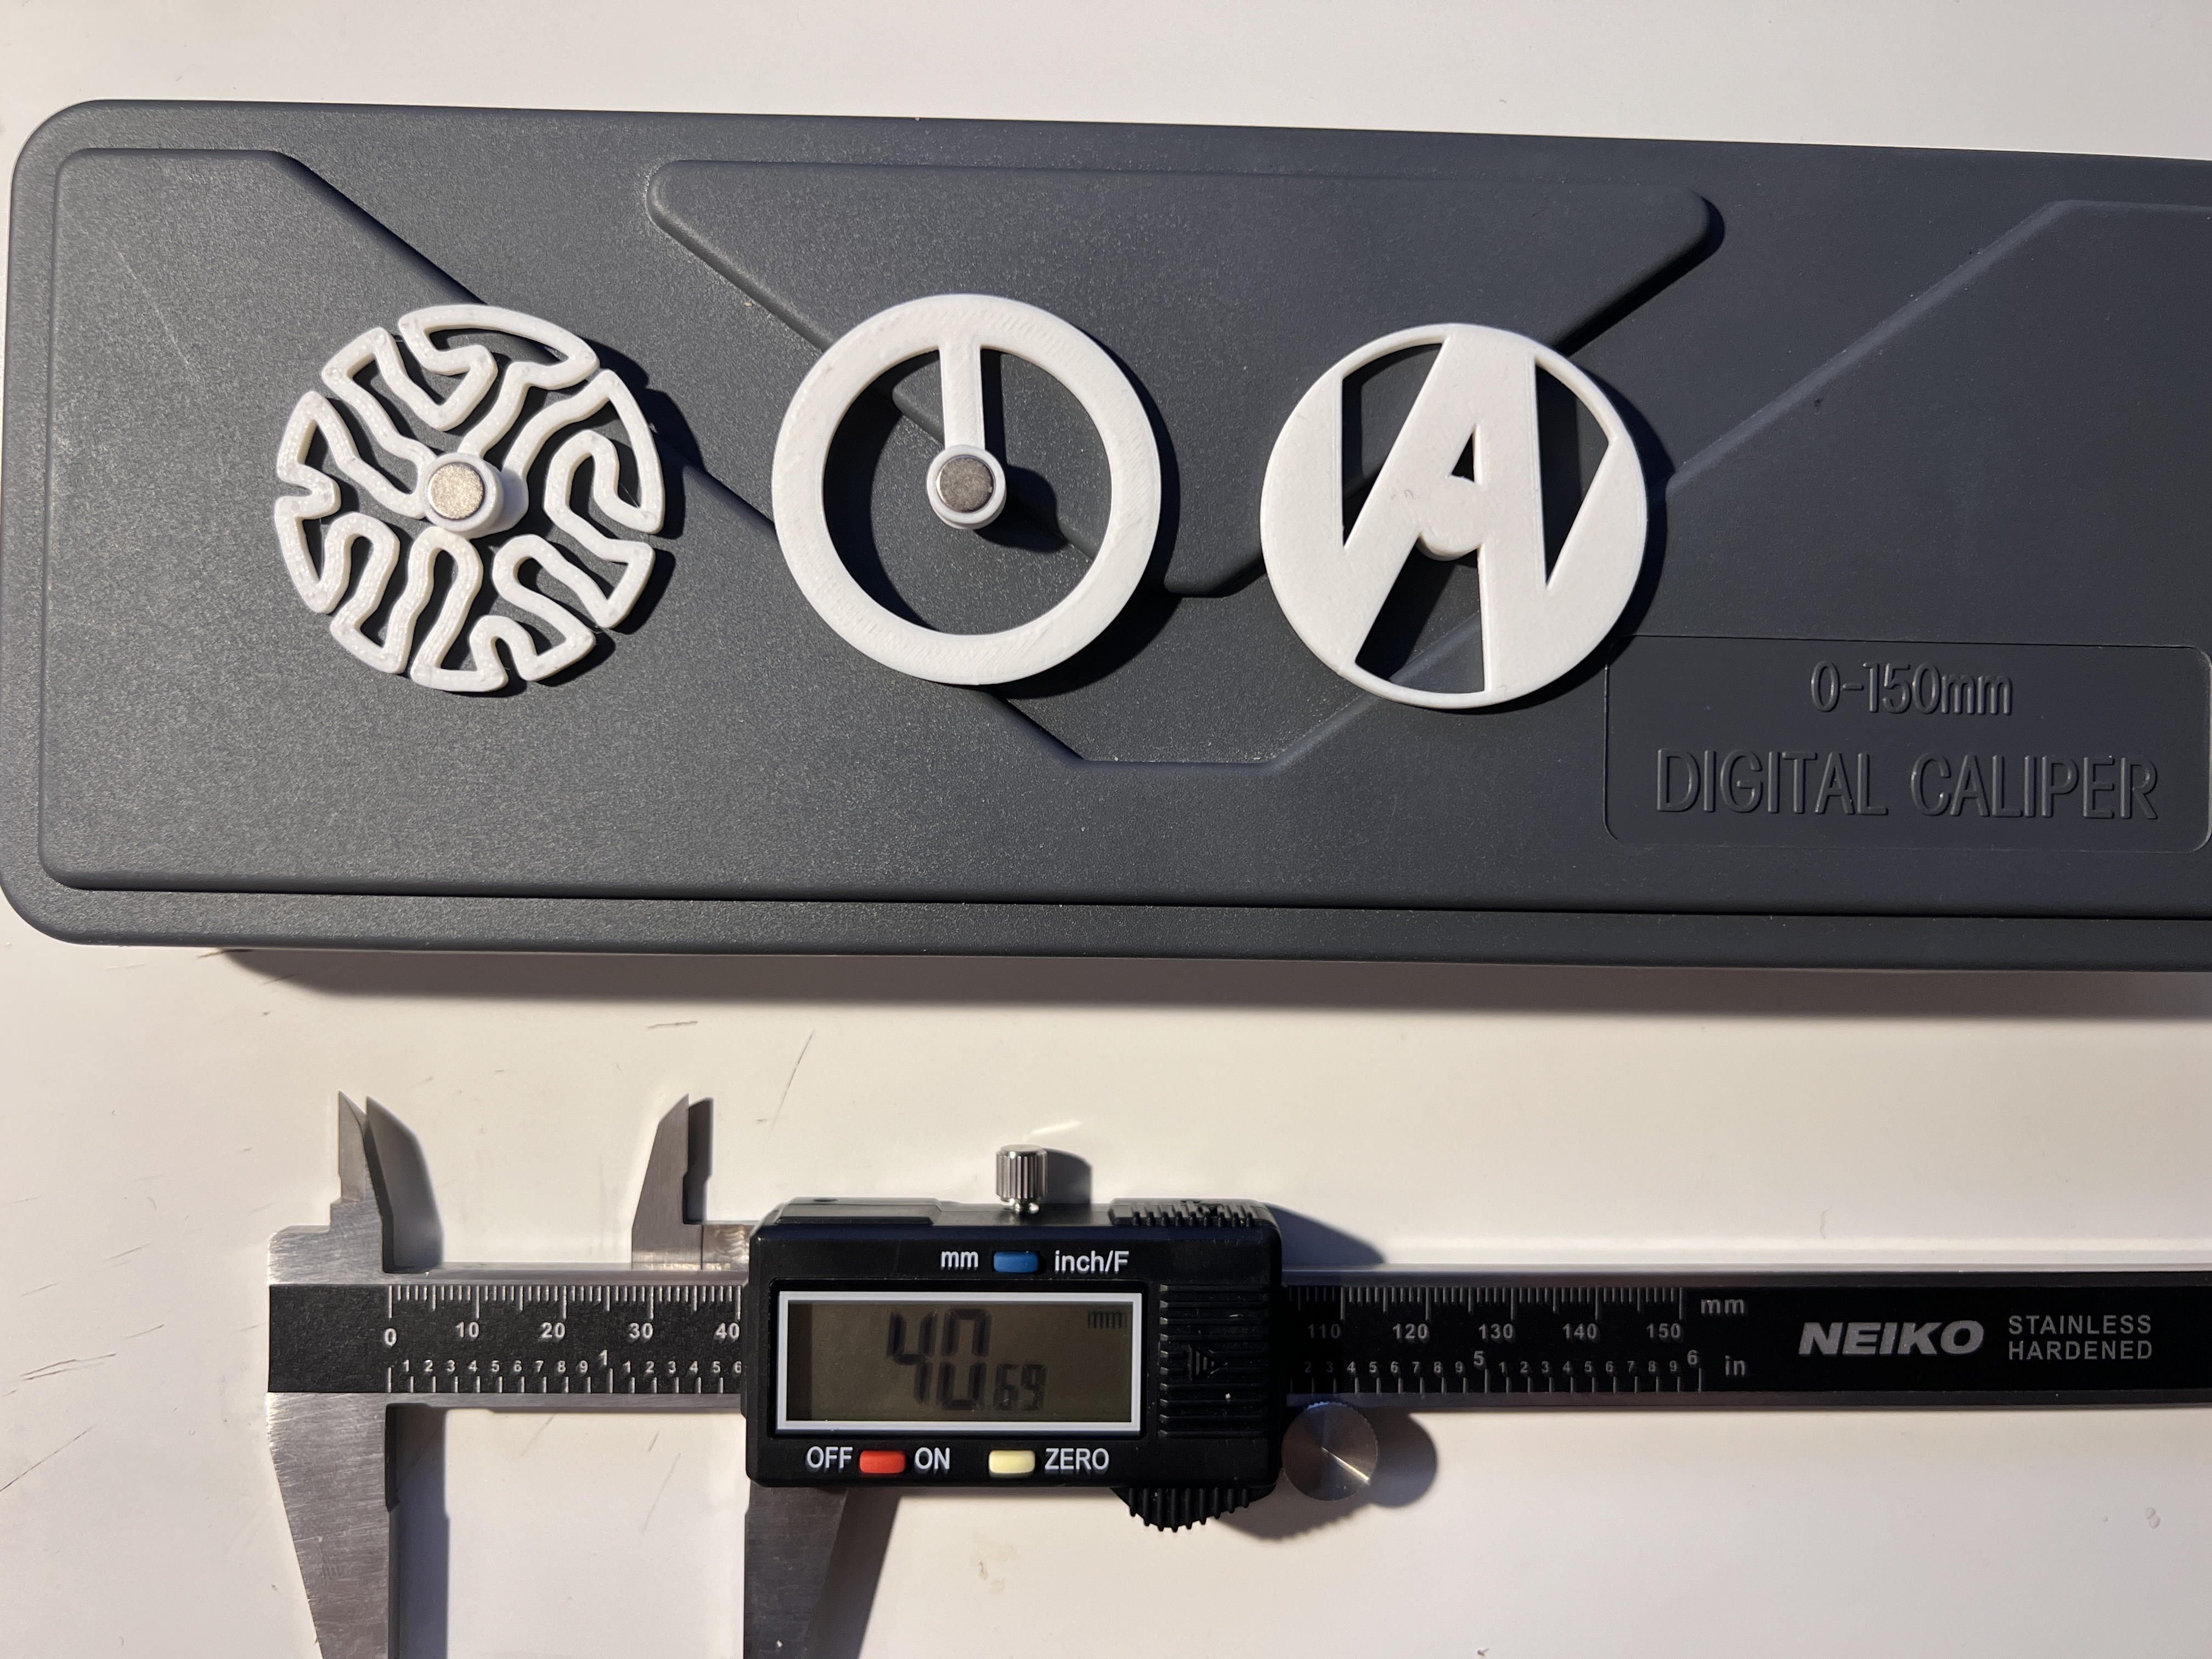
About this 3D model
A 3-in-1 extruder visualizer, you can selectively print the design that you prefer. one with an auto-generated shape, one with crankarm, and one with my signature W. the shape is generated using kangaroo 2 + rhino 7 print with brims, 3 walls, low infill for minimum moment of inertia How to assemble: use ⌀6*3mm magnetized-through-thickness neo magnet and EPOXY ADHESIVE (MUST) for best reliability (you don't want a magnet stuck dead on your E-motor shaft ) if you do not have epoxy adhesive, consider glue with resin, silica, or other heat-resistive adhesives; slot-in and friction-locking is not recommended as heat expansion and material creep can loosen the magnet; dip a small amount of adhesive to the magnet surface, and carefully slide into the hole; please try not to dip the hole with glue since the adhesive could lock air bubble inside and leave cavity inside slot, which could lead to failure; press the visualizer magnet side down onto clean surface to ensure flat mounting and eliminate wobbling during shaft rotation; clean any excessive adhesive; keep pressing down until the adhesive starts to cure; leave clamped or pressed until fully cured; to test the result, grab other magnets with comparable or stronger force, and try pulling the mounted magnet out; if no displacement is observed, then the mount is ready to go. Maintenance: take off the visualizer regularly to check magnetic force, cracks, abrasion, heat deformation and sign of loosen magnet; don't drop or overheat magnets since it will demagnetize and damage the magnets.