About this 3D model
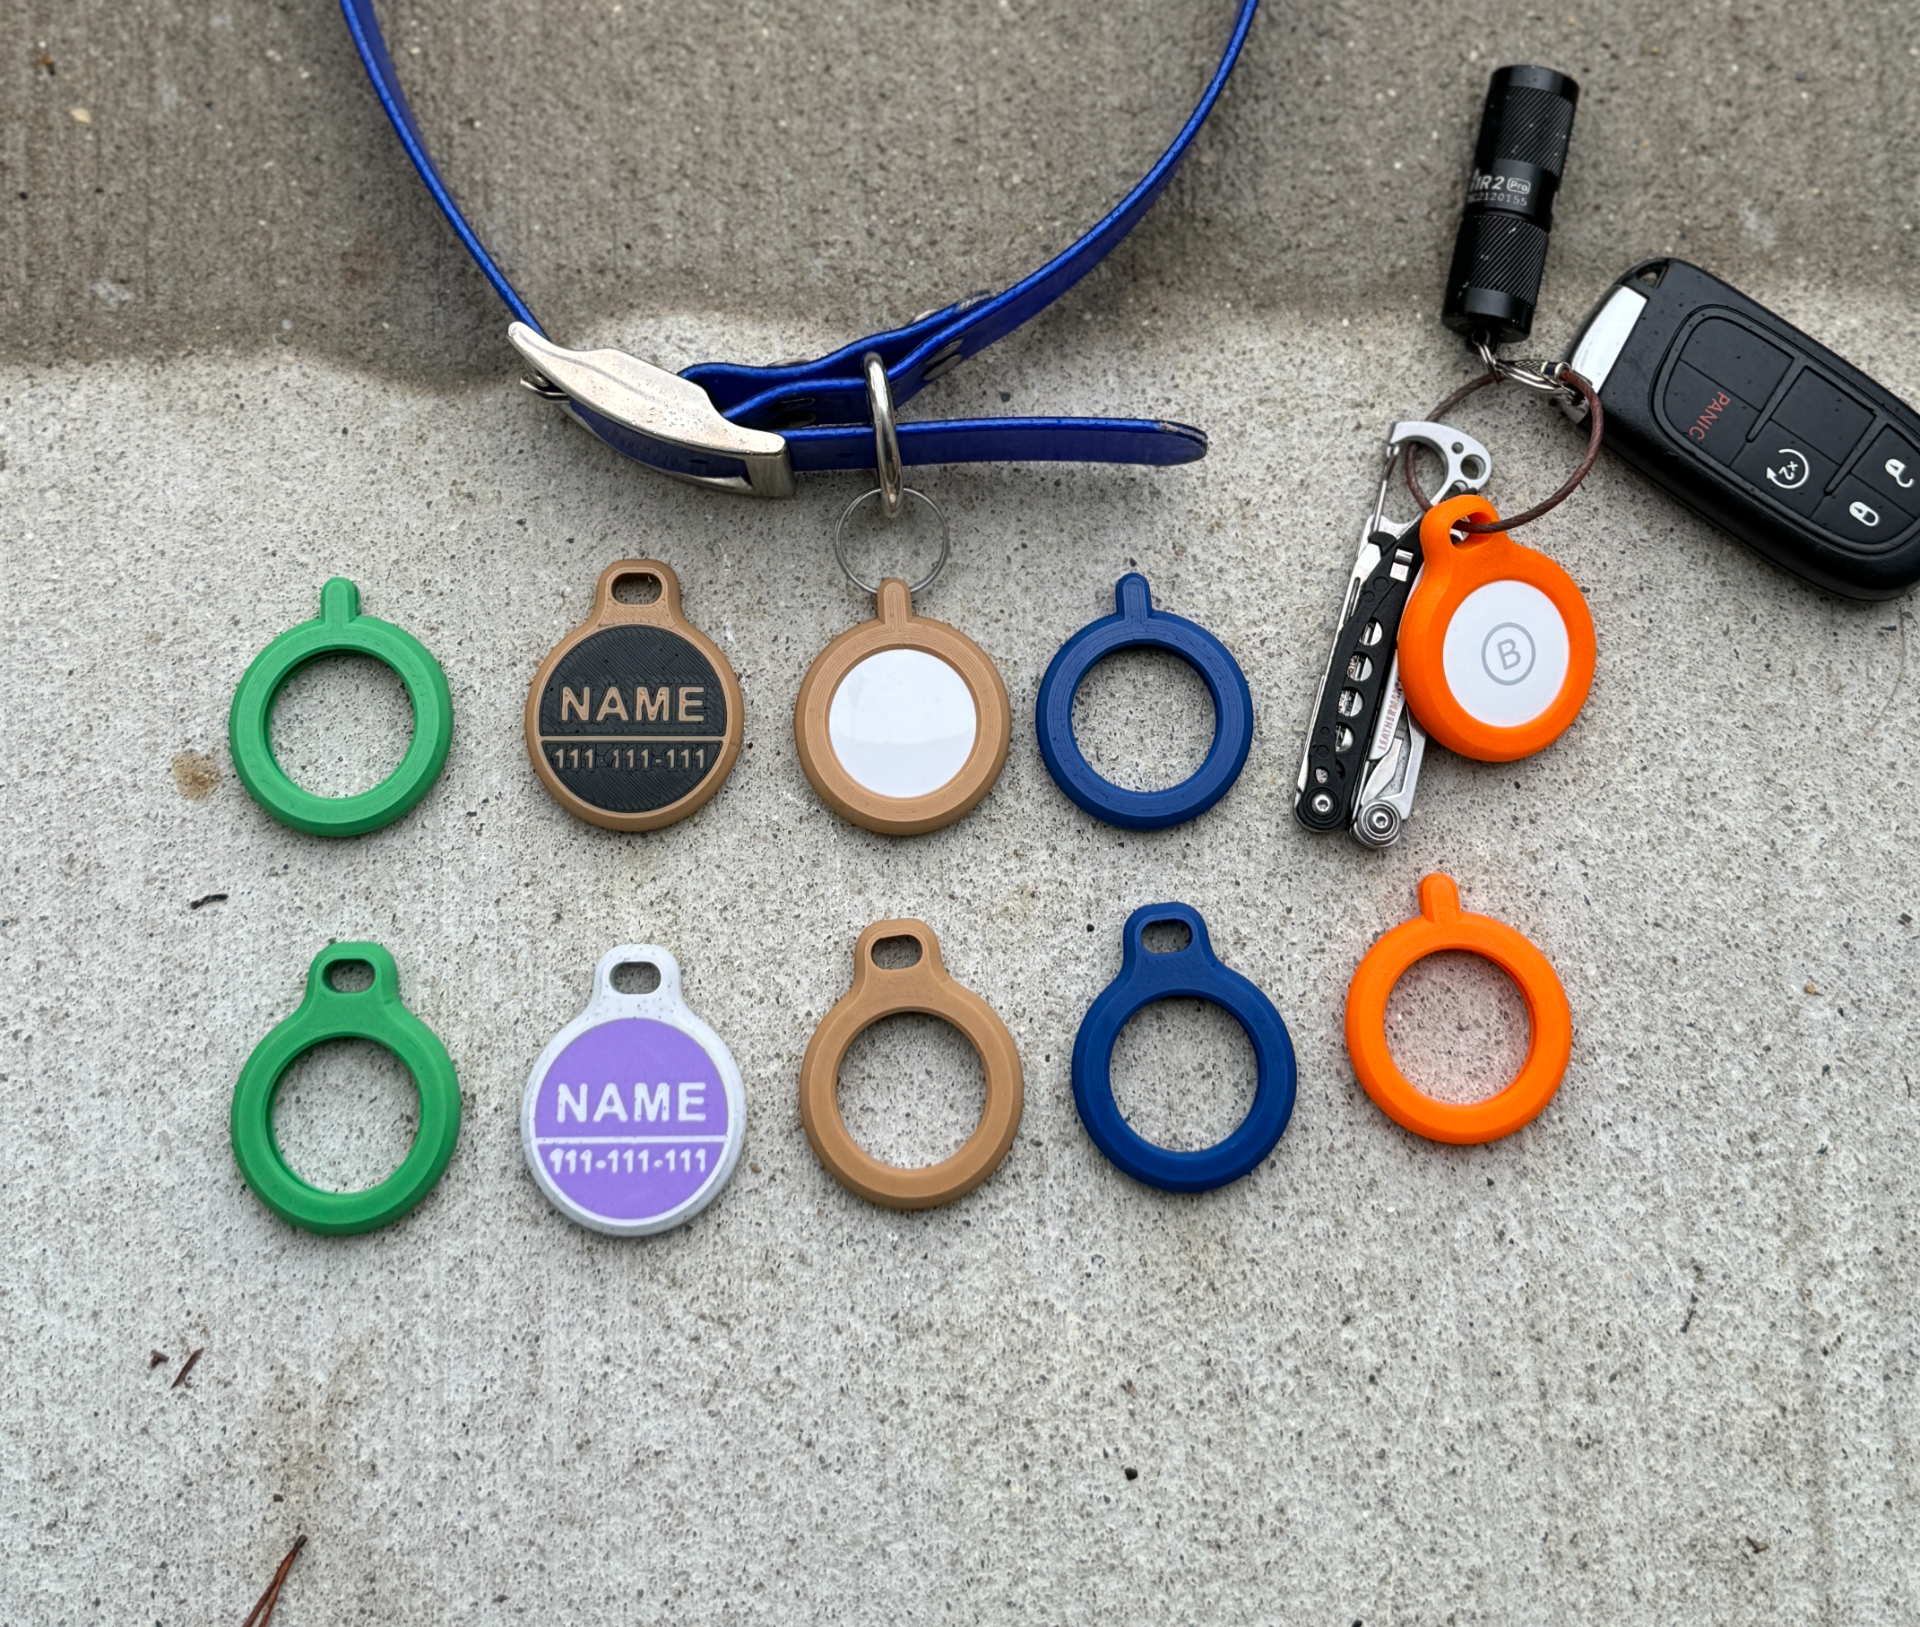
Description AirTag Holder Designed multiple options for an AirTag Holder. Folders & Files Top Name Plate V1 Top Name Plate V2 Top Name Plate Ocean Top V1 Top Ocean V2 Top Ocean Mountains Top V1 Top Mountains V2 Top Mountains Make My Sign Top V1 Make My Sign V2 Make My Sign Standard Top and Bottom V1 Top V1 Bottom V2 Top V2 Bottom Print Plates MOUNTAINS TOP OCEAN TOP NAME PLATE TOP MAKE MY SIGN TOP STANDARD TOP AND BOTTOM Print Settings Set your K calibration and adjust setting based on your filament This is important because if the surfaces are not smooth the parts will be difficult to put together. See Global and Object tab in the print profiles for the rest of the settings. Assembly Overview There are two main designs, V1 and V2. The holes are oriented differently depending on how you want AirTag to hang. V1 works well for things like dog collars and V2 works well on keychains. V1 V2 Any V1 top will work with a V1 bottom. Any V2 top will work with a V2 bottom. Mountain, Ocean, and Name Plate Prints Notes: To customize, add the desired text to the top (the text needs to be imbedded as the model prints face down) and change the colors in Bambu Studio. The height of the customizable surfaces are .6mm / 3 layers. Make sure to keep the object settings in Bambu Studio. The customizable face plates ( Mountain, Ocean, & Name Plate) need to be printed seperatly from the Standard Top & Bottom print file due the models have Height Range Modifiers. Make My Sign Notes: The supports for the print are a little difficult to remove. I tested different support styles and this setting provided the best results when the supports are removed. I used a small flat head bit to wedge in-between the top piece and the support then twisted the flat head to separate the support. To create the sign, use https://makerworld.com/en/makerlab/makeMySign Change the base plate style to the circle Make the height 1mm Change the size of the circle to 32.12mm A size of 32.12 - 32.15mm circle should provide a secure fit when the plate is pressed into the top. You can also add a small dab of CA / Superglue to secure it in place, but I haven't needed to do that. Instructions: Download the Standard Top and Bottom print file. Decide which style you want to print (v1 / v2) and if you want to print all for or just the bottom model. Print! Next, choose and download which top you want to go with. Make sure to print the correct top that matches the bottom ( V1=V1, V2=V2). Print! If you are using the Make My Sign model follow the instructions above. Once download you can add the STL to one of the bottom print files or print it seperatly. I printed it seperatly and ironed the top surfaces. To assemble just simply rotate the top and bottom together until it snaps into place. Facing the bottom piece, line up the top and bottom then rotate the bottom ~45 degrees counter-clockwise. The bottom should fall into place then rotate the bottom clockwise until the pieces snap into place. Before adding the AirTag, rotate the pieces together back and forth a few times to smooth out the movement. If you have any questions or problems please leave a comment and I will try to help resolve the issue.