About this 3D model
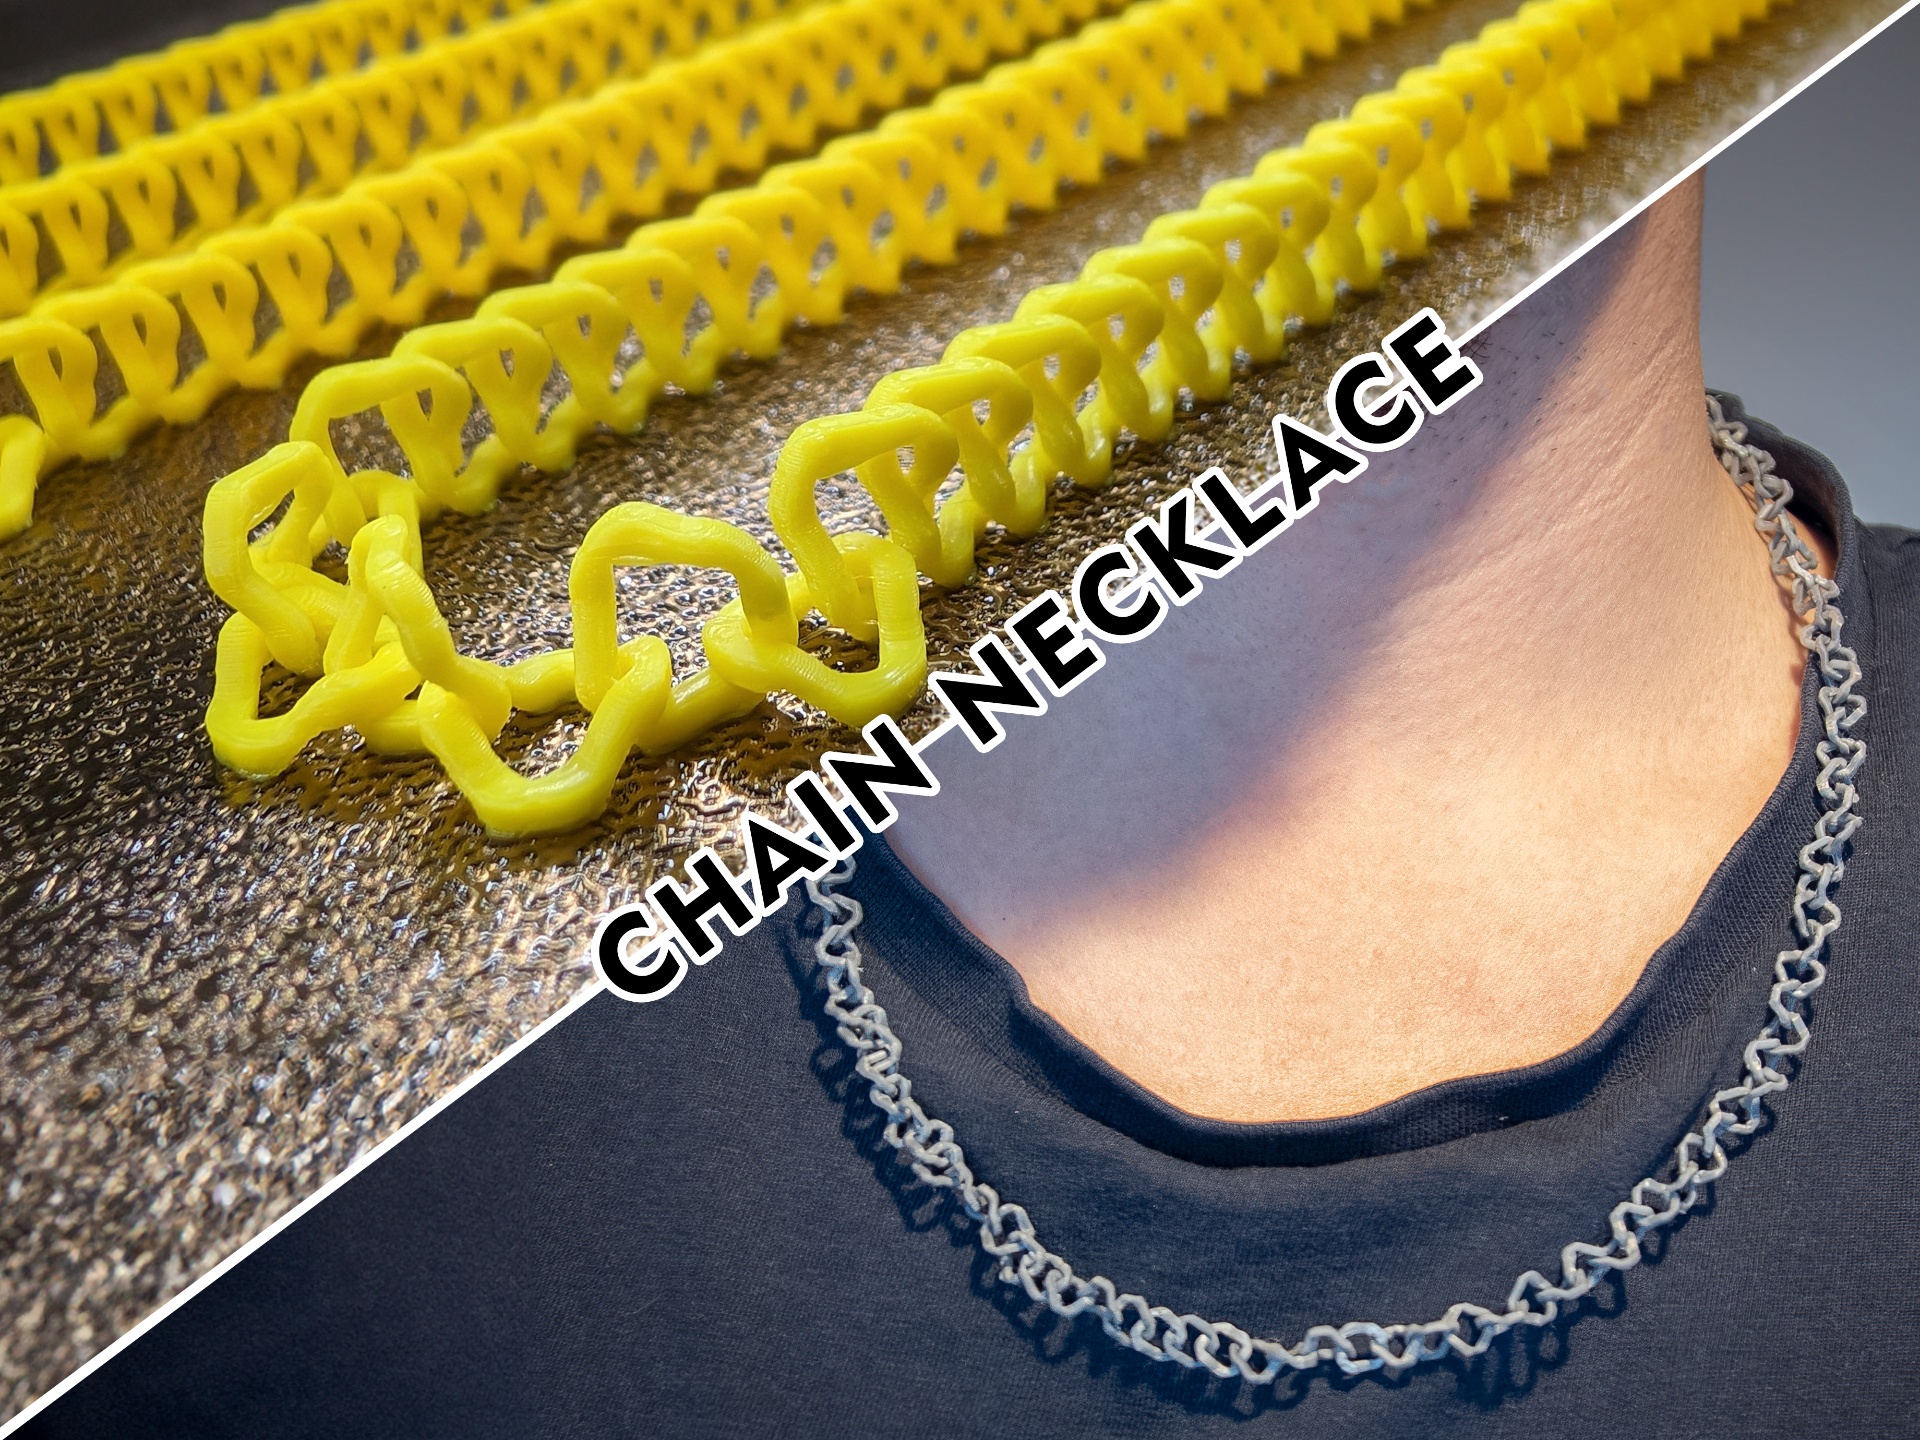
Important Notice! This print requires you to have VERY good bed adhesion. I've printed these profiles on my X1C with a stock Textured Bed multiple times and have NEVER had any bed adhesion issues. However, this print involves printing dozens of very small parts with minimal bed contact points, and brim is not appropriate. I have been printing for well over 10 years and have had bed adhesion issues maybe twice. If you are having issues, I really recommend 3DLac . A quick spray on the bed will aid with adhesion for a good number of prints, and unlike glue sticks, it doesn't build up a thick sticky residue. I've never had to clean my beds as a result. A single can will likely last you years, or at least many months. This is a print in place chain necklace I designed inspired by the Prusa Jewelry contest. It prints a complete chain which works and moves just like any other necklace chain, and it uses less than 5g of filament! The Options I've included 3 different sizes: Choker / Small Necklace (43cm) - Black in my photos and videos Medium Size Necklace (57cm) - Grey in my photos and videos Long Necklace (66cm) - Yellow in my photos and videos (There is a total file size limit on Bambu Labs that prevents me including this, however, I have added a profile for printing this size. If you'd like the STL for this size, you can get it on my Printables page) The Pendants The pendants are optional but I've designed and included 4 different pendants, all of which fit this chain (and any other chains). They are: 3D Printing Nozzle Bambu Labs Logo Prusa Logo Target Teardrop The Clasp These necklaces clasp using magnets and are designed for using 5x3mm magnets . Simply slide them into the back of the clasp ends and press them into place. Important Note: Make sure you ensure you are putting the magnets in the correct way around to attract each other as they are not easy to remove once inserted. Pendant Fitting The Pendants are designed to just slot onto the chain. However, to keep the loop on the pendants as small as possible, it is a very narrow (but not tough) fit. As a result, be careful when putting them on and taking them off, but I've done it dozens of times during testing and never had an issue. Printing Notes Each link in this chain is 6.6mm long, and only 1.2-1.4mm thick, as a result, it is important to make sure your printer is well tuned to print this. However, Whilst getting the design right, I've printed around 10 on my Bambu X1C and haven't had a single one fail so it's definitely not super challenging, just make sure your bed adhesion is good. Seam Painting Due to the size of the parts for this print, the seam position is important and if incorrect can result in parts fusing. I've included 3MF projects (Both Prusa Slicer and Bambu Studio versions) for each of the chain sizes in which I've pre-painted the seams. If you wanted to slice them in a different slicer, I heavily recommend painting your seam positions like below to avoid parts fusing: Print Settings Resolution: 0.08 - 0.1mm layer height (I printed mine all at 0.08mm, but up to 0.1mm should be fine) Infill: It's not super important due to the size of extrusions but I tend to set it at 40% for this print just for safety. Perimeters: 2 Material: I printed these all in PLA. Providing your printer is calibrated correctly and your filament is dry, PETG should also be fine. Skirt/Brim: None. Although these are tiny parts, I've not had an issue with adhesion. If you do have a problem with adhesion, I would look at other ways to help, as a skirt would be a nightmare to remove effectively post print on this design. Support: None required. Speed: Due to the small size of these parts, the speed is also quite important. As per the 3MF projects I've included, I have the first layer at 50mm/s, Outer Wall at 30mm/s, and inner wall at 100mm/s.