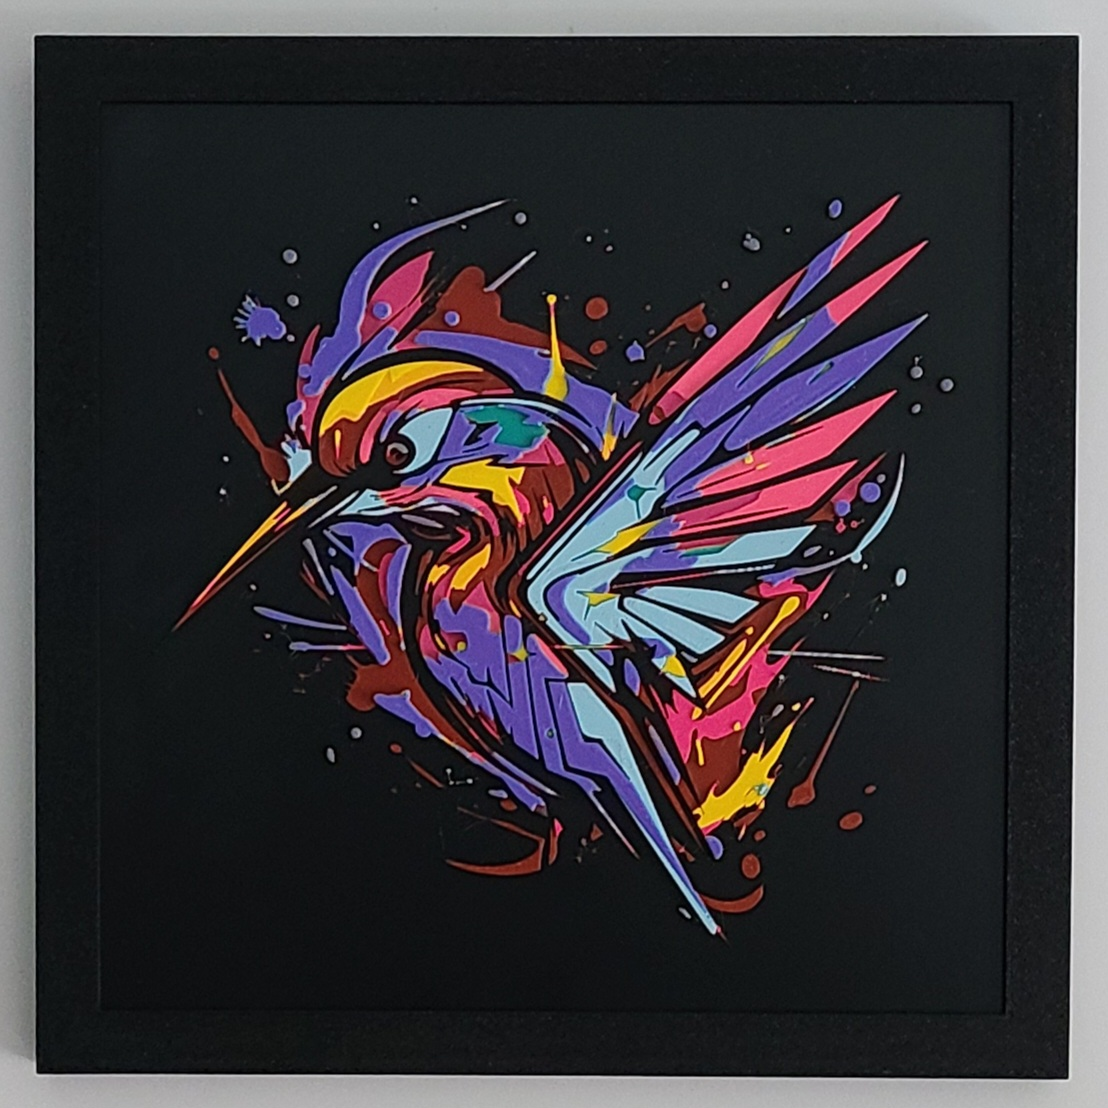
About this 3D model
This is strictly for personal use. The photo attached is the printed model and ? FRAME ? IMPORTANT: READ BEFORE PRINTING Unlike most Hueforge prints I think this one will lend itself to some creative license in customizing the colors (except the black), so if you don't have the same filaments I used I wouldn't sweat it. You can preview custom color swaps in the slicer before you print and it should get pretty close unless the filament is really low transmission distance. Result may vary in interesting ways. Please post makes in the ratings comments, would love to see how custom colors work out. * I have uploaded four 3MF Files along with the STL. This is a nine color print so I have profiles for people with 1 - 3 AMS units and one for people with no AMS. * To print this with 1 AMS unit you need to manually switch out your model colors [1] [2] [3] [4] and replace them with [5] [6] [7] [8], then when [5] is done one last swap to [9]. It is really easy to do, just make sure you watch the progress so you don't miss your swaps. I usually wait till [4] is printing then swap in [5] [6] [7], then when [5] is done swap in [8] and [9]. (This is how I print all my paintings, remember you can use the handy app to pause if you are cutting it close to make it back for a swap) * To print this with 2 AMS units you just need to swap [1] out when it is done and put color [9] in its place. Then wait till it is done. * To print this with 3 AMS units (do people even have that many?) just load the nine filaments in order and go! * To print with NO AMS just load the colors in order and unload/load the filaments and hit resume, repeat until the model is complete. The pauses are already set to the correct layer heights in the NO AMS 3MF. * AMS SLOT GUIDE: The model colors will go in the following slots depending how many AMS units you have. MODEL COLOR - [1] [2] [3] [4] [5] [6] [7] [8] [9] 1 AMS - SLOT ---- [1] [2] [3] [4] [1] [2] [3] [4] [1] 2 AMS - SLOT ---- [1] [2] [3] [4] [5] [6] [7] [8] [1] 3 AMS - SLOT ---- [1] [2] [3] [4] [5] [6] [7] [8] [9] * Like all of my models this is for personal use only . If you would like to hang this here is my frame which fits it perfectly. The photo attached is the printed model and frame. * Like all Hueforge prints this model produces very little waste (9 poops total). Some of my other prints have more notes and tips for first time Hueforge printers. * Print at 100% infill with a layer height of 0.08mm with a base layer of 0.16mm. A height modifier is already in the 3MF files to print the first 0.64mm @0.16 layer height to speed it up. * Filaments Used: PLA BambuLab Basic Black Transmission Distance: 0.6 PLA PolyLite Red Transmission Distance: 1.1 PLA PolyLite Magenta Transmission Distance: 1 PLA BambuLab Basic Pink Transmission Distance: 8.6 PLA BambuLab Basic Yellow Transmission Distance: 6 PLA PolyLite Azure Blue Transmission Distance: 3 PLA BambuLab Matte Ice Blue Transmission Distance: 3.5 PLA PolyLite Blue Transmission Distance: 1.1 PLA Sunlu Purple Transmission Distance: 6 * Swap Instructions: Start with Black At layer #12 (1.04mm) swap to Red At layer #18 (1.52mm) swap to Magenta At layer #22 (1.84mm) swap to Pink At layer #26 (2.16mm) swap to Yellow At layer #32 (2.64mm) swap to Azure Blue At layer #39 (3.2mm) swap to Ice Blue At layer #43 (3.52mm) swap to Blue At layer #44 (3.6mm) swap to Purple for the rest.