About this 3D model
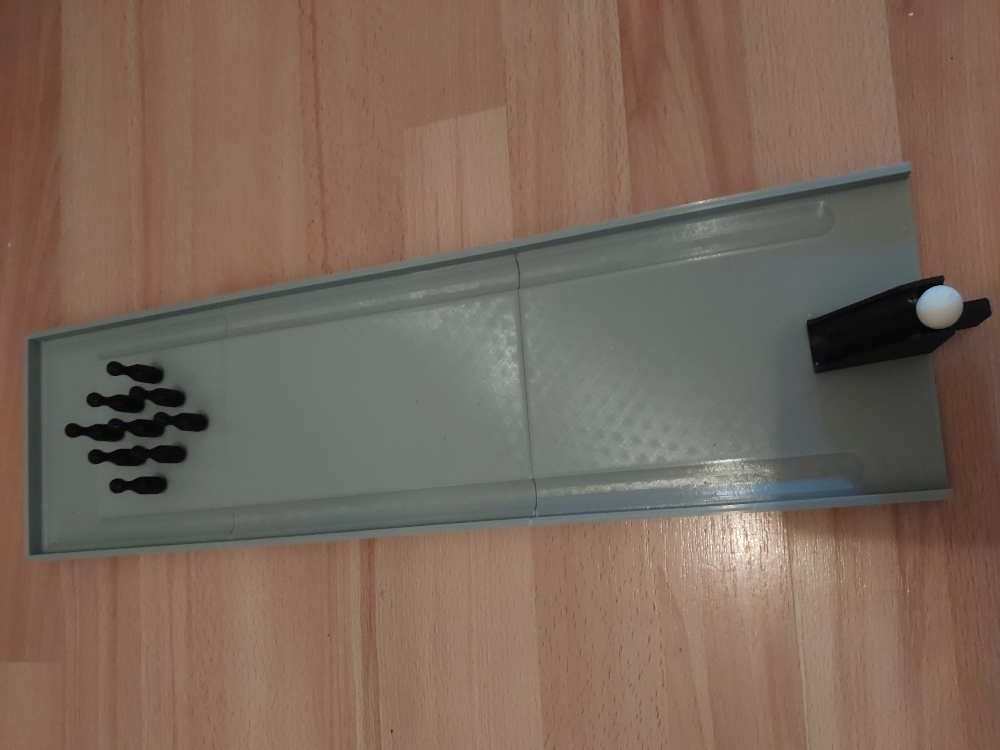
This is a table bowling alley. It consists of several parts. The floor consists of an end plate, one for the middle, which can be expanded so that the bowling alley becomes longer and heavier, and then finally there is the end plate where the balls and pins are caught. The start consists of a ramp that can be rotated; it is connected via a pin in the base plate (see pictures). The ball is launched from the top of the ramp and should then knock down all the cones. As a ball, you can print the plastic ball or use a 1.6-mm marble or ball. A marble or metal ball would be better, as they are heavier. In order to paint the exact cone points, I have included a stencil for printing. This way, you can easily paint the dots on the end plate and hit them precisely. Because I printed infill with 15%. In total, I used almost 250 grams of PLA. When everything is printed and set up, take a piece of paper to write down the points and start with the family. I wish everyone a lot of fun bowling. Your Becks This is a table bowling alley. It consists of several parts. The floor consists of an end plate, one for the middle, which can be expanded, making the bowling alley longer and heavier. Finally, there is the end plate where the balls and pins are caught. The start consists of a ramp that can be rotated; it is connected via a pin in the base plate (see pictures). The ball is launched from the top of the ramp and should then ideally knock down all the cones. As a ball, you can print the plastic ball or use a 1.6-mm marble or ball. A marble or metal ball would be better as they are heavier. To paint the exact cone points, I have included a stencil for printing. This way, you can easily paint the dots on the end plate and hit them precisely. I printed the infill with 15%. In total, I used almost 250 grams of PLA. When everything is printed and set up, take a piece of paper to write down the points and start with the family. I wish everyone a lot of fun bowling. Yours, Becks