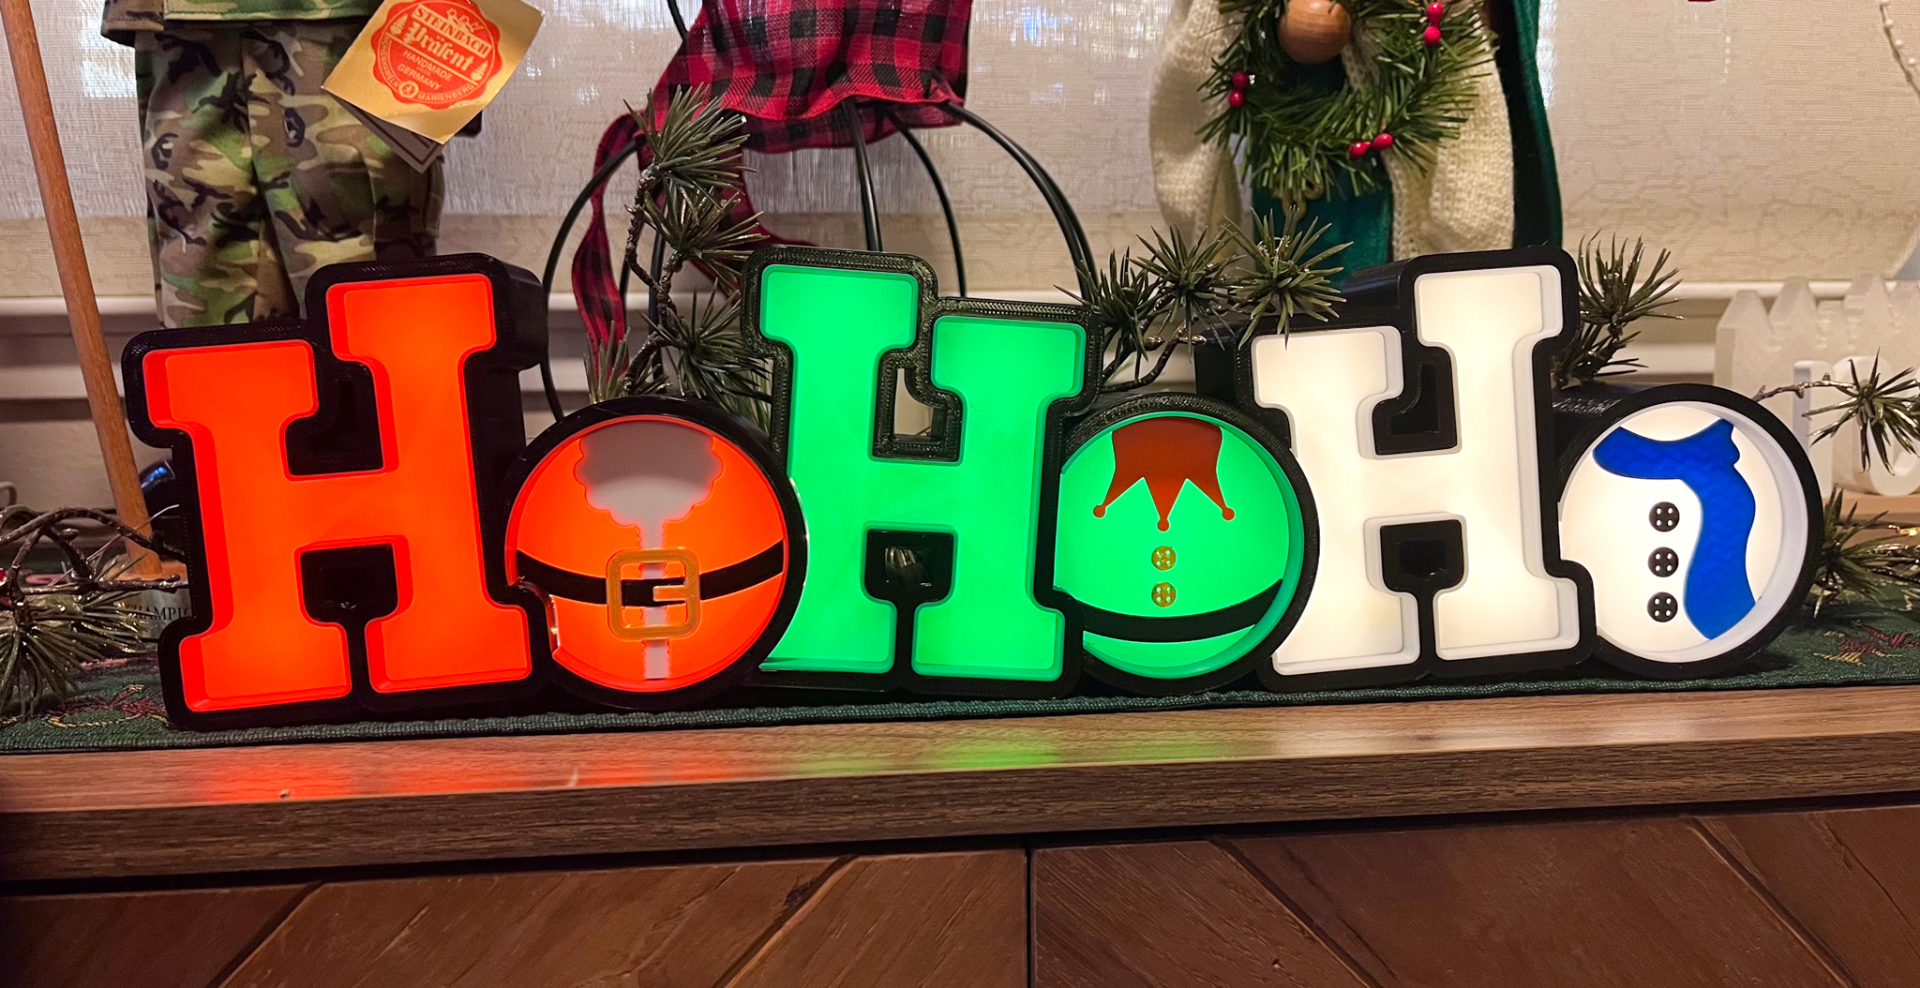
About this 3D model
This is an assembly, that is printed in parts and then glued and snap fit together. Parts List A strand of LED lights Micro rocker switch for the on off USB cord , or alternative cord for power CA Glue, hot glue RED, Green, White, Black, Gold PLA Steps Print all the frames in black PLA Print all the H inserts in the colors of your choice. I chose Red, Green and White. Note: the red and green inserts (H1 and H2) have a thinner face to allow more light transmission. Print the O inserts - They have been colored already in the 3mf Glue all the frames together using CA glue, and CA accelerator. I find putting them on a workbench and pressing them together helps alignment. Run Leds through the inside , and I recommend taking spots with hot glue to ensure the LED strip does not come loose. I used natural white 5v leds Install the Power Switch and wire up the LED's. I use these USB cords to power this as I used 5V LEDs, you can use 12V or whatever you like. Or you can skip lights altogether. You must cut off the micro USB end and solder the (+) and (-) to the less. Press fit the inserts into the frames . Be careful it is a tight fit and this is by design, just push them slowly and evenly. Enjoy! Happy Holidays ??