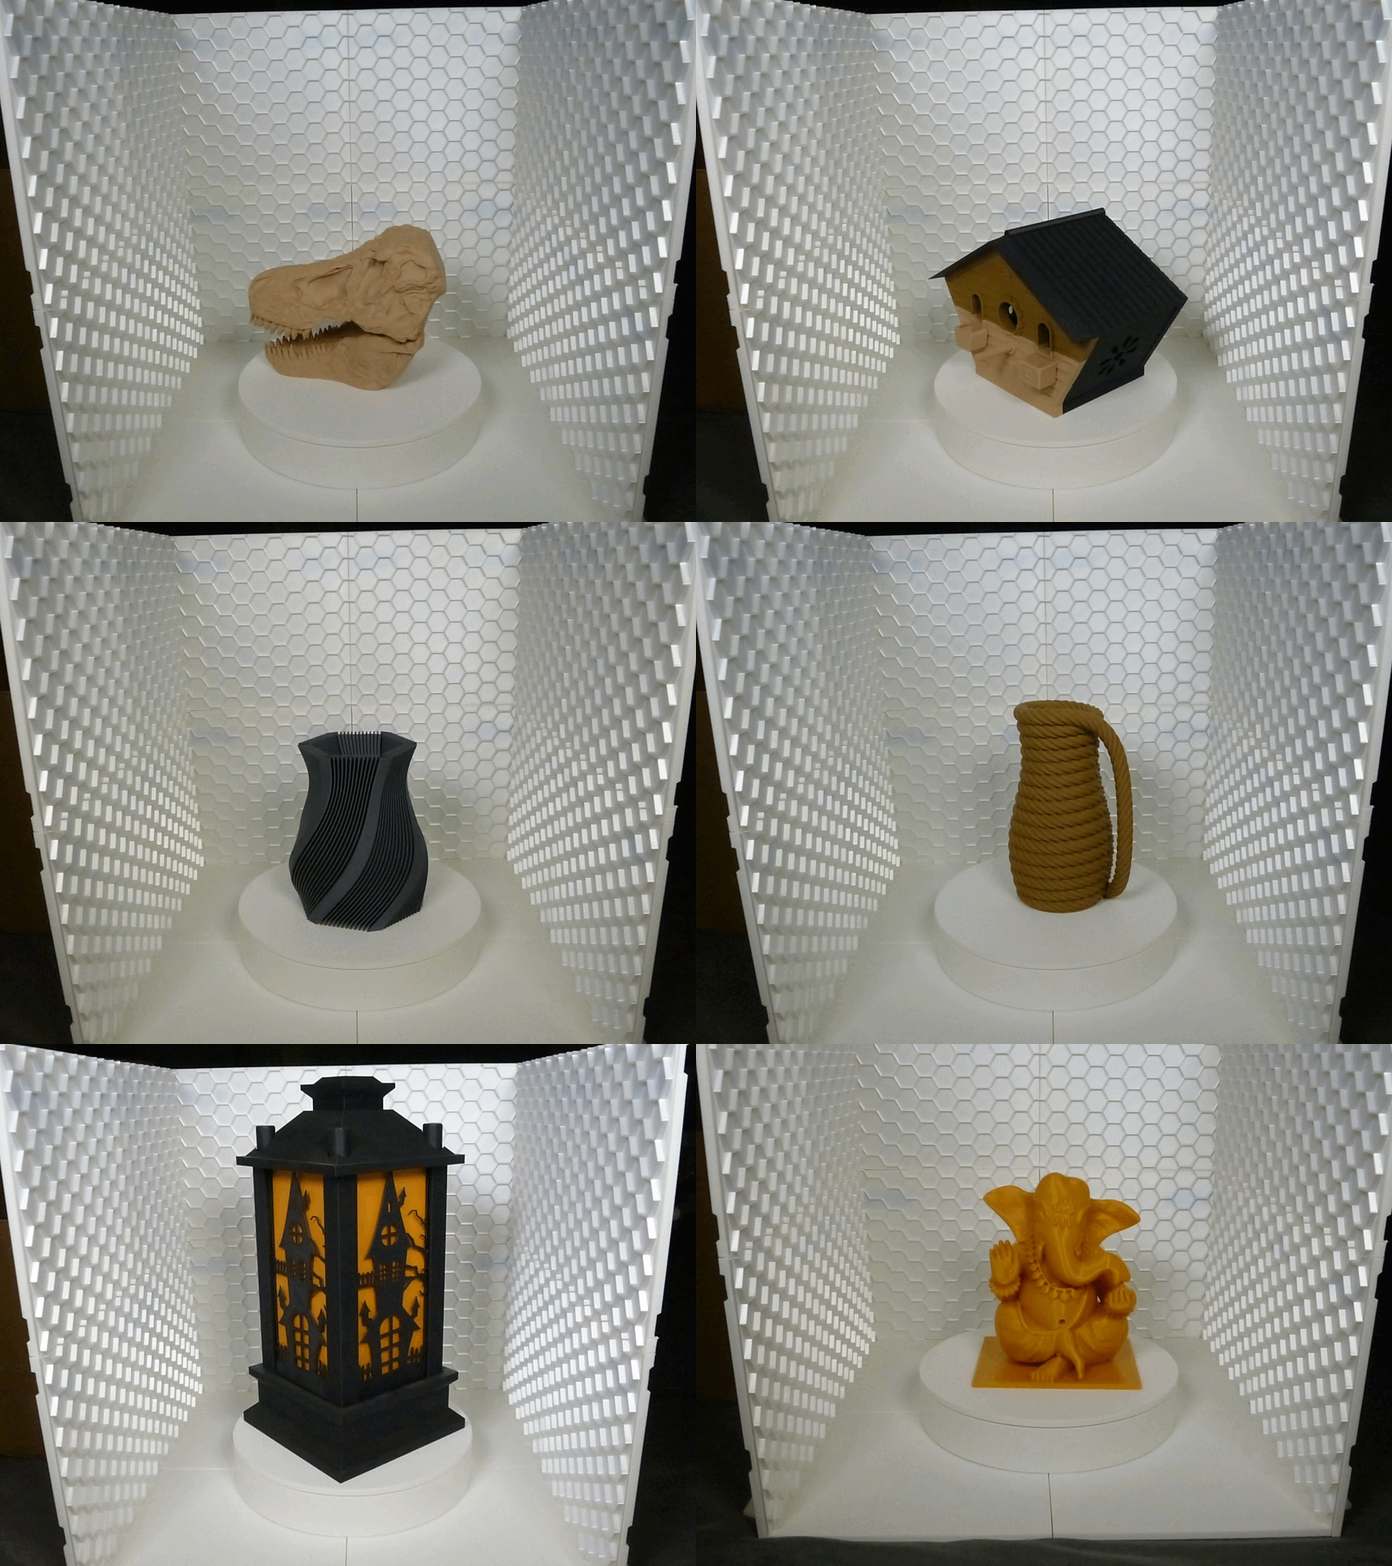
About this 3D model
All commercial use are reserved for Bambulab and Makerworld Have you ever wanted to take beautiful pictures, or even better, videos of your 3d prints? This amazing Motorized Rotating Photo & Video Plate has been designed just for you! It has a motor which allows you to rotate the plate in 2 directions and is equipped with a speed variator, in order to adapt the rotation speed to the best for your shots. Be proud of your printed models and show them in their best light, it's just so easy to use, that i'm sure that you will amaze everyone: Put your last model on the plate, push on the switch, select your your preferred rotation speed and SHOT it !!! That's all ! It uses practically the entire print surface of Bambulab's X1 and P1. The tray has a diameter of 240mm , practically 9.5inches. I tested models measuring up to 40cm wide, almost 16inches, so the majority of your printed models will pass on this turntable. ------------------------------------------------------------------------ For this Motorized Rotating Photo & Video Plate , here are the parts that you need : Please, read this part from a computer, on the mobile version the tables are not correctly displayed . Qt Part name/model Exemple ASIN Remarks 1 Cable adapter: RUNCCI-YUN DC Mount Adapter Set, 6 x DC Hollow Plug (with Cable) DC Power Jack Socket 5.5 x 2.1 mm DC Male Socket Adapter https://www.amazon.de/dp/B089DXQDS9?psc=1&ref=ppx_yo2ov_dt_b_product_details any DC socket 5.5 x 2.1mm is ok, but it have to be a mount adapter, see the exemple 5* Bearings: 608-2RS Bearing https://www.amazon.com/Bearings-Skateboard-Shielded-Miniature-Skateboards/dp/B07R7PR72H/ref=sr_1_3 at least 5x but if you want to have different paltes, you will need 1 more per plate 1 Motor: DC 12V Reversible High Torque Turbine Worm Gear Motor Speed Reduction Electric Motor Total Metal 62 (rpm) (62RPM) https://www.amazon.de/dp/B07H8DHGQC?ref=ppx_yo2ov_dt_b_product_details&th=1 B07H8DHGQC For the motor, it's important to order one with the same sizes ! The speed can go from something about 40rpm up to 60-65rpm, that's more than enough. 1 Controller: ZHITING 1203BB 6V-28V 3A 80W DC Motor Speed Controller, PWM Motor Speed Controller, reversible https://www.amazon.de/dp/B098TH7Q2K?psc=1&ref=ppx_yo2ov_dt_b_product_details B098TH7Q2K sometimes hard to find, you can go to the alternative below Alternative contoller: Winomo 1203BB 6 V 12 V 24 V 3 A 80 W DC Motor Controller (PWM) Adjustable Reversible Motor Driver https://www.amazon.de/dp/B098TH7Q2K?psc=1&ref=ppx_yo2ov_dt_b_product_details B01IWI6APK 1 Power supply: DC 12V voltage transformer power adapter https://www.amazon.de/dp/B07L5GP7SD?ref=ppx_yo2ov_dt_b_product_details&th=1 B07L5GP7SD i use a 12v, 5A / 60w model, i think that a 3A should be ok ------------------------------------------------------------- About the plate, i have printed … about 15 different models, with different colors, different plates (smooth, PEI, PEO, …) and i found that it's a pleasure to have more than only 1 plate by hand. Change the plate, your model can look even better. Only for 1 plate, you will not use alot of filament, it's not that much against at least 2 or 3 plates. Like i told before, i printed and tested so many combinations, that i can tell you that my print settings are the best i found. It avoid problems, like transparency revealing what's under the plate, the axis and gears … and don't try to print without brim, it can ruin your print … About the bottom part, containing the motor, electronic, bearings, …, it's the same, i printed about 10, and my settings give you the guarantee of a solid parts, but don't forget that it's just plastic :) I printed everything in Bambulab PLA matte white (you can use any color, i think it look more chic in white) ----------------------------------------------------------- About the assembly of the bottom, please follow this steps: you will have to solder 2 electric wires on the motor, that you will connect on the other end to the controller, on the Out or Motor terminals slide the motor in the socket (no force should be required, it have to slide kindly in his socket) take the small 26 teeth that you printed and put it on the motor's axis (a little force can be required) fix the reverse switch on the flat plate and connect it to the controller place and screw the DC mount adapter on the flat plate and connect the wires to the IN or Power on the controller take the 4 lugs and fix 1 bearing in each angle (don't force to much) fix and screw the controller on the flat plate and put the button place the turntable (plate) on the top, don't force it, the teeth have to be aligned, so there will only be a few mm between the plate and the tank Your Motorized Rotating Photo & Video Plate is finished! HAVE FUN, HAVE FUN, HAVE FUN, but don't forget to comment this project, thanks alot :) In my print models, you will also find another version with identical measurements but much simpler to assemble, if you don't feel very han