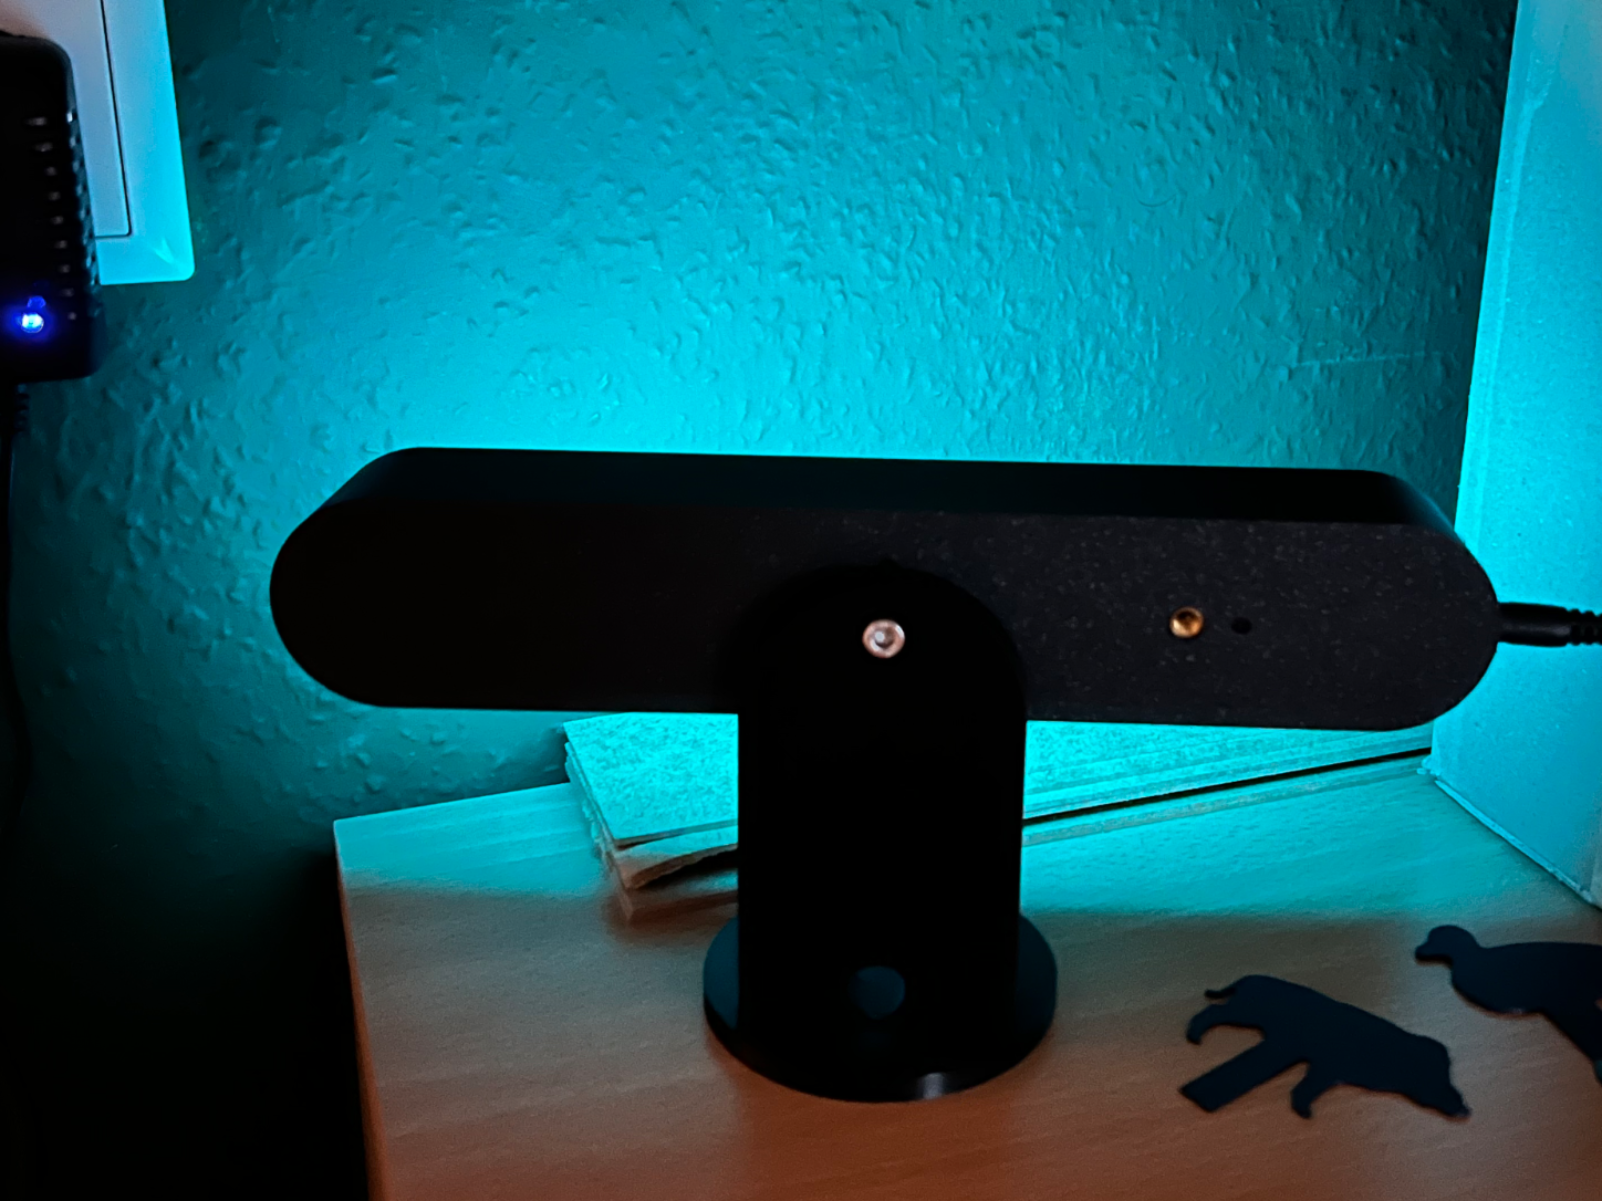
About this 3D model
Through a competition, I came across the Philips Lightbar, and my first thought was “this is easy to make myself”. The main body has an opening for the power connection and a clip so that it sits securely even when the cable is plugged in or unplugged. Then there are two sleeves into which the threads are later pressed in. I opted for M5 so that nothing wobbles. Small recesses serve for horizontal or vertical alignment. This should prevent anything from twisting when the screw is tightened. The intermediate level where the LED is glued allows you to later install a different LED without having to reprint everything. The intermediate plate is quickly printed and therefore does not result in any material waste. I have made the covers in different thicknesses. It should be clear to everyone that thinner covers let more light through and the LEDs are more visible. Everyone can test it for themselves. Here are a few links where you can get the parts that are installed. I do NOT earn anything from the links, they are original. Cable with plug, for soldering to the LED strip (3-pin, 10 pairs) https://amzn.to/3XjK4wW Receiver that controls the light, with remote control. In principle, cheaper knock-offs of this also work. But I have used this one here. https://amzn.to/3VKq5q7 Here is the cheaper knock-off https://amzn.to/4c2vcYn The press-in sleeves with thread. These should actually be in everyone’s toolbox who builds something with their printer. https://amzn.to/3Rvm1Ya LED strip with density 60 pieces on 5m https://amzn.to/45pzzKi LED strip with density 30 pieces on 5m https://amzn.to/4c1RTfg