About this 3D model
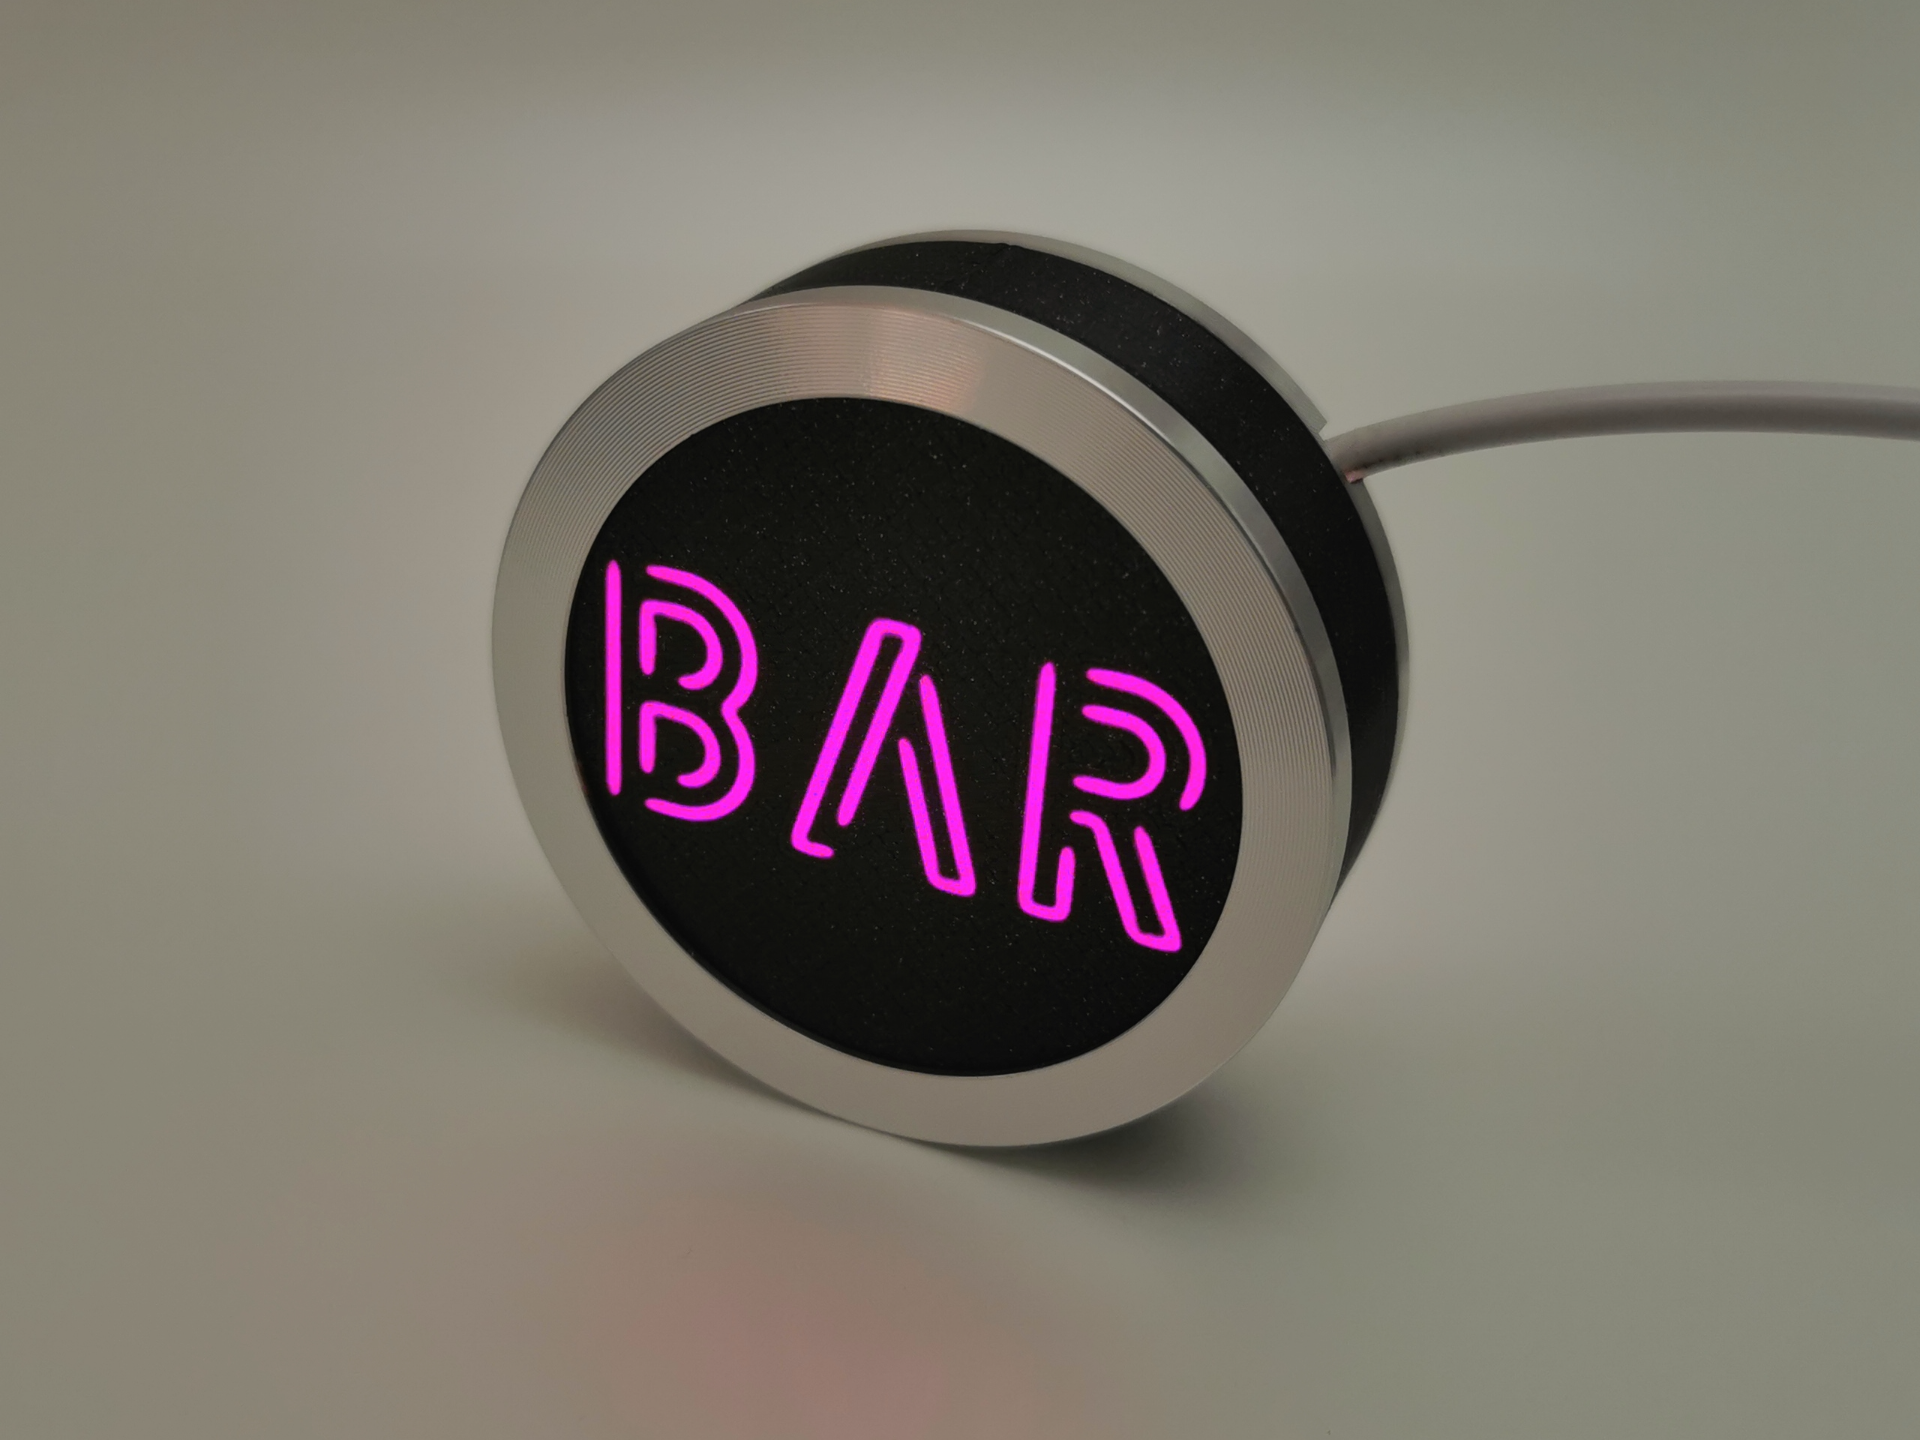
What it is A light dot, light sign or neon sign utilizing Bambu Labs LED Lamp Kit 001 . Via the “Text shape” tool in the slicer, both variants are customizable in text and font. Simple lid style → usable diameter = 63mm = 2.48 ″ Lid with silver top ring from the kit → visible diameter = 47.5mm = 1.87 ″ Why I spent some of my first hard earned points on MakerWorld on one of these LED Lamp Kits. - Lo and behold, I did not need another lamp… So I decided to make something else with it and this is one of the results. How to customize Make sure the font you want to use is installed on your system and available in your slicer (Bambu Studio shown here) . Windows → the font must be installed for all users macOS → the fonts must be located in /Library/Fonts and NOT ~/Library/Fonts (read further) Linux → ? Then Open the provided 3mf file and select the “text_shape” body part. Use the Text shape tool to edit the writing to your desire. Mind to redefine the offset of the text → x=0, y=0 is centered, the z coordinate allows you to create things like hidden lettering until the light is turned on (current bug: the term “World coordinates” is wrong in case a modifier/text is selected…) To dim the brightness or gain certain color effects ( additive & subtractive color mixing ) the emitted light can be adjusted by replacing the original diffuser with optionally printed ones. How to print In case this isn't obvious, at least one filament used should be somewhat translucent. Recommended for printing is a 0.2mm layer height and a 0.4 mm nozzle . For the material, I opted for PETG and would advise against PLA (temperature of my LED Kit went up to 55°C). → This item may be tricky to print due to shrinkage, volumetric flow, … which all impact the desired fit to the metal parts. Some scaling in the xy-plane may be required. If you had to scale it, please report back including material and scaling factor used. The provided print file should be sufficient. General tips for this design: Print slow flow ratio spot on or leaning towards +1% over usual bed adhesion must be good, first layer defects will catch the eye straight away colors should be pure (if you struggle with this: AMS Calibration - V2 ) What next There may be improvements and modifications based on feedback given here. Maybe, take a look at my other designs ;-)