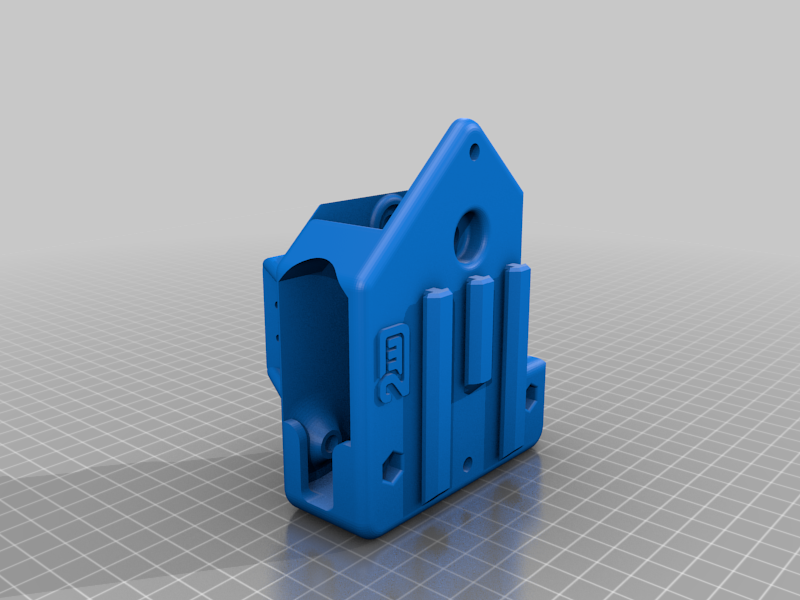
About this 3D model
After acquiring a second-hand Genius, I realized that the factory Z-mod is absurdly bad. The design is intended to use the Artillery coupler, but if you want to mount the anti-backslash nuts, you can also do so, as I left the holes for the screws free. To dismantle the carriage, here is the official Artillery video. It is quite easy to do and does not involve any complications. To assemble the new Z-mod you will need the following materials: x4 -- M5 x 30mm screws x2 -- M5 x 35mm screws x6 -- M5 T-nut (nut) with Teflon (since normal nuts can loosen with vibrations). x4 -- m6 x12 mm washers x2 -- M7 washer x2 -- 5mm inner diameter eccentrics. In the photo below, I'm leaving the image of said screws. After installing the new Z-mod, you can install the height-adjustable support for the Z sensor on my profile. You can also see the video of the Z-mod installation on the Genius, here: Print Settings Printer: Artillery Supports: Yes Resolution: 2 Infill: 50% Filament: everyone pla, pla+,petg, abs, asa Notes: -wall line count (linease de pared) --> 8 -print speed 80mms (you can choose your own speed) -support normal,(suporte) -everywhere ( en todos los sitios) -angle support 87% (angulo de suporte) -support density 8% ( densidad de suporte) Post-Printing Category: 3D Printing