About this 3D model
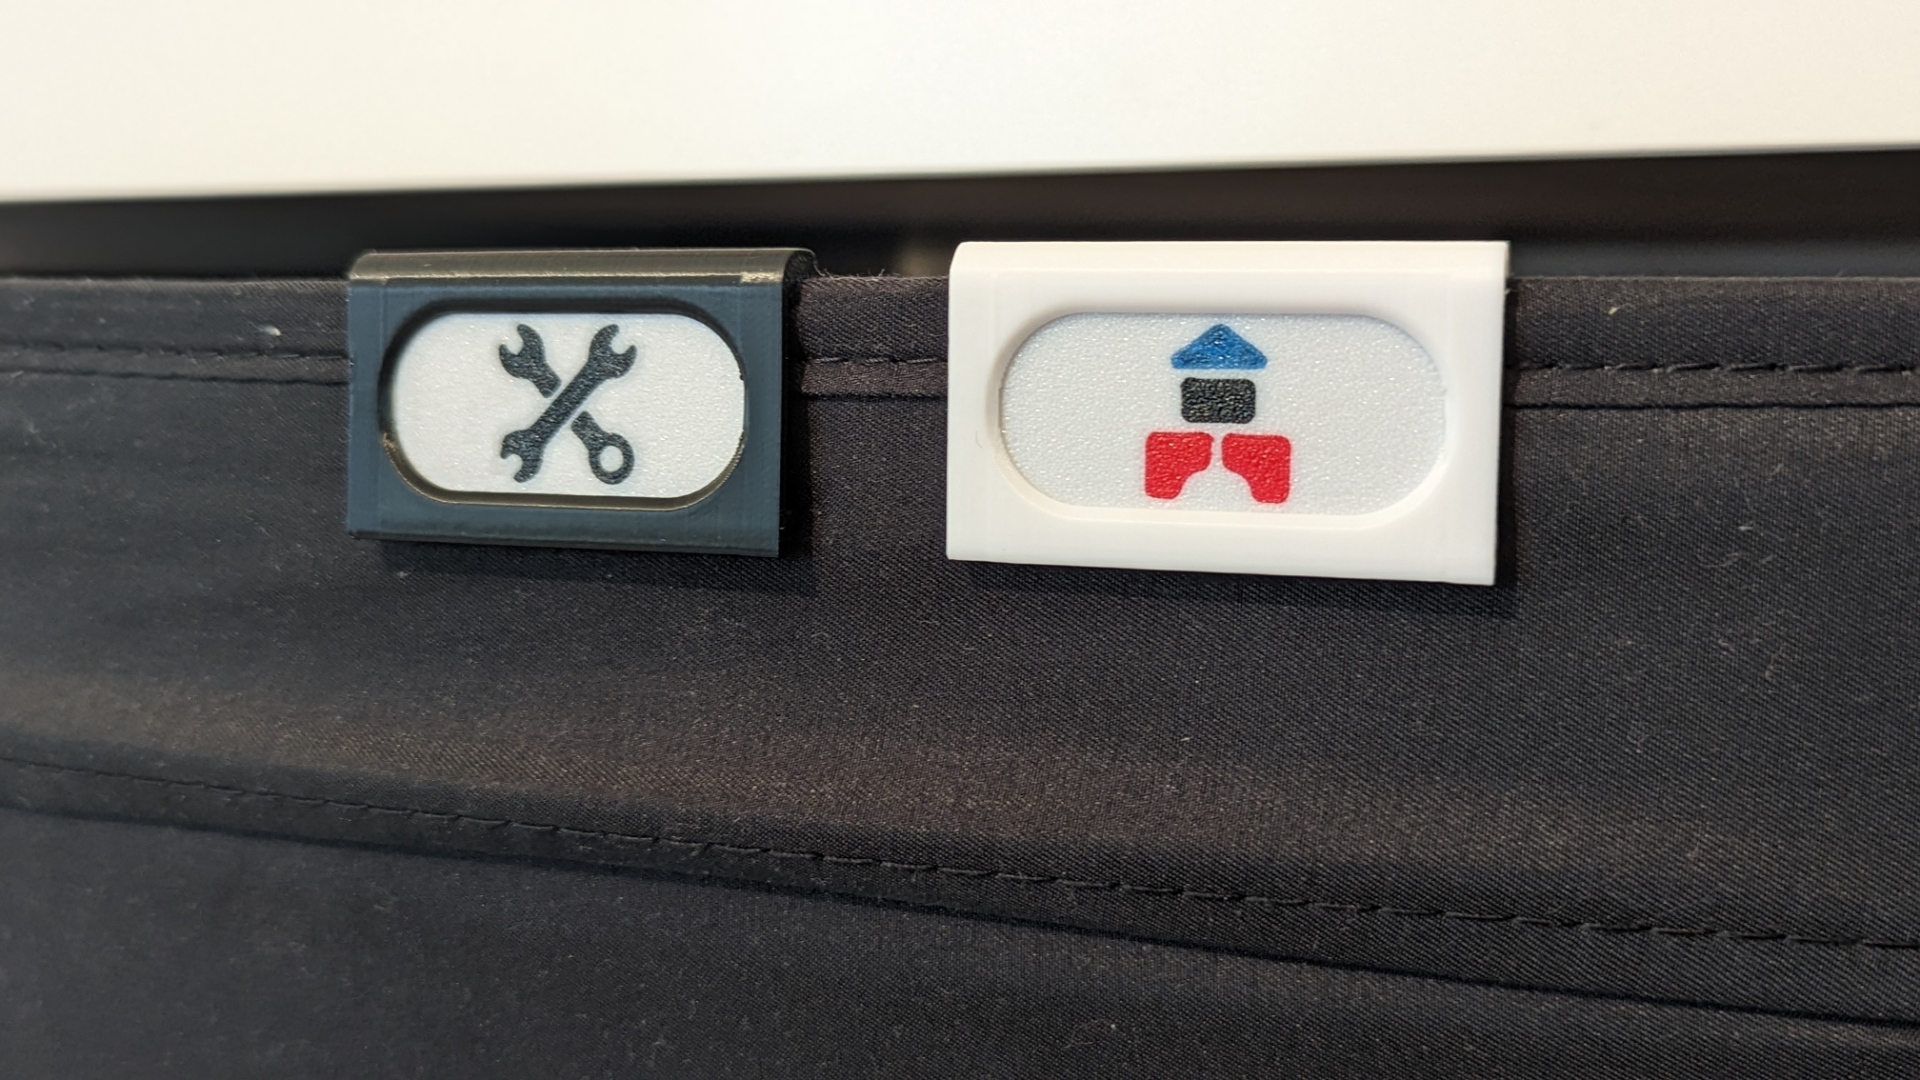
German version below Also check my new corner clip version: https://makerworld.com/de/models/128146#profileId-138680 Boost Me Please support me with a boost for more designs :) I have designed printable labels with holders for Ikea Kallax boxes (Dröna) The label slides into the clip from the right and can be removed from the left with a screwdriver if it is too tight I recommend printing a blank label first to check the fit, but it should work well with a Bambu printer Alternatively, you can gently deburr the label edges with a hand deburrer Print instructions: The labels should be printed with a 02 mm or less layer height Pay attention to the orientation the wider side should face down Without AMS, it should be possible to print single-color logos with just one manual color swap, but I haven't tested that The clip can be printed without supports I have made a standard version, easy to remove, and a tighter version to prevent children from easily removing it Available logos (see images): Folders, filament spools, building blocks, car, train, pencil, wooden building blocks, book, tools, gamepad, clothing, snacks, baby, sports, medicine, kitchenware, pillow/blanket, and of course a Bambu Lab logo Update 02.02.2024 : Added teddy bear, makeup, toothbrush, music, jewelry, camera/photo, decoration/plant, shoes, cables, board games, movies, handbag For additional labels, just ask or create your own it's quite simple: Download an SVG icon (color doesn't matter) (e.g from https://www.iconfinder.com) Add the SVG to Bambu Studio like any other STL file Use uniform scaling to scale Y to a maximum of 16 mm, for wide objects, X should not exceed 35 mm Disable uniform scaling and set Z to 02 mm Color the SVG (best using the object menu, all or just parts of it if available) Right-click on the SVG to center the object Right-click on the blank label to center the object Select the blank label and the SVG, then right-click and select “Assemble” The assembly sequence may need to be adjusted “kallaxBoxLabels_Label.STL” must always be in the first position otherwise the icon will not be displayed after slicing Slice the label to ensure it is displayed correctly That's it! Possible problems: Lines that are too thin will not be displayed or may not print ****** GERMAN ****** Jetzt auch als Corner Clip: https://makerworld.com/de/models/128146#profileId-138680 Ich habe druckbare Schilder inklusive Halterung für Ikea Kallax Boxen (Dröna) entworfen Die Label können von rechts in den Clip geschoben werden und falls zu fest sitzend mit einem Schraubenzieher von links wieder entfernt werden Ich empfehle erstmal ein leeres Label zu drucken um den Sitz zu prüfen sollte aber für Bambu Drucker passen Alternativ kann man auch mit einem Hand Entgrater die Kanten des Labels einmal leicht abziehen Druck Einstellungen: Die Label sollen mit 0,2 mm (oder weniger) Schichthöhe gedruckt werden Aufpassen bei der Orientierung, die breitere Seite sollte nach unten zeigen Vermutlich ist es ohne AMS möglich mit einem manuellen Filament Wechsel einfarbige Logos zu drucken aber das hab ich nicht getestet Der Clip kann ohne Support gedruckt werden Ich habe eine normale Version, welche einfach zu entfernen ist und einen fester sitzenden um zu verhindern dass er von Kindern sofort entfernt wird Verfügbare Logos (siehe Bilder): Ordner, Filament Spulen, Klemmbausteine, Auto, Zug, Stift, Holzbausteine, Buch, Werkzeug, Gamepad, Kleidung, Snacks, Baby, Sport, Medizin, Geschirr und Kissen/Bettdecke und natürlich ein Bambu Lab Logo Update 02.01.2024 : Teddy, Makeup, Zahnbürste, Musik, Schmuck, Kamera/Foto, Dekoration/Pflanze, Schuhe, Kabel, Brettspiele, Filme, Handtaschen hinzugefügt Für weitere Labels einfach melden oder selbst eins entwerfen, geht ziemlich einfach: SVG Icon runterladen (Farbe spielt keine Rolle) (zB von https://www.iconfinder.com) SVG über hinzufügen in Bambu Studio einfügen, genauso wie mit jeder STL Mit “einheitliche Skala” so skalieren dass Y maximal 16 mm groß ist, bei breiten Icons darf X 35 mm nicht überschreiten Jetzt “einheitliche Skala” deaktivieren und Z auf 0,2 mm skalieren Am besten über das “Objekte” Menü das Icon einfärben Rechtsklick auf das SVG für “Mitte” um das Objekt zu zentrieren Rechtsklick auf das leere Label “Mitte” um das Objekt zu zentrieren Leeres label und SVG markieren, dann Rechtsklick und “Zusammenbauen” Ggf muss die Reihenfolge des Zusammenbaus geändert werden “kallaxBoxLabels_Label.STL” muss immer an erster Stelle stehen sonst wird beim slicen das Icon nicht angezeigt Jetzt das Label noch slicen um sicher zu gehen dass es richtig angezeigt wird Das wars auch schon! Mögliche Probleme: zu feine Linien werden nicht angezeigt bzw können nicht gedruckt werden