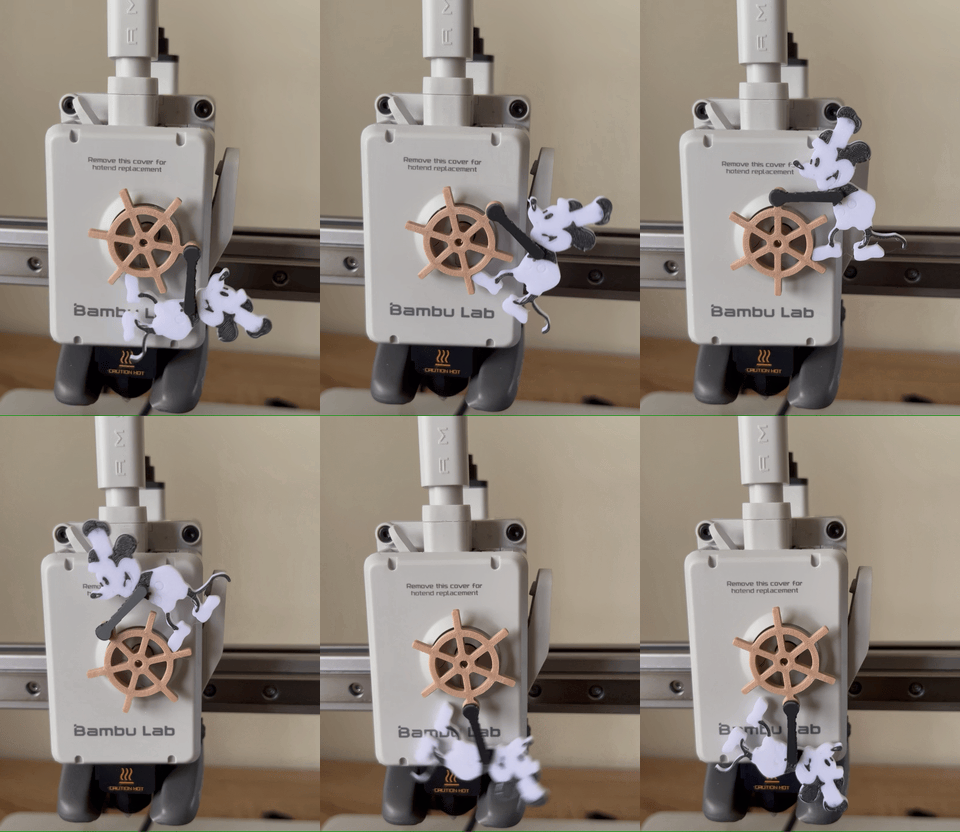
About this 3D model
Installation Guide & Explanation Presented below is a comprehensive guide outlining the installation process for the icon. Rest assured, the removal of the front cover window is a non-permanent modification, and you can effortlessly restore the window to its original position. For the initial installation, though slightly more time-consuming, the process is straightforward and uncomplicated. Subsequent installations become notably easier and quicker. First Installation Steps: Remove Front Cover: Gently detach the front cover from the printer. Detach Original Extruder Icon: Pull the original extruder icon away from the tool head in a straight motion. Remove Window: Press on the window from the outside to release it. A helpful tip is to simultaneously apply pressure to the inside clips (highlighted in red in the accompanying picture for this model) to facilitate the window's removal. (Tip: You may find it easier to press on the inside clips marked in red on the model picture to ease the window removal process.) Reinstall Front Cover: Once the modifications are complete, reattach the front cover securely. Install New Icon: Insert the new icon through the opening where the window was situated, onto the metal rod that held the original icon. Ensure a snug fit to guarantee its stability. If you like this design and want to support me, feel free to buy me a coffee: https://www.paypal.com/paypalme/funhank ☕ Thank you!