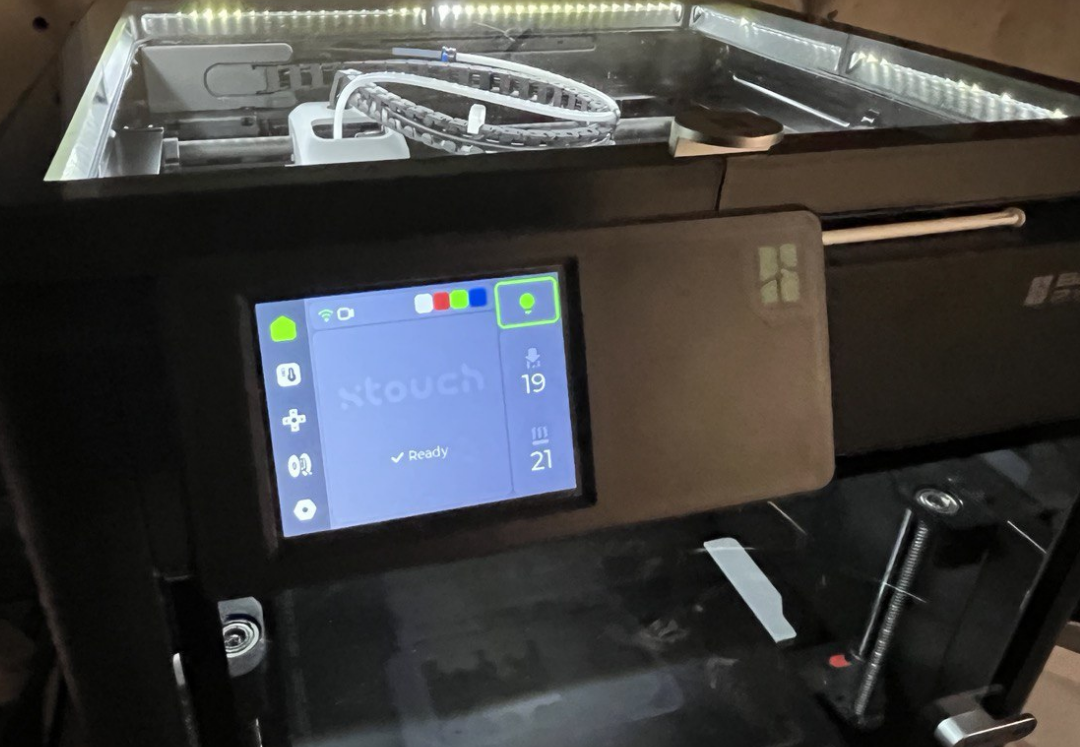
About this 3D model
This is a foldable housing for the popular touch display for the P1P and P1S. No drilling, no ugly appearance, no loss of warranty! This is the remix from teaching tech (YT). If you want to get an overview first, watch the YT-video at teaching tech and leave some love (like, subscribe etc.) It allows you to operate your printer quickly and easily. For example, temperature changes can be made with just a few touches. The housing temperature can also be measured and displayed with an additional module (I have already ordered the module and it is not yet part of this publication. I will provide a corresponding update here!). With the folding mechanism you hide the original display and can use it when needed by folding up the X Touch. This preserves the clear line of the printer and doesn't look messy. My version is shrunk to the original width of the Bambu Lab display. To do this, I had to adapt the adapter, the cover and the back of the housing. I also reduced the size of the huge Bambu lab logo and placed it in the corner. I did without a compartment for the touch pen. Overall, I also reduced the weight and the thickness of the case here and there and It is still very stable. To make this useful modification as easy as possible for you, I am attaching the complete instructions here: First you need the following things: The X-Touch display (+ a free IP address in your home network, it operates with WLAN only) Find the touch display, like this one , and make sure you find an offer under €10. One SD card It is not necessary to buy a high-end card with 1 terabyte. It is sufficient to use a 256 megabyte SD card . Maybe some of you still have one lying around. I had an old 2GB card and didn't need to order one. SD card adaptor for USB I have found a fairly small and practical solution on Amazon, which I also use to read the printer SD card on the PC. I have set up the FTP functionality via WLAN, but the transfer is so slow that I prefer to remove the SD card and process it on the PC. Win-win situation when buying this adapter . 20cm USB cable Here is a USB cable with Micro USB. I have ordered the cable "left angled". This way the cable points in the right direction. But it is not necessary. It still has room in the housing when not angled. The board is even already equipped with USB-C and can also be connected in this way. I do not recommend the supplied USB-C cable as it is simply far too long. 8x M3 with 8-9mm thread length The M3 screws have a hexagon head. These disappear on the back of the housing in correspondingly recessed holes. I have included the link here to give you a better understanding of the screw type. The display spacer / Cable Management Since the spacer can also be used for other purposes, I have published the spacer separately. For the preparation of the display you also need a PC with Windows to keep the installation as simple as possible. Optional the temperature module DS18B20 The temperature sensor should have angled connections, like this one , to keep the installation in the chamber as narrow as possible. But I won't say more about the sensor until I have installed it. Once you have everything together, you can get started : Download & Install the CH341SER.inf. Format the SD Card in FAT32 or NTFS with PC-USB2SD Adaptor @ windows Start Editor.exe or, if installed, Notepad ++ @ Windows Copy this into the editor and enter the WLAN name at home in the quotation marks for SSID and the WLAN access password for pwd: { "ssid": "your WiFi-Name", "pwd": "your WiFi Password" } Save it in the root directory of the SD card with the name wifi.json and be careful not to save with wifi.json.txt !!! Now insert the SD card into the X Touch and turn on the X Touch screen. It will now be fully initialized and ready for use with your 3D printer. Open https://xperiments.in/xtouch-bin in your browser On the web page, locate and click the "Connect" button to establish a connection between your computer and the xtouch screen. After clicking "Connect," a list of available serial ports will be displayed. Choose the one asigned to your xtouch so establish a connection with the touch screen. Once you've selected the correct serial port, click the “Install xtouch” button on the web page. This will initiate the installation process. Wait for the installation to complete. You will receive a confirmation message or indication on the web page once the installation process finishes. Now restart the xtouch screen. Select your printer on the X Touch and enter your access code (3rd menu / WLAN on the P1P/P1S printer display). Once the printer has been recognized, you can disconnect the X Touch from the power supply and switch it on again for the final test. That's it! There is a USB port behind the original display where you plug in the USB cable for the XTouch power supply. For P1S owners like me, I made an adaptor between the printer and the original display that has a hole for the USB cable so I don't have to drill into t