About this 3D model
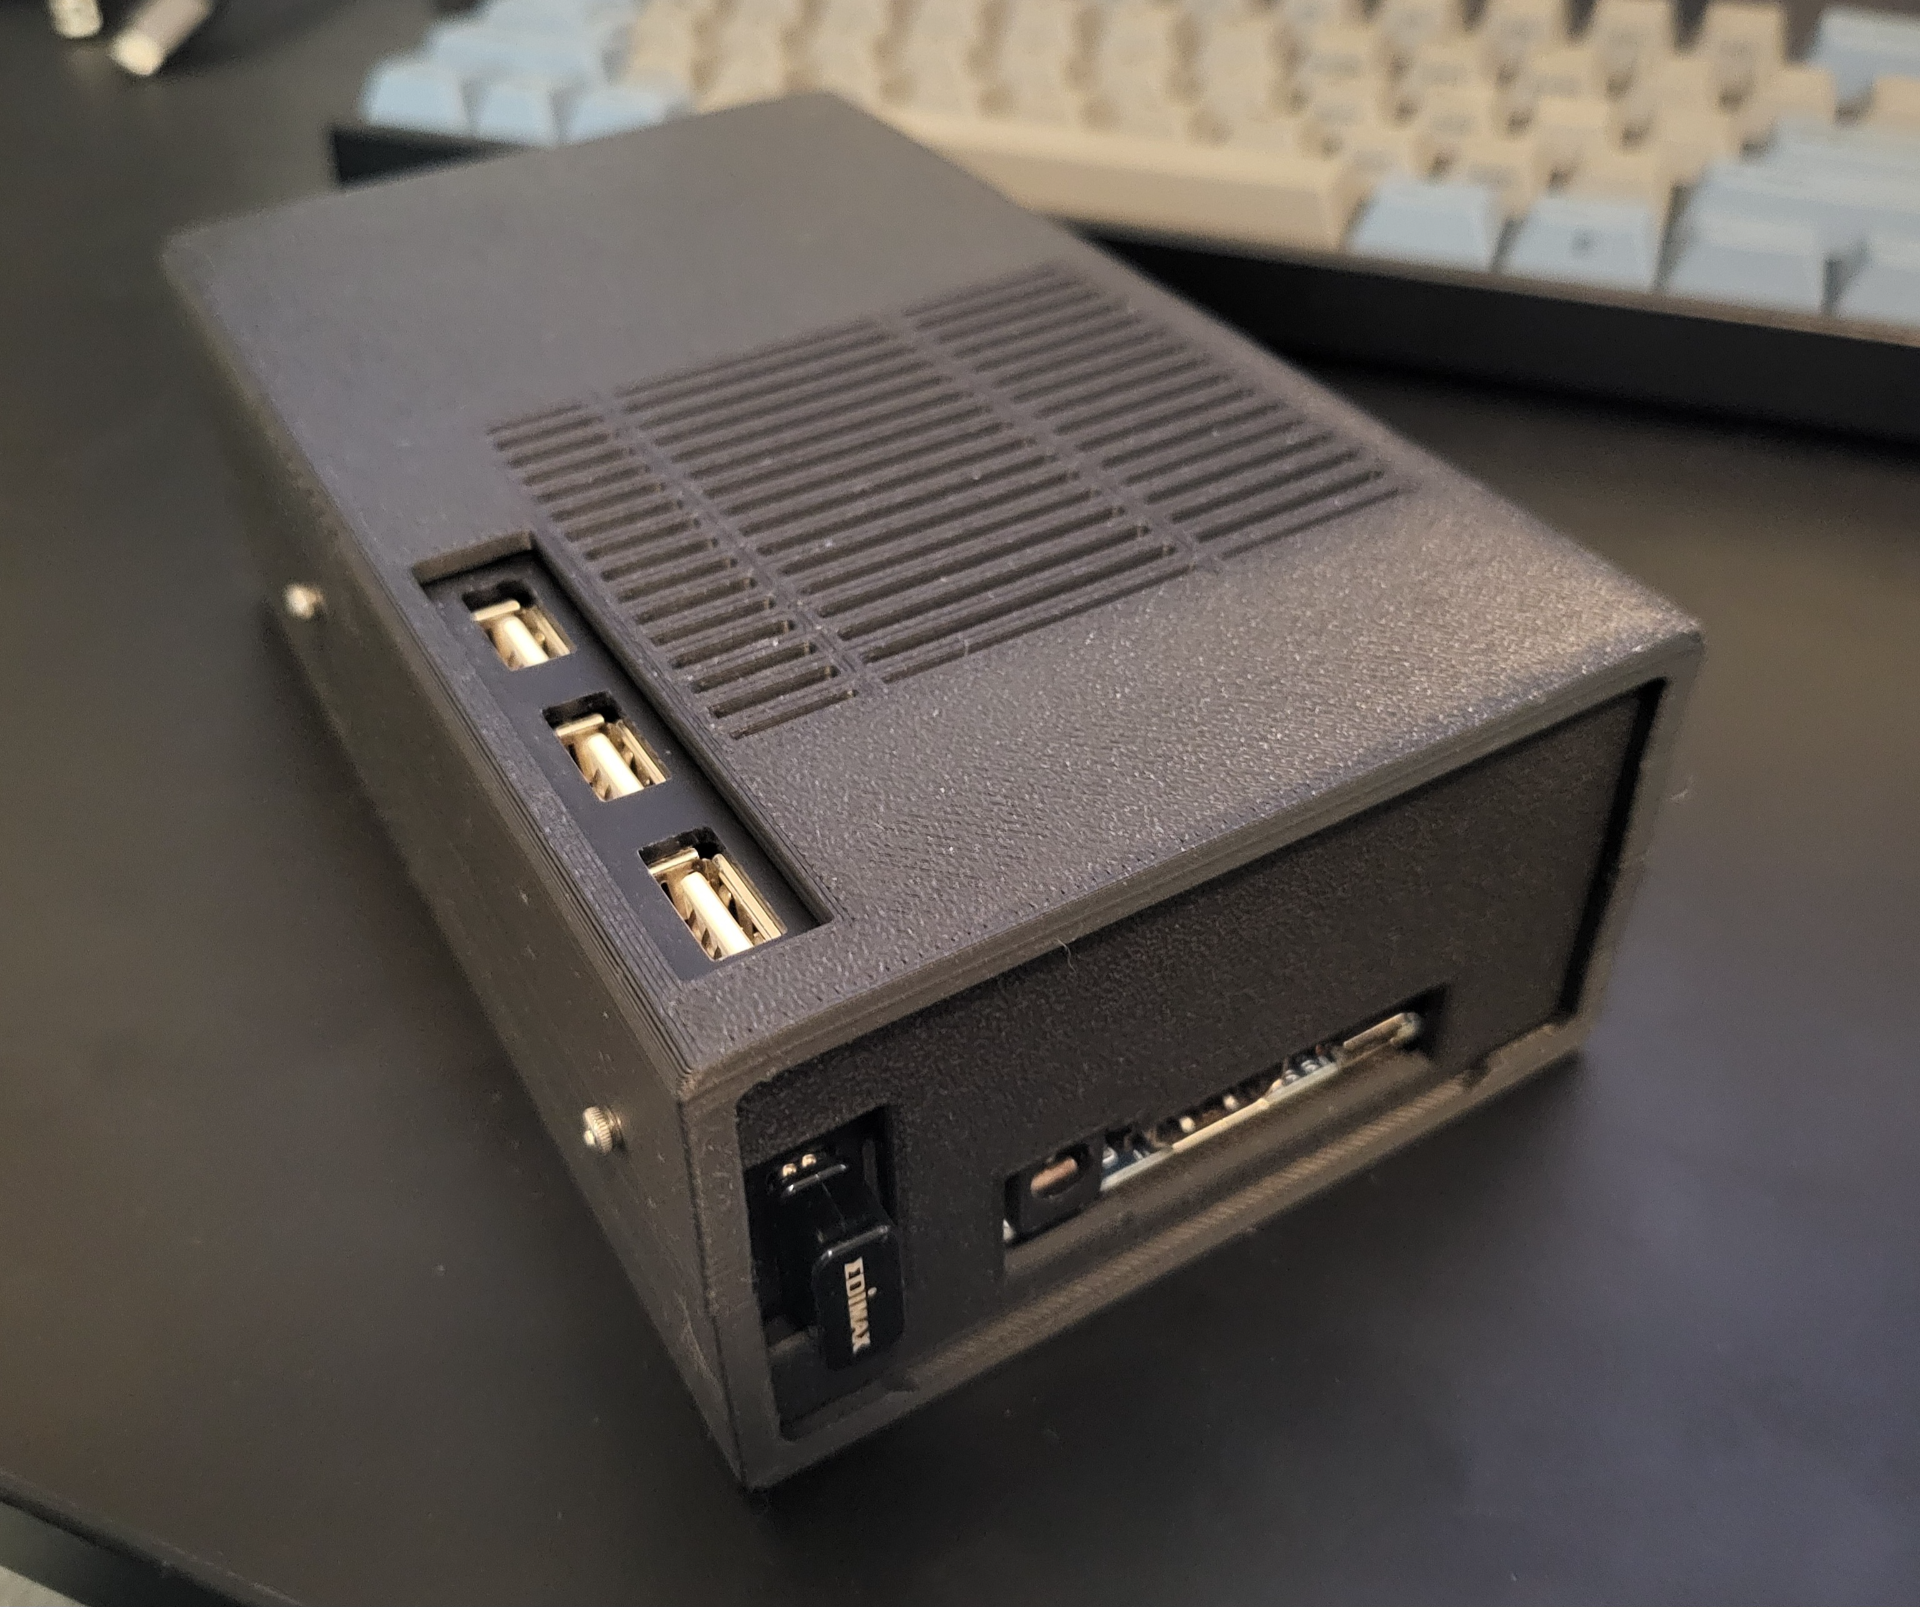
The goal of this project was to create a MiSTer that felt like a professional, finished product while spending the least amount of money possible. Boost Me Did you like how your MiSTer turned out? Boost me as a thanks! Summary Look, I know we all don't want to drop 60 freaking dollars on the official MiSTer usb hub and we would all rather use a seven dollar hub off amazon, but those cheap hubs just dangle off the mister fpga like an ugly dongle. So I took the initiative and modified the universal MiSTer case to include a holder for the very popular and cheap MakerSpot OTG hub: https://www.amazon.com/MakerSpot-Accessories-Charging-Extension-Raspberry/dp/B01JL837X8 This case blocks access to the ethernet jack. (but you'll be getting a rear USB port for a wifi adapter) This case also does not officially support the MiSTer I/O board. I dont own one so I can't create a version for it and verify the tolerances, sorry. (I think it will technically work, you just won't have access to the 3 buttons on the top of that board. you are welcome to remix this thing to add support for the I/O board) I have never edited someone else's .stl files before so this was a challenge but in the end I created something that looks clean and feels super solid. The case comes apart easily yet the usb hub does not wiggle when you are plugging things into it. The elongated case allows the USB hub to be installed with zero strain on its cable or on the DE-10 nano's micro usb port. The usb port on the rear of the device is intended to be used with a USB wifi adapter I recommend this one: https://www.amazon.com/Edimax-Adapter-Supports-MU-MIMO-EW-7822ULC/dp/B01MY7PL10 I used this for holding the fan: https://www.thingiverse.com/thing:3184154 Print Settings Supports: Disable supports for all parts except for the bottom_case.stl, enable touching build plate only Resolution: 0.20 Infill: 15% Build plate adhesion: make sure a brim is enabled for the top and bottom case. Bambu Studio will not create them for you if brim type is set to “auto.” you need to enable this manually. Filament: Overture Matte PLA Post-Printing Assembly The top and bottom halves of the case are secured together with four M2 screws. The screw length needed is not a standard size so I had to cut my screws to the correct length with sharp pliers. (there is a picture in the image gallery showing how long they need to be) Make sure the screws aren't too long or else they will hit the DE-10 nano or the usb hub!