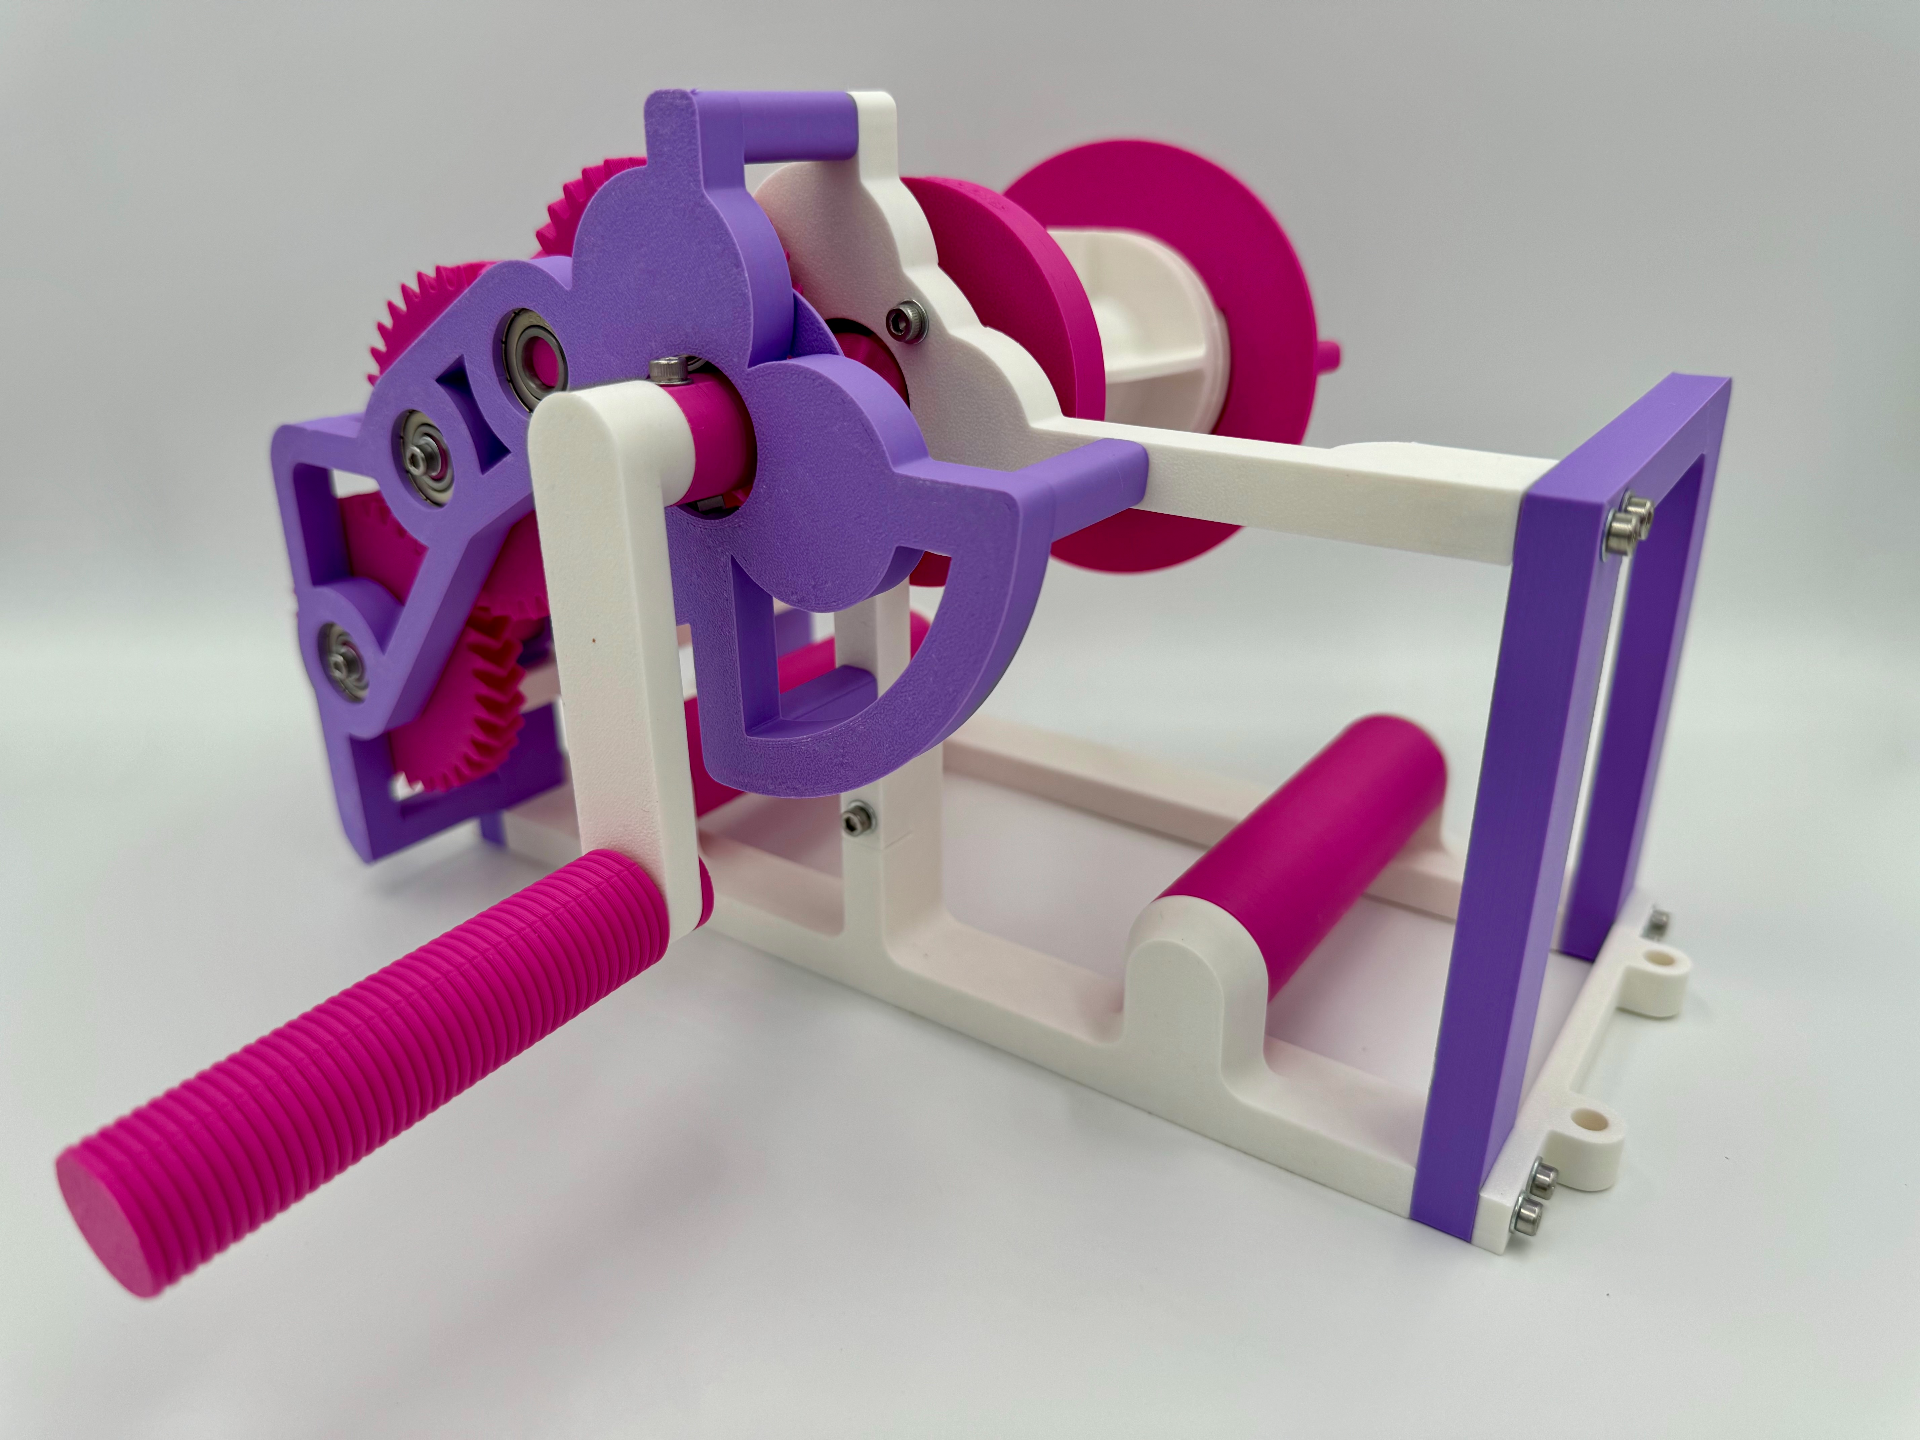
About this 3D model
News: V-Spooler Mini spindle and clamp options are now listed on a separate page here . Introduction V-Spooler Mini is a re-spooler based on V-Spooler with a reduced component count and smaller size, and is for spooling from external spools. It is optimised to spool to Bambu spools, although a generic clamp is also provided via a separate profile as well as an option for Extrudr spools. I designed the gears in FreeCAD using the gear workbench and did the rest of the project in Shapr3D . The model above was printed using Bambu PLA in Matte Ivory White , Basic Magenta and Matte Lilac Purple . If you would like to directly support me it is possible to buy V-Spooler Mini from the store on Printables or join my club , also on Printables. A boost here on Makerworld is also appreciated! Which V-Spooler Should I Print? V-Spooler Mini V-Spooler V-Spooler X You have a small (e.g. A1 mini) or normal sized printer and/or… You want to re-spool from an external spool holder Uses approx. 535g filament Normal sized printer (e.g. P1P) You want to re-spool only 1kg spools Uses approx. 770g filament Normal sized printer (e.g. P1P) You want to also re-spool larger than 1kg spools in a compact space Takes up a bit more desk space than V-Spooler, but not much Uses approx. 936g filament Which File Do I Print? You Want To Print A New V-Spooler Mini The profile listed at the top of the list “V-Spooler Mini Beta 4” is the full model of V-Spooler Mini. It is updated with every release so you do not have to upgrade when printing a new V-Spooler Mini. You Want To Print A V-Spooler Mini Option Look at the options section below and pick one, then go to the profiles section at the top and click “Click to see more…” and print the profile that matches the option. You Want To Upgrade V-Spooler Mini Upgrades are provided separately in the profiles list so you can upgrade incrementally from any version. Lets say you are on Beta 3 and you want to upgrade to Beta 5. To go from Beta 3 to Beta 5 you need to do the “Beta 3 to Beta 4” upgrade, then the “Beta 4 to Beta 5” upgrade. Options V-Spooler spindle and clamp options are now listed on a separate page here . Required Components M3 ruthex (or same sized M3x5.7) inserts x33 608 bearings x16 M3x8 screws x8 M3x12 screws x2 M3x14 screw x1 M3x16 screws x12 M3x20 screws x8 M3x25 screws x2 M3 washers x49 PTFE tube with 4mm outside diameter If you are building V-Spooler Mini using the Bambu Lab A1 Mini, you will also need the extra following bits: M3 ruthex (or same sized M3x5.7) inserts x2 M3x14 screws x2 M3 washers x2 Optional, But Helpful Components Loctite Blue Loctite Blue is a thread locking agent which helps keep screws in place. At least one of the screws as detailed in the instructions benefits from a small amount of thread locker. Do not use red Loctite, it is too strong. When necessary use a very small amount on the end of a screw. This is important for future removal. Do not use it all over the model, for ease of maintenance. Lubricant The parts susceptible to friction benefit from lubrication. If you have a PTFE or other lubricant that is known to be compatible with your choice of plastic, when final assembly has been completed a light greasing of the cam will help operation. Assembly A1 Mini If you are building V-Spooler Mini on the A1 mini, follow this short section now. Else, skip down to the “Spool Clamp” section below. Find this part and install two of the M3 inserts in the holes in the central post pictured here. Now install the upper section using two M3x14 screws and washers. Spool Clamp Install two M3 ruthex inserts into the end of the spool clamp. Screw on the retainer, note that it is a reverse thread. This is so it is less likely to undo due to the rotation. Install the handle on the end with two M3x16 screws and washers. Gears Install an M3 ruthex insert into the end of the gear as pictured. Install the axel extension on the end with an M3x12 screw and washer. Note that this uses one of the smaller axel extension parts. Take the gear that looks like this. Install an M3 ruthex insert in the hole on this side as pictured. Install the axel extension on the end with an M3x12 screw and washer. Note that this uses one of the smaller axel extension parts. Take the final large gear and install an M3 ruthex in the middle. Install the axel extension on the end with an M3x16 screw and washer. This uses the larger axel extension part. Install an M3 ruthex into the end of the drive axel. Frame Take the lower left section of the frame. There are two holes in each end. Install two M3 inserts in each end. Install a bearing in the larger hole in the front arch. Place the front and rear arches as pictured, and then align the outer braces at the bottom. If you are using the desk mount option, these should be used instead of the outer braces. Connect with two M3x20 screws and washers on each end. Take the central right part of the frame. There are four holes in each end. Install four M3 inserts in