About this 3D model
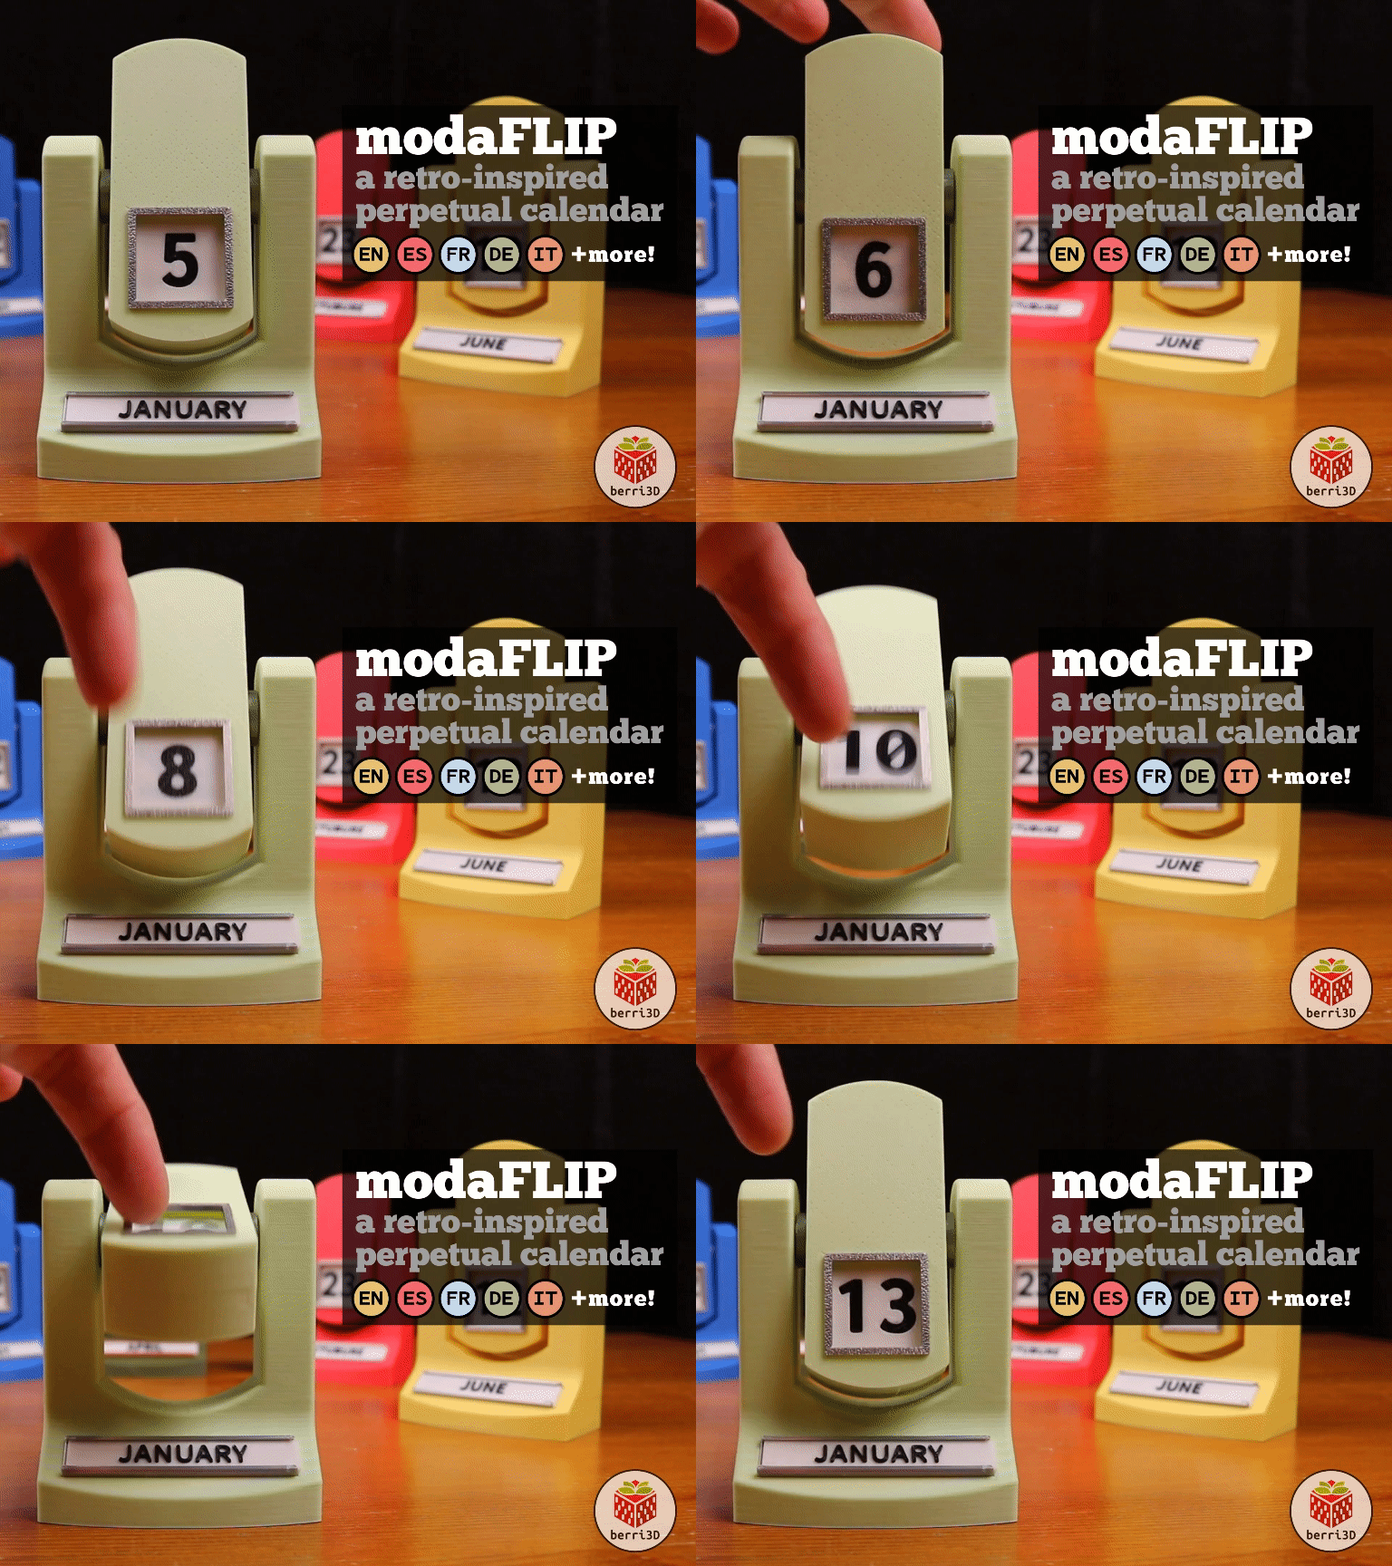
Multilingual months can be found in a separate print profile called Languages. Languages include: English, Français, Español, Deutsch, Italiano, 中文, Português, 日本語, עברית, Polski, Dansk, and Nederlands . Please let me know if I've made any typos. At this time I'm no longer taking requests for more languages . Fortunately, you can easily make your own month plates with Make My Sign. Read the section “ Customize Month Plates ” below for instructions. Printed in a variety colours reminiscent of mid-century-modern design, these little calendars would look at home on anyone's desk. Prefer a more art deco or modern look? Print in tones of silver, copper, and black. Assembly: Snap-fit design No glue or extra hardware needed No AMS? I've included blank tiles that you can write the numbers on yourself. Or, you can do what @Hudsta did with fancy swapping. See their pinned comment down below for more details. History: these types of calendars aren't new. See About the Model below to learn some interesting facts. Hilbert curve case: The interesting pattern of the silver case in the picture to the right was achieved using silk PLA, a smooth PEI plate, and by changing the bottom layer pattern to Hilbert Curve. All three factors are needed to replicate it. Textured plates disguise the pattern and plain PLA doesn't reflect the light (and thus the pattern), in the same way as silk does. Use the special print profile if you'd like to try it out! Note: I recreated the end-of-month tiles found in the original 1925 calendars: Turn Slowly , Change the Month , and Patent #241137 . If you prefer your calendar not to have them, I've also included blank versions without any text. You'll need to swap out tiles 15, 16, and 17. ?Print Checklist After printing, you should have the following pieces: Case top Case bottom Pivot Base Base drawer Number tiles x17 Month plates x12 ⚠️IMPORTANT! If the tiles or pivot warp, see troubleshooting steps below and/or print the plates marked “with brim.” If any part is too loose or too tight, there are alternate sizes in the print profile. If these alternative sizes don't work for you, read the troubleshooting steps below. ?️ Assembly IMPORTANT! You will need to remove the supports from the base (the drawer at the bottom and the channels at the top). A good sharp yank with needlenose pliers should remove them cleanly. If they are fused too tightly, you will need to calibrate your filament to reduce over-extrusion. ? Troubleshooting It's my hope that you shouldn't have any problems with the print. It's been thoroughly tested using a variety of filaments on both the X1C and the A1 Mini. However, there are always unforeseen circumstances so here are some tips on how to overcome issues if they come up. Parts are too tight or too loose: Fit, or tolerance, of parts is highly affected by the type of filament used. If your filament creates parts that are a little too loose or a little too tight, try reprinting the part by using the appropriate plate in the profile. There are tighter and looser plates for the case, the drawer, and the trim. If these alternative sizes don't work, you will need to adjust the X-Y contour compensation further and re-print. If the part is too loose, you can always use a bit of superglue to keep the pieces together. Just be sure that you've verified that the numbers iterate correctly in the case before gluing it together! The pivot looks deformed: The round ends of the pivot have a very small footprint. Sometimes they will peel up on textured plates because it's too small to properly stick to the bumpy surface and/or the plate is dirty. For this reason, I recommend using a smooth plate to print it. If you don't have a smooth plate and/or the pivot deforms no matter what you do, reprint it with a brim (included in the print profile). Note: if the pivot deforms no matter what you try, it may still function even if it looks wonky. Fortunately, it's not visible so its less-than-perfect look won't be noticeable. If you have further difficulties regarding the pivot, please see the comments below for more information on additional troubleshooting steps you can take. The tiles warp/peel up while printing: I've read reports of peeling/warping tiles on the A1 series of printer. Unfortunately, unenclosed bedslinger style printers can be more susceptible to this problem due to uneven cooling (when the layers above the first layer cool too quickly they contract and warping occurs). A high temp smooth PEI plate will provide better adhesion in this case. However, if you don't have one or the tiles peel no matter what you do, try printing the tiles with a brim. There will be additional clean-up to remove it. How much will depend upon the filament used. Some brims detach cleanly and some will fuse more strongly. Go carefully and try to make it as smooth as you can. Parts came loose from the bed: There are many reasons why this may happen. These are just some of the reasons and suggested solutions. C