About this 3D model
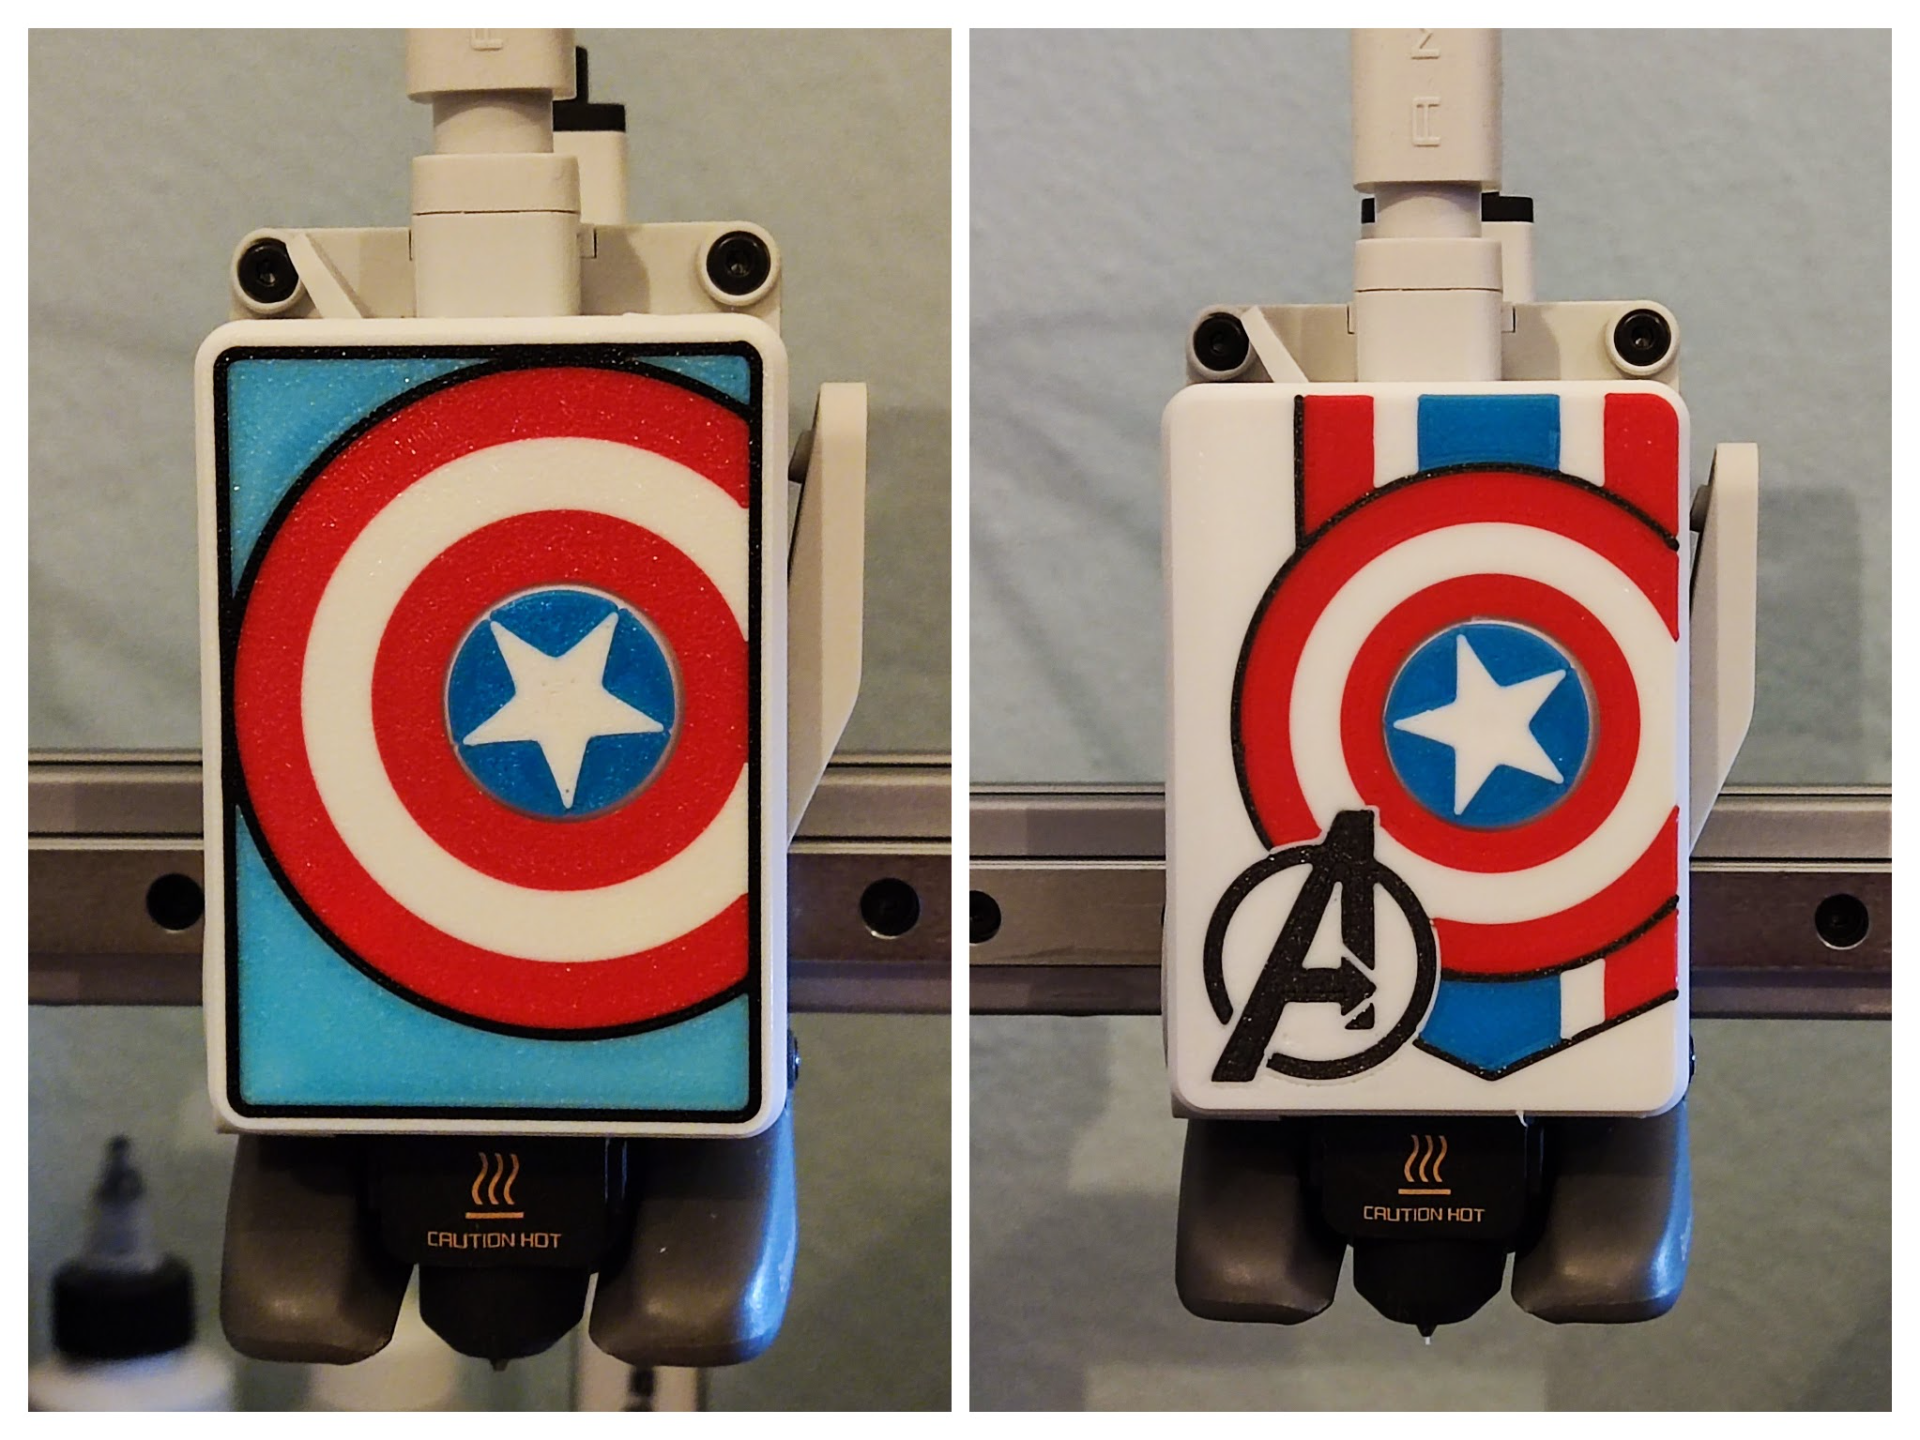
Hello. Today the main theme of the printer front is Captain America. I have prepared two versions of the front for the extruder with a Captain America shield with a spinning star in the middle. A few things about the version with only the shield, in the version with 4 colors, to obtain a light blue background, I set it to print only one layer of blue, which gives the impression of a lighter blue. All other colors are printed in three layers. I also prepared a 5-color version, but in this case you have to print the body and the star separately, in this profile the background already has three layers. Before you start printing, make sure you have a clean plate (Wash it in warm soapy water or IPA). The first layer has a lot of small elements that must stick well to the plate. The printing profile includes two plates, one with standard fasteners and the secound with strong fasteners. If you think that standard fasteners are too weak and may break, print a version with reinforced fasteners. Boost Me Hey! If you like my 3D models, I’d really appreciate it if you hit Boost! ? It’s a big motivation for me to keep creating and sharing new projects with the community. Every Boost shows it’s worth it – thank you! ? Let me know if the print was successful and if everything fits. If any corrections need to be made, let me know. If you have printed it, please leave a rating. Before installation, the original front and the rotating element must be dismantled. During installation, the eye should be pressed as far as it will go. After putting the face, the eye should be flush with the face or deeper. When assembling, make sure that the top latches are flush with the top edge before pressing from the front. See my other projects. Assembly instructions below. (same as Funy Face) Version with strong top fasteners.