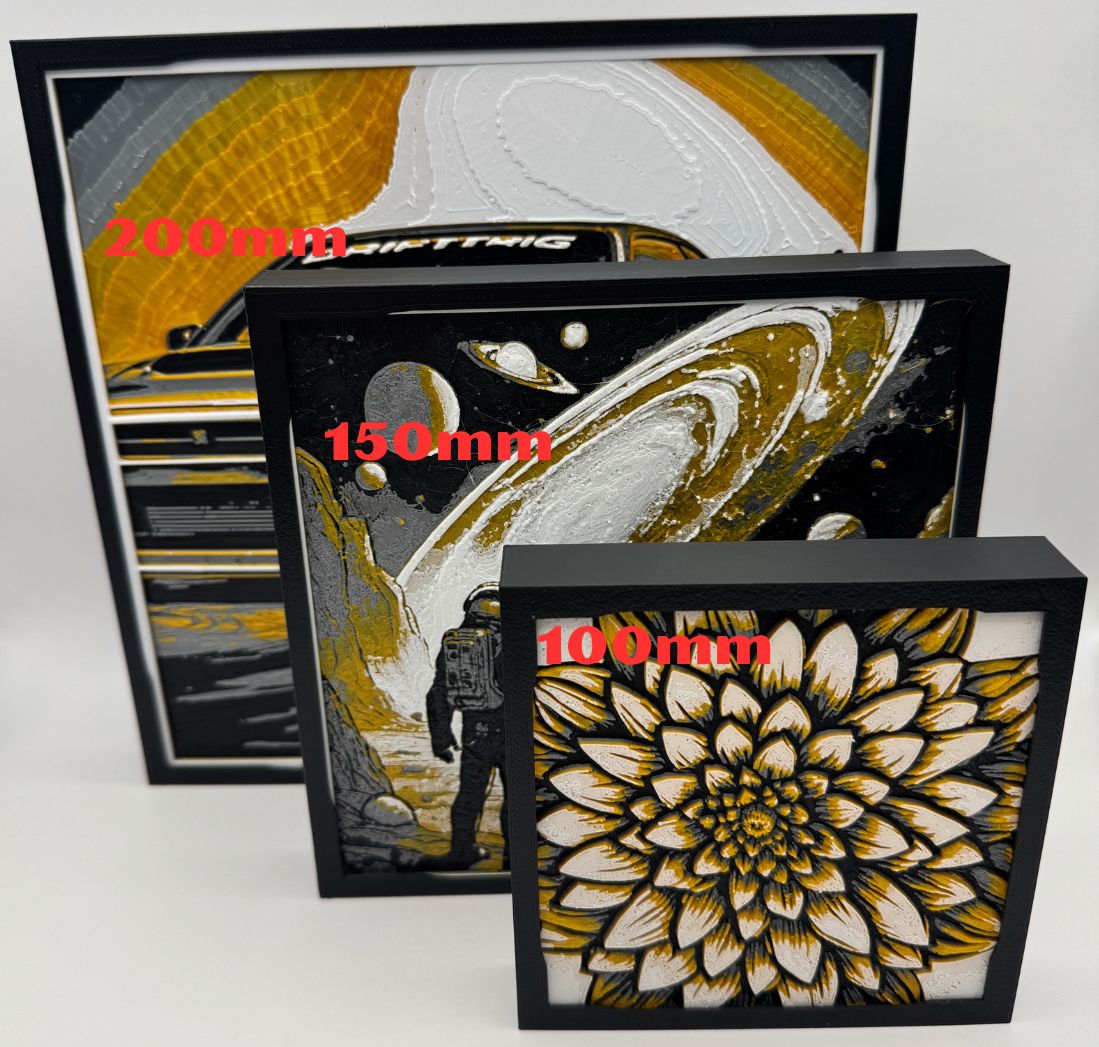
About this 3D model
Simple picture frame for Hueforge portraits 1:1 -100mm x 100mm 2.0/2.5/3mm Depth : Actual Frame size L 4 5/8" x W ¾" x H 4 5/8" -150mm x 150mm 2.0/2.5/3mm Depth : Actual Frame size L 6 ¼" x W ¾" x H 6 ¼" -200mm x 200mm 2.0/2.5/3mm Depth : Actual Frame size L 8 ¼" x W ¾" x H 8 ¼" -Wall or table/desk mount Specs: -Designed for Huforge prints with a Boarder Depth or Max Depth of 2.0/2.5/3.0mm 2nd Photo depending Print Profile -Recommed Minimum Border Width of 2mm if you are creating the portrait in Hueforge -3mm Border Widths will add nice visual 1mm past the frame window -All Frames include a lean to offset the weight of the pictures from falling forward when placed on a table or desk, this does not affect the symmetry of the frame hanging on a wall. -Future iterations will include Max Depths of 3.5mm/4mm & 5mm to accommodate higher detail prints -If the size you need isnt listed, leave a Comment Take A Look: -As always Double check your settings, print profile and printer selection to this print profile as this is based off of the X1 Carbon and Frostbite build plate. I like to run hotter print temps which might not be correct for your setup. -Issues you might run into , if the picture you are using doesnt have a boarder and the lowest layer heights are around the edge of the picture (darkest colors/first color used) there will be a loose fit. On the Other hand, if the picture you are using doesnt have a border and the highest layer heights are around the edges of the picture (lightest color/last color used) there will be a snug fit Material and Recommendations: -Recommend using Bambu Lab PLA Basic if your enviroment (away from Direct sunlight) allows for faster print times. -Recommend Speeds below 100mm/s if possible with generic PETG, Highest print quality aroung 75mm/s. Printing temp 250-260c -If printing with Bambu Lab PETG HF use recommend settings on filament roll. Printing temp 245-260c -Recommend higher temps with PETG to decrease print time, if speeds above 200/mms to prevent frame from warping if using textured plate -Recommend printing with a Brim to keep corners secure to build plate. Assembly: -See Main Photos for step by step assembly -Top/Up indicated by the arrow on back of frame -Place top of portrait in slot at top of frame first -Lightly rotate/roll/bend the bottom of portrait into the bottom slot in the frame -On left and right of frame pull outward to clear the side tabs on frame -Make sure portrait is snug in place