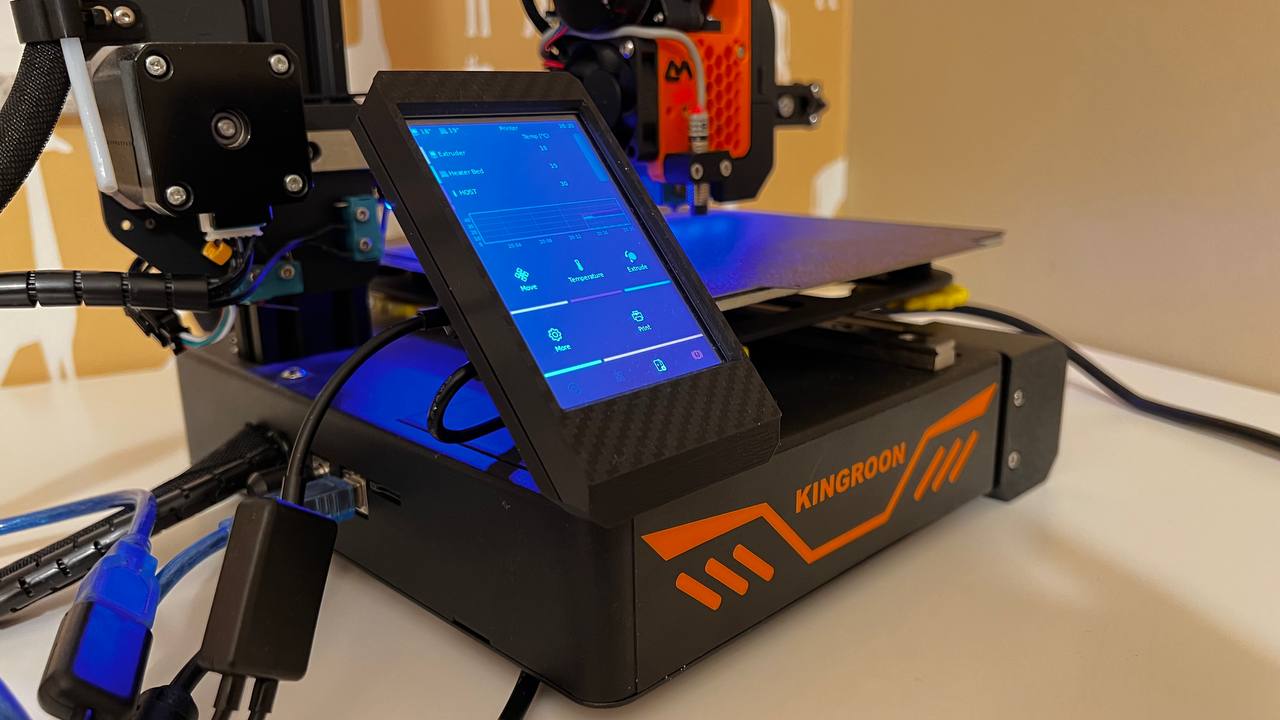
About this 3D model
Kingroon KP3s - LCD TFT RPi GPIO Raspberry pi Zero 2w This design has been created to place a raspberry tft with klipperscreen in our kp3s. NOTE: This is only compatibility with raspberry pi zero 2w or another model with the same dimensions. You can buy me a coffee with a donation. Me puedes invitar a un café haciendo una donación Click to donate Commercial components 1 unit - LCD TFT RPi GPIO 3.5" Raspberry 6 units - Heat inserts M3xD4.6xL4.0 6 units - Screw DIN 912 M3x8 Optional 1 unit - Aluminum case raspberry pi zero 1 unit – Kit soldering iron for heat insert nuts (Optional) Printing The printing part are designed to 0.4 nozzle, Infill should not be less than 20%, recomended 25- 30% The stl are shared in the correct position for best printing without supports Heat Inserts 6 units - Heat inserts M3xD4.6xL4.0 Assembly instructions 1. Remove the old TFT screen and install the base of new TFT with the same screws 1 unit - base_lcd.stl 2. Assemble the TFT case 1 unit - LCD TFT RPi GPIO 3.5" Raspberry 4 units - Screw DIN 912 M3x8 1 unit - front_lcd.stl 1 unit - back_lcd.stl 3. Fix the TFT to the printer base 2 units - Screw DIN 912 M3x8 4. Connect the raspberry to the TFT 5. LCD Installation Resource: http://www.lcdwiki.com/3.5inch_RPi_Display Open terminal(SSH) and install the driver on RaspberryPi sudo rm -rf LCD-show git clone https://github.com/goodtft/LCD-show.git chmod -R 755 LCD-show cd LCD-show/sudo ./LCD35-show Wait A Few Minutes, when the system reboot ok, you can see that. Rotate the display, execute the following command: cd LCD-show/ sudo ./rotate.sh 90 5. Installing Klipper Screen Resource: https://klipperscreen.readthedocs.io/en/latest/Installation/ The purchase links are affiliate links. If you buy through them you can help me continue creating designs. Thank you