About this 3D model
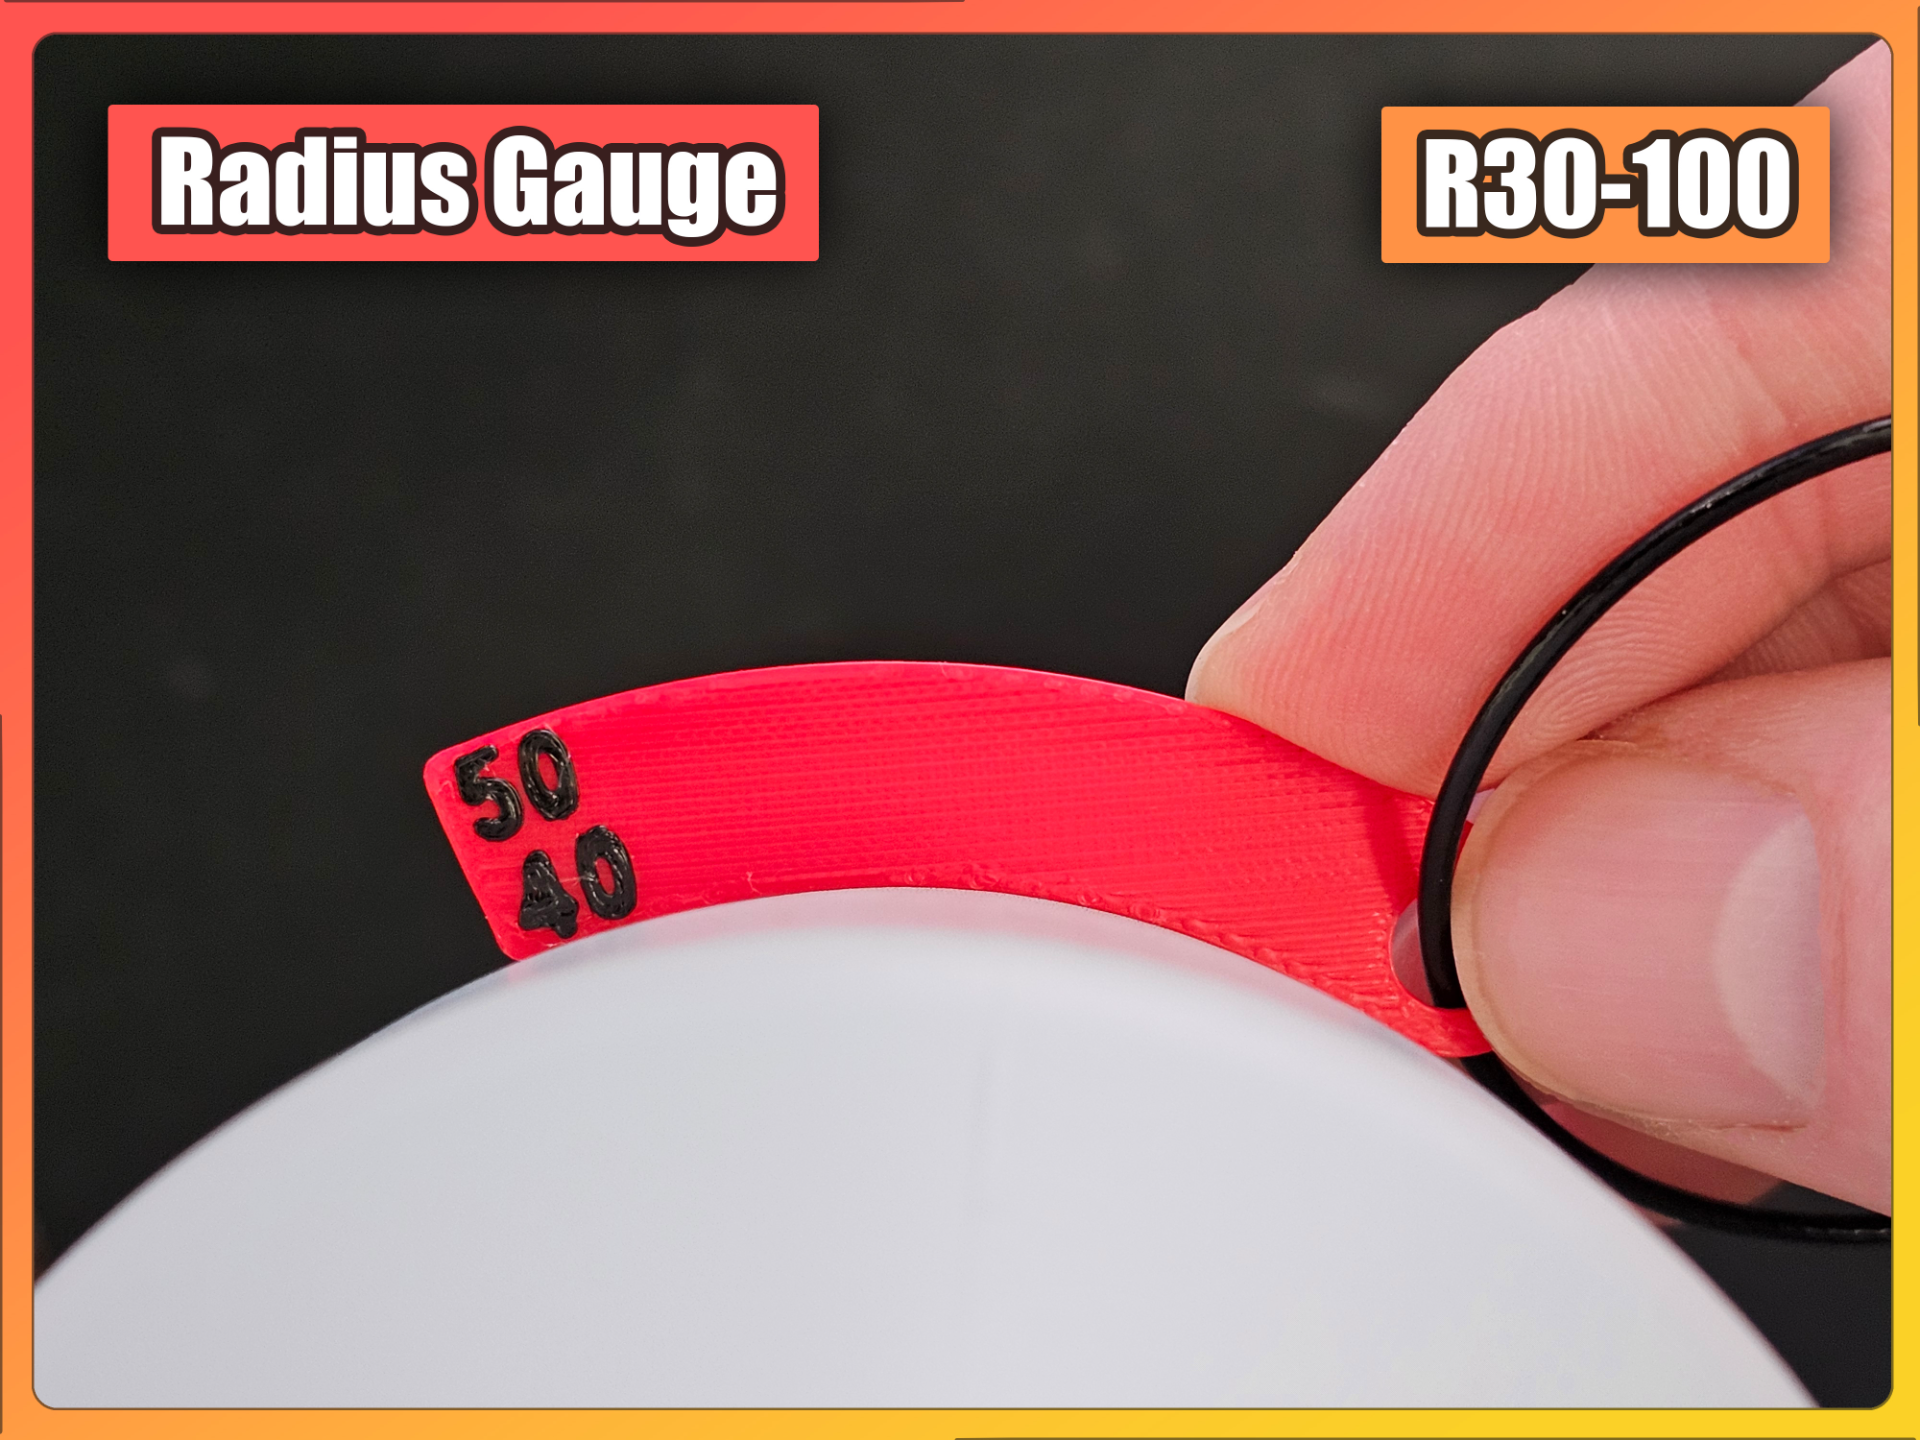
The existing radius gauges did not fully meet my requirements, prompting me to design these new ones. I sought gauges that could be conveniently attached to a keychain or something similar, eliminating the need to sort them post-use. Additionally, I required the flexibility to swiftly detach a single gauge for use in hard-to-reach corners. The usage of these gauges is quite straightforward, but to ensure clarity: Each gauge displays two numbers. The number at the top indicates the outside radius in millimeters, while the number at the bottom represents the inside radius in millimeters of that particular gauge. This set of gauges complements my Radius Gauge R1-30mm . Printing Instructions You have the option to enhance the readability of the numbers by performing a manual filament swap (already included in the print profile) during printing, maintain a single color for simplicity, or add color post-printing using a Sharpie marker. Make sure you have great bed adhesion as the sharp corners are vulnerable to warping. Maybe you have to use a smooth pei sheet or spray adhesive. However, I have consistently achieved successful prints of this model on an open-frame P1P printer using the standard textured PEI sheet without encountering any problems. Measurement Tools Collection I am constantly developing more measurement tools. Check out my entire Measurement Tools collection here .