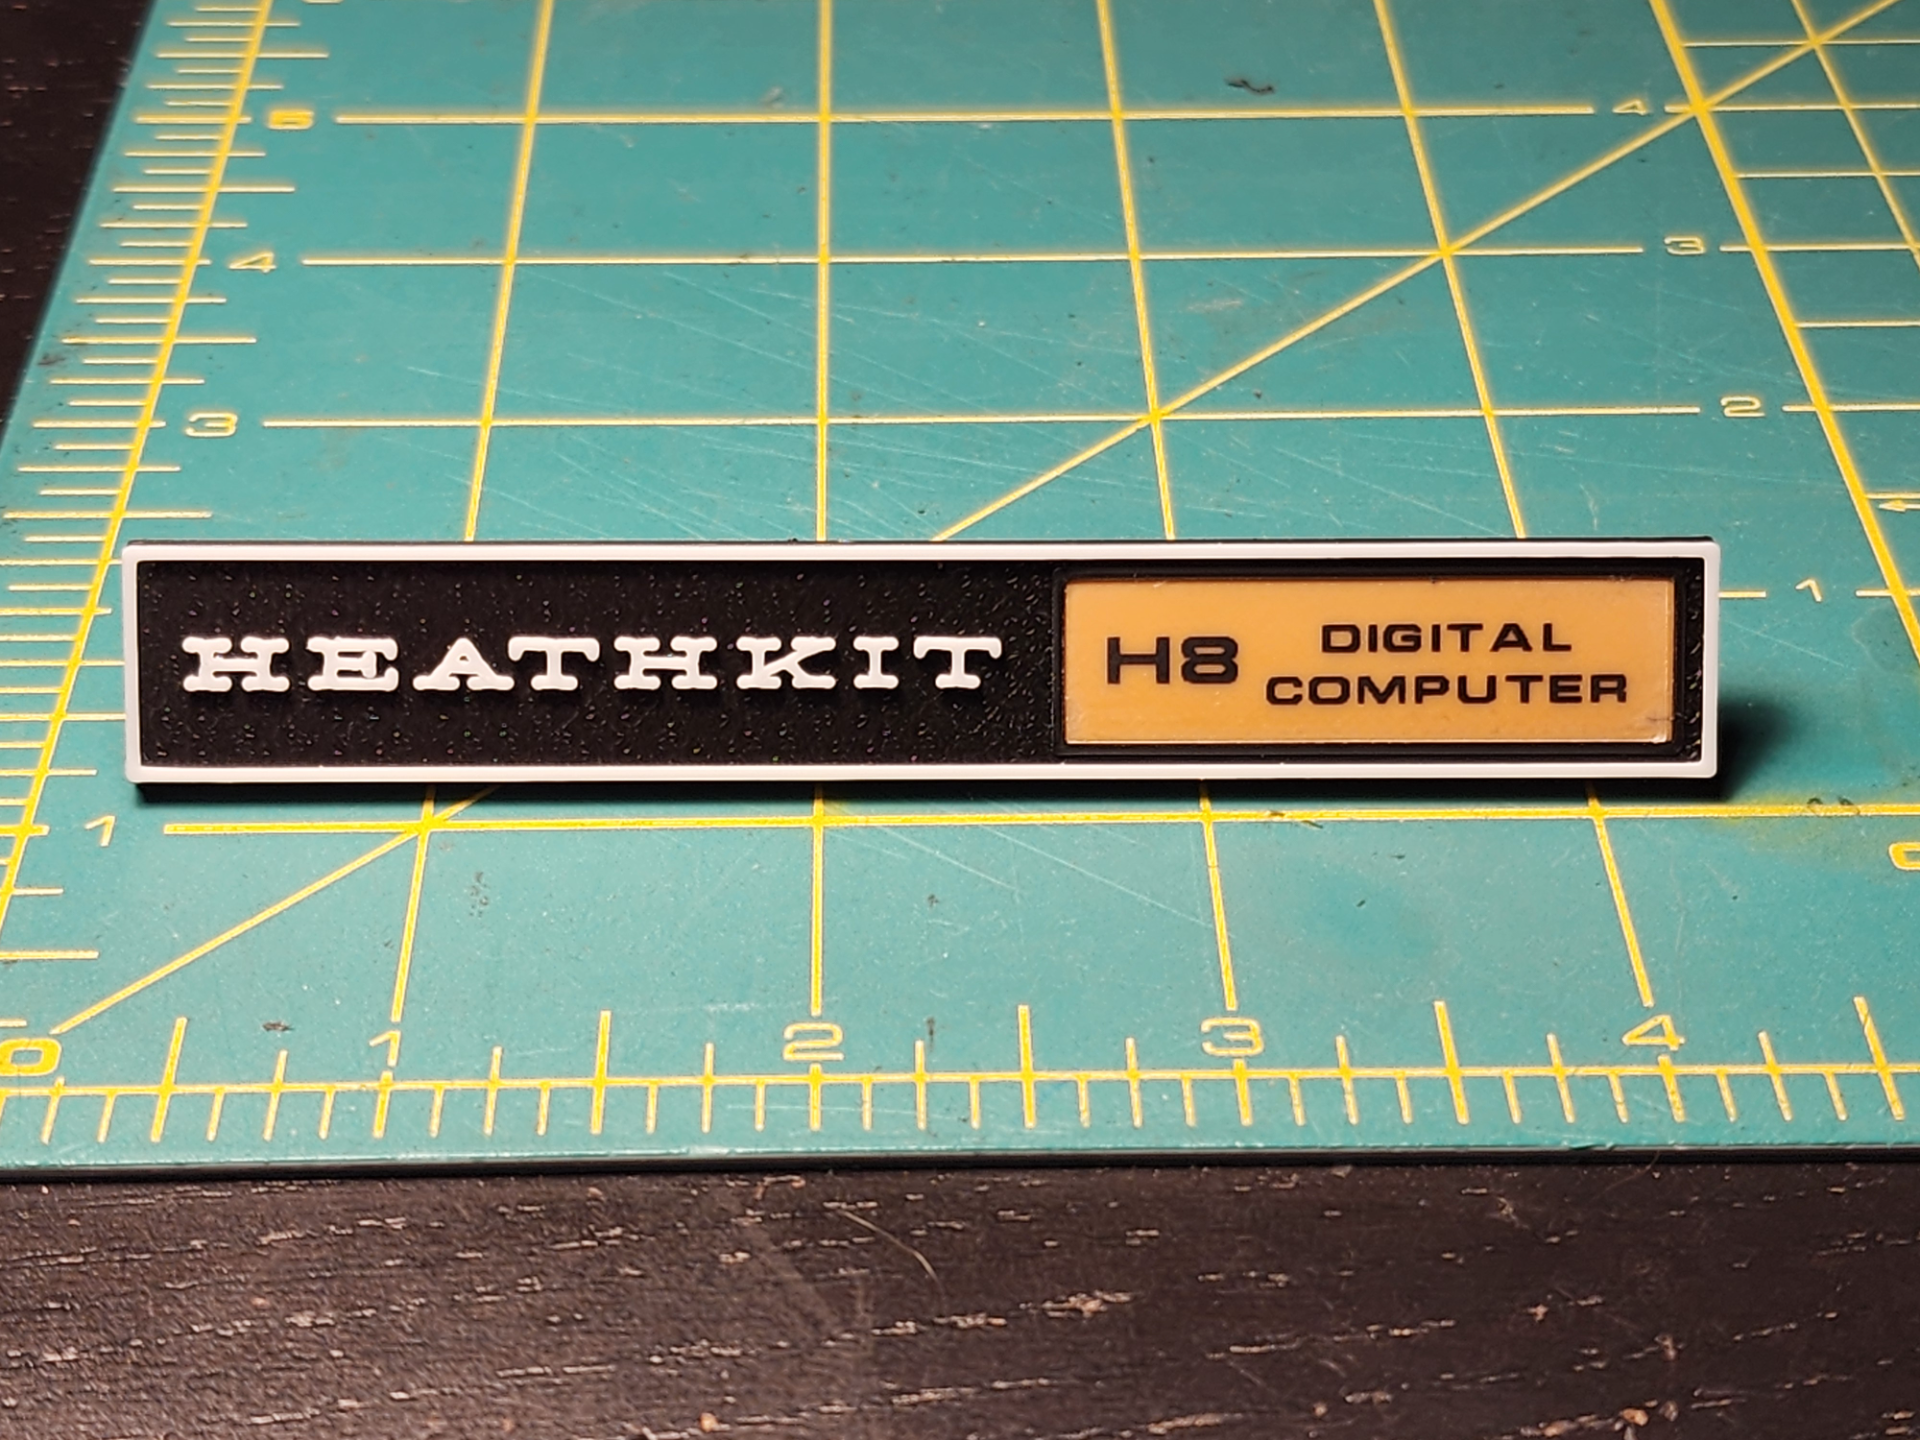
About this 3D model
Replacement badge for Heathkit personal computers, including: H8 Computer H11 Computer H9 Terminal H10 Paper Tape-reader/Tape-punch H14 Printer Label Text within the orange box is printed on a label. In the sample photo I opted to use an orange filament with a transparent label on top, but you may also opt to print it the same color as the rest of the badge, and then use a colored label of your choice. The font used on my label is “ Eurostile Extended Bold ”. The label should be 39mm wide and 10.5mm tall. Colors The colored (orange) box for the label is five layers deep. I occasionally experienced black imperfections from the main body color ending up embedded within the orange plastic. Using a prime tower helped decrease this. If you'd rather use a colored label and want the box to be the same as the body color (black), you can simply print them from the same AMS slot when sending the job to your printer. Supports Supports are required. Take care when removing supports to not shear off the pegs. Use PETG or Support for PLA filament as a support interface to allow for easier removal. Installation Due to the orientation that the badge is printed in, the pegs are relatively easy to break off. Self-threading nuts may further weaken them. I recommend using O-rings with an inner diameter of 3-4mm. You may also be able to use hot glue or putty. The badge doesn't need to be secured but may fall out if you move the computer.