About this 3D model
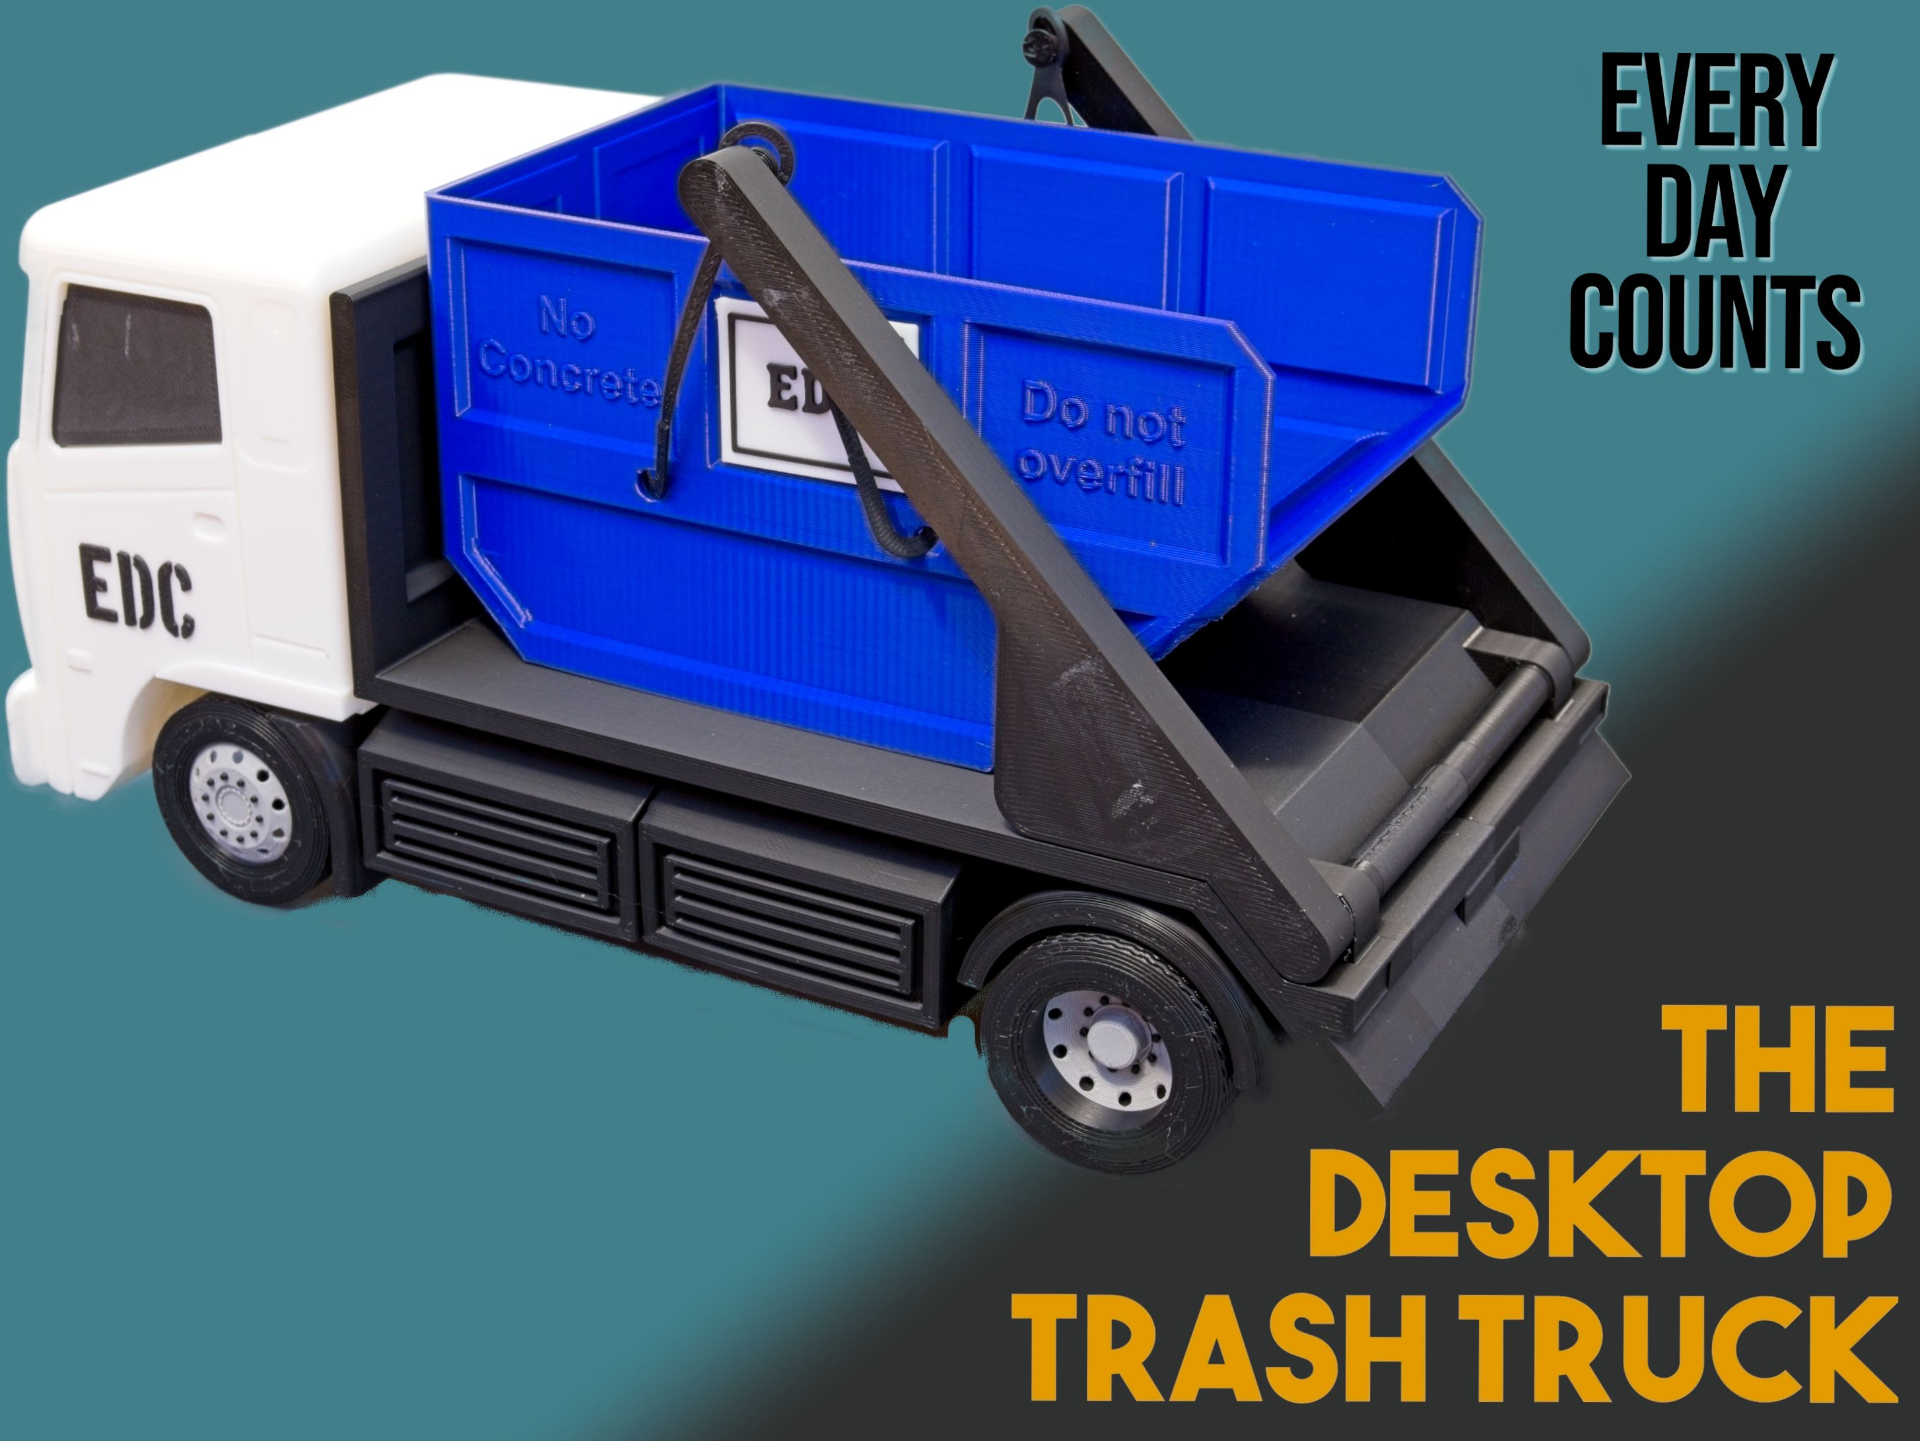
Some desks just need a good clean-up. Some items on the desk can go straight into the skip and head to the dump. This is a fun design that is intended to brighten up the office desk and bring a little whimsy. For my development model and photos, I included my own ‘EDC’ logos, but the model is supplied so that you can put your own messages or brands on it. I'm sure that someone will put the Bambu Lab logo on it. I have included the blank badges that can be customised by adding text in Bambu Studio (desktop only). This is a very easy print with just 3 pieces of support material to remove. See the assembly instructions below. No hardware is required - just a few dots of superglue. Thanks for looking at the model. If you choose to print it, please be sure to give me a (great) rating, a nice comment and even post a photo of your creation. Your support is appreciated. Instructions: Print all plates. Choose to colour the parts as you wish. I have set it out so that the main body and windscreen are in black, but feel free to change the cab and the bin to whatever you have. Remove the support material from the chassis parts. You will find it under each axle and near the front of the chassis. It should come away quite simply. Remove the brims from the connector pins. DO NOT be tempted to put the wheels on just yet - that will be the last step. Use the hexagonal connector and 2 x round connectors to join the chassis sections together. Just a dab of superglue in each hole and clamp together tightly for a couple of minutes whilst it takes hold Insert the windscreens into the 2 cab sections by sliding them in all of the way. You may find a strand of filament by pillar that might need to be cut away so that the windscreen sits completely flush. Use 3 x round connector pins to join the 2 halves of the cab together. Use a dab of glue in each hole and clamp until set. Insert 4 x round connectors to the cab and glue them into place Set the cab onto the chassis by aligning the pins. A small bit of glue around the holes will mean that this cab will not come off. OK, thanks for being patient. Now the wheels can go on. Obviously, the fatter double tires at the rear. These will click on the axle. Add the bin to the tray of the truck Use the ‘cables’ to connect the bin to the lift arms by hooking them through the holes in the bin. Attach any custom badges to the bin, doors or front of the truck as you wish. Go back to the Bambu App and be sure to give me a great rating for all of this. ? A ‘like’ and/or ‘collect’ will be appreciated too.