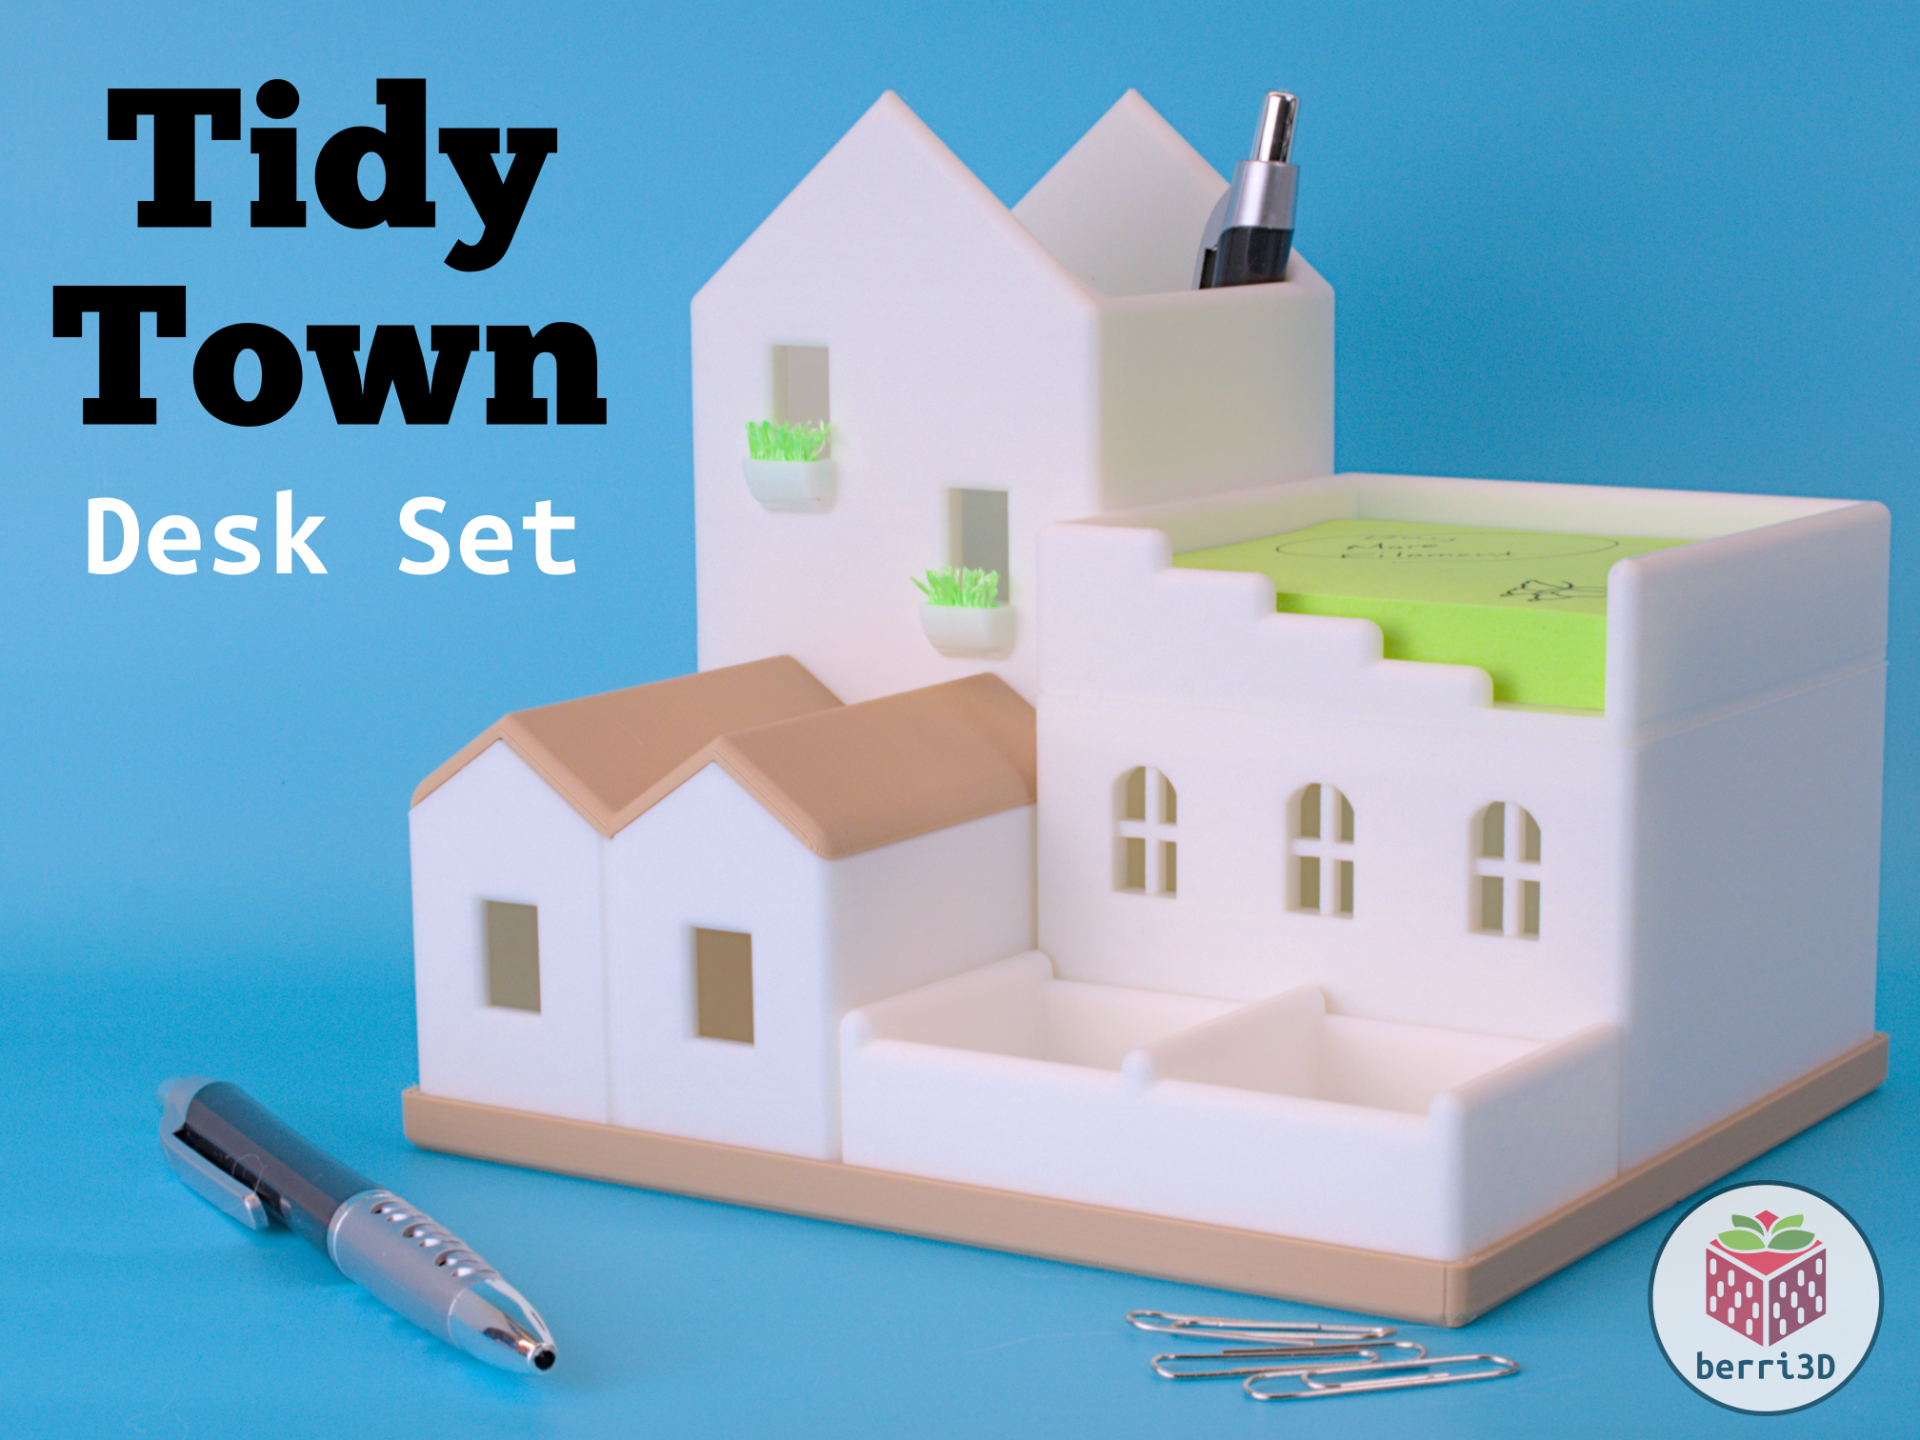
About this 3D model
Welcome to Tidy Town! This little organizer is designed to add a bit of whimsy to your desk and help you store things, too. IMPORTANT: Print the window box “grass” first. It can be tricky to print and/or you might not like how it looks. Window Box “Grass” Instructions Print the grass and carefully remove it from the plate. There are two of them in case of mistakes. Carefully cut down the middle to separate the two halves. Shape. Use your fingers to bend and shape the grass. Do you like it? Print the pencil cup with the window boxes. Don't like it? Use fake or dried greenery from the hobby store OR just print the pencil cup without the window boxes. NOTE: If the tips of the grass blades are discoloured after cutting, a very brief blast with a hair dryer or heat gun will re-melt the filament just enough to return it to its proper colour. DO NOT heat it too long or the filament strands will melt together and you'll have a blobby mess. Also, PLEASE BE CAREFUL and don't burn yourself. Use some needlenose pliers to hold it by the base so you can keep your fingers away from the heat. Troubleshooting Bottom of model warps or peels up at corners: Parts with large flat bases are more prone to peeling/warping than other parts. This is because that as the layers cool, they shrink and pull up on the bottom layer. The larger the layer, the bigger the pull. Furthermore, it's a common problem that isn't new to FDM printers. A1 series bedslingers or unenclosed P1P printers are also more likely experience warping because of their open air nature. Furthermore, auxiliary fans on the X1 and P1 series printers can also cause problems. Fortunately, there are things you can do to reduce the chances of it happening. You may need to do one or more of the following if your parts are warping: Ensure plate is 100% clean: skin oils from touching the surface can prevent models from sticking as well as they could. Clean plate in sink with plain dish soap and warm water. Use a clean soft bristle brush or non-woven cloth to scrub it. Do not touch the surface with your skin and move the plate by the edges. Print with a brim: Brims can be a pain to remove. However, they help the model resist the pulling forces of the cooling layers. The larger the brim, the more resistance. Print with adhesive: Glue stick, hairspray, or other specialty 3d printer sprays provide an extra layer (no pun intended) of adhesion to help the bottom layer stay stuck. Turn off auxiliary fan (X1 and P1 series) : Too much cooling provided by the auxiliary fan can cause warping closest to the fan. Turn it off by editing the print-profile. You can also control it using Bambu Handy but it might turn itself back on again due to the slicer instructions. The best way to keep it off is to edit the print-profile prior to printing. Close the door (X1 and P1 series): Air can sneak around open doors and cause warping. Close the door and instead vent by cracking the lid. Use a High Temp Smooth PEI plate: A smooth PEI plate may create a stronger connection with the bottom layer. All else fails?: The tray is tall enough that it should disguise the bottom of the cups well enough that any minor warping will be hidden from view. Shrinking near the bottom/weird horizontal line: AKA the infamous Benchy Hull Line . The reason for it is too long to write here. If you're interested, follow the link and read Prusa's article. TL;dr: it's a thing, it's common, it's hard to fix. Usually at this point I tell you how to fix it. Unfortunately, I don't have an answer as it's a complicated issue. If you know how to fix or reduce it, please drop a comment below and I'll add it to this section. Recommended Print Settings All my 3mfs have my recommended print settings. They're listed here with an explanation of why I chose them. Global Layer height: 0.2mm Seam position: Aligned/Back (I used whichever made sense for each model, hand-painting seam position where necessary) Sparse infill pattern: Gyroid (my preferred infill; change if you like) “With Brim” Profile Brim type: outer brim only (sometimes the parts can warp without a brim; this profile includes a brim for convenience) Grass Wall Generator: Classic (do not change it to Arachne or it won't print) Tray Outer wall speed: 50 mm/s (gives a higher quality surface finish to the bevel along the bottom perimeter) Duplex Roof Wall loops: 4 (adds strength to a thin part and made the upper edge look better) Outer wall speed: 50 mm/s (gives a higher quality surface finish) Raft layers: 2 (it's a very small footprint part so a raft helps keep it in place and is easier to remove than a brim) Castle Top (looser) X-Y contour compensation: -0.1mm (if the top doesn't easily nest into the bottom, this will decrease the contour slightly. You may need to decrease it more if it's still too tight. Go here for instructions.) About the Model Tidy Town began as a pencil cup. It was only supposed to be a pencil cup. That was it. No more, no less. But, as usual, my mind sta