About this 3D model
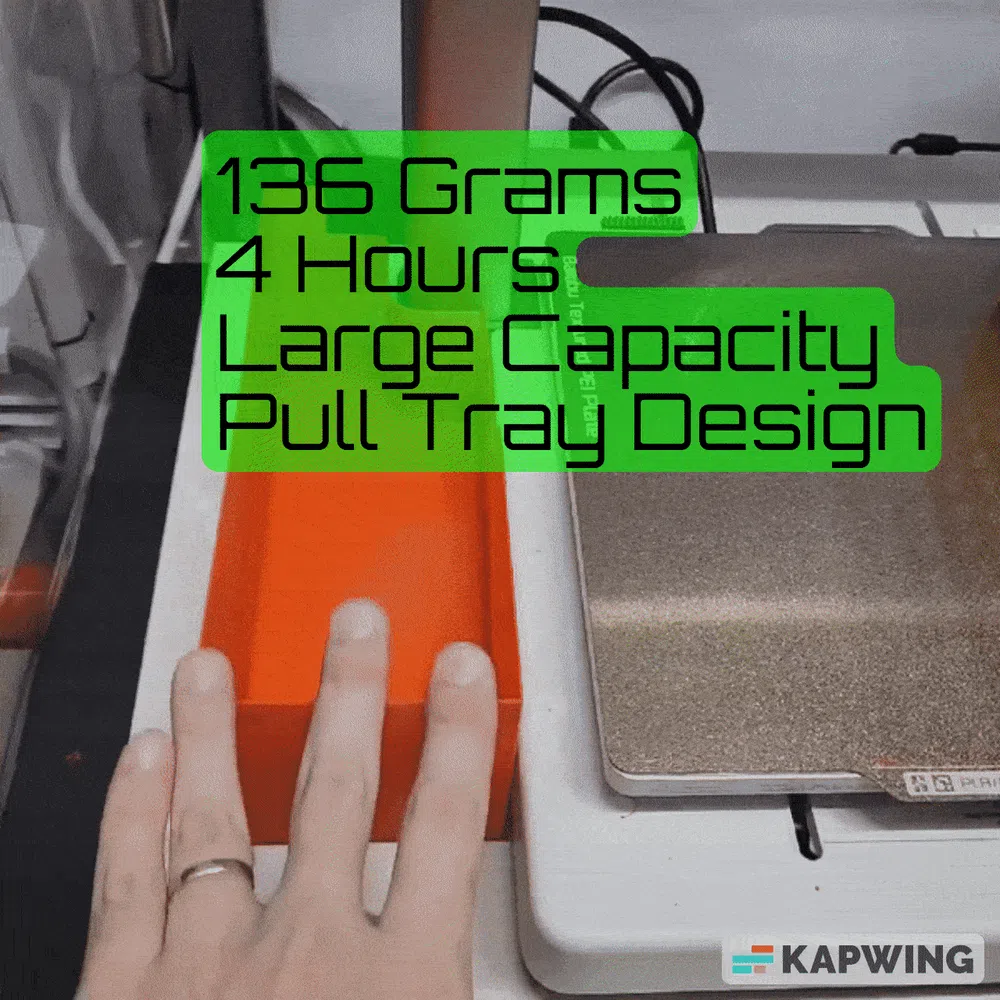
01makes suggested to make the same pull out chute design with thin walls aka the saver edition and so here is it. He have a really interesting calendar up right now too. If you want to follow him, click here https://makerworld.com/en/u/1401660476 Introduction Following the success and positive feedback on my previous Bambu pull tray poop chute and bin designs Pull Out Poop Chute design for the P1P P1S X1C A1 Mini Pull Tray Purge Bucket I started off the drawing board with multiple objectives this time. I need it to be stable and not move around when the user is pulling the tray in and out also smooth Pull tray action with the least amount of filament and the shortest possible print time yet i want it to be tough enough to within long period of use. And of course i want it huge to minimize the frequency to emptying of the bin. Basically a huge improvement to previous models. So here is it. A1 Poop Chute Tray - Redesigned. Note: If you need the Honeycomb version that is more stronger build of this Pull Chute Tray, It will take longer to print with slightly more material. Please click on this link. A1 Poop Bin SAVER Upsize (4HR 163g Filament) Highlights: Uses very little filament - Uses just 163g of filament! Print in just 4 hours for a large pull tray chute! MW App Print - Separated into 2 plates for ez print from Makerworld App Large Size - Less emptying in between Multi color printing. Great Stability - The chute is being held to the side of the printer with 2 original screws under the printer Simple Install - Unscrew 2 screws attach then screw them back. Pull Tray Design - Convenient and simple to empty waste Baffle Design - Bounce poop right into the chute. Please don't use silk material. I would suggest you to use my print profile as there are a lot of optimization and modifier done to make this work great. Thank you. Please ensure your bed is clean before printing. Please remove support on the Pull Tray screw hole before starting install. Step 1 : Put your A1 on the back at the edge of a table and unscrew these 2 screws. Attach the Pull Tray and use back the 2 screws. Do make sure it is tight but don't overtighten it. That's all. Put your A1 back up right. And its ready for use. What Mod / Fixes / Enhancement do i offer? Please don't download the wrong one. Only those in the photos below is designed by me who painstakingly took a lot of time to measure carefully and design just to get it working. #SupportOriginal Love you guys for all the support so far! - AMS FIX Failed To Retract Filament Error (a preventive measure and solve the bay 2 and 3 error and prevent bay 1 and 4 to have any possibility of having an error due to tension and friction) (Updated design on the 2nd photo below, try 1 then if it doesn't works properly for you then install the other one.) (BRAND NEW) AMS Filament Pull Back Fix V2 Upgraded - Completely New Design Upgrade For AMS Filament Pull Back ERROR! Precisely Measured - AMS Buffer Fix For Failed To Pull Back Filament Error (reduce wear on the external PTFE tube and allow the most smooth, least friction angle to go into the AMS buffer thus reducing the possibility of an error popping up) - V2 AMS Buffer Fix For Failed To Pull Back Filament Error (reduce wear on the external PTFE tube and allow the most smooth, least friction angle to go into the AMS buffer thus reducing the possibility of an error popping up) - AMS Fix - Stack the AMS on tp (Using a carefully measured holder to hold the PTFE in a curved angle that will allow filament to go through with the least possible amount of friction when the AMS is stacked on tp of the printer) - AMS Buffer PTFE Right Guide Mount Fix will correct and maintain a nearly 100% straight line when the PTFE tube exit the AMS buffer to move into the printer extruder. - V2 AMS Buffer Right PTFE Guide Mount - The Fix For Failed To Pull Back Filament a newly improved fix designed to replaced the V1 This will correct and maintain a nearly 100% straight line when the PTFE tube exit the AMS buffer to move into the printer extruder. Easy Installation. No screws needed! - Extruder AMS Filament Pull Back Fix will correct and maintain a nearly 100% straight line to move the filament in and out of the extruder. This will also reducing wear on the PTFE tube. Its design allow the filament to travel in the most smooth, least amount of friction and pressure for the proper angle to go into and exit the extruder thus greatly reducing the possibility of an Failed To Retract Filament error or similar errors from popping up. - V2 Extruder AMS Filament Pull Back Fix will correct and maintain a nearly 100% straight line to move the filament in and out of the extruder. This will also reducing wear on the PTFE tube. Its design allow the filament to travel in the most smooth, least amount of friction and pressure for the proper angle to go into and exit the extruder thus greatly reducing the possibility of an Failed To Retract Filament error or similar errors from popping