About this 3D model
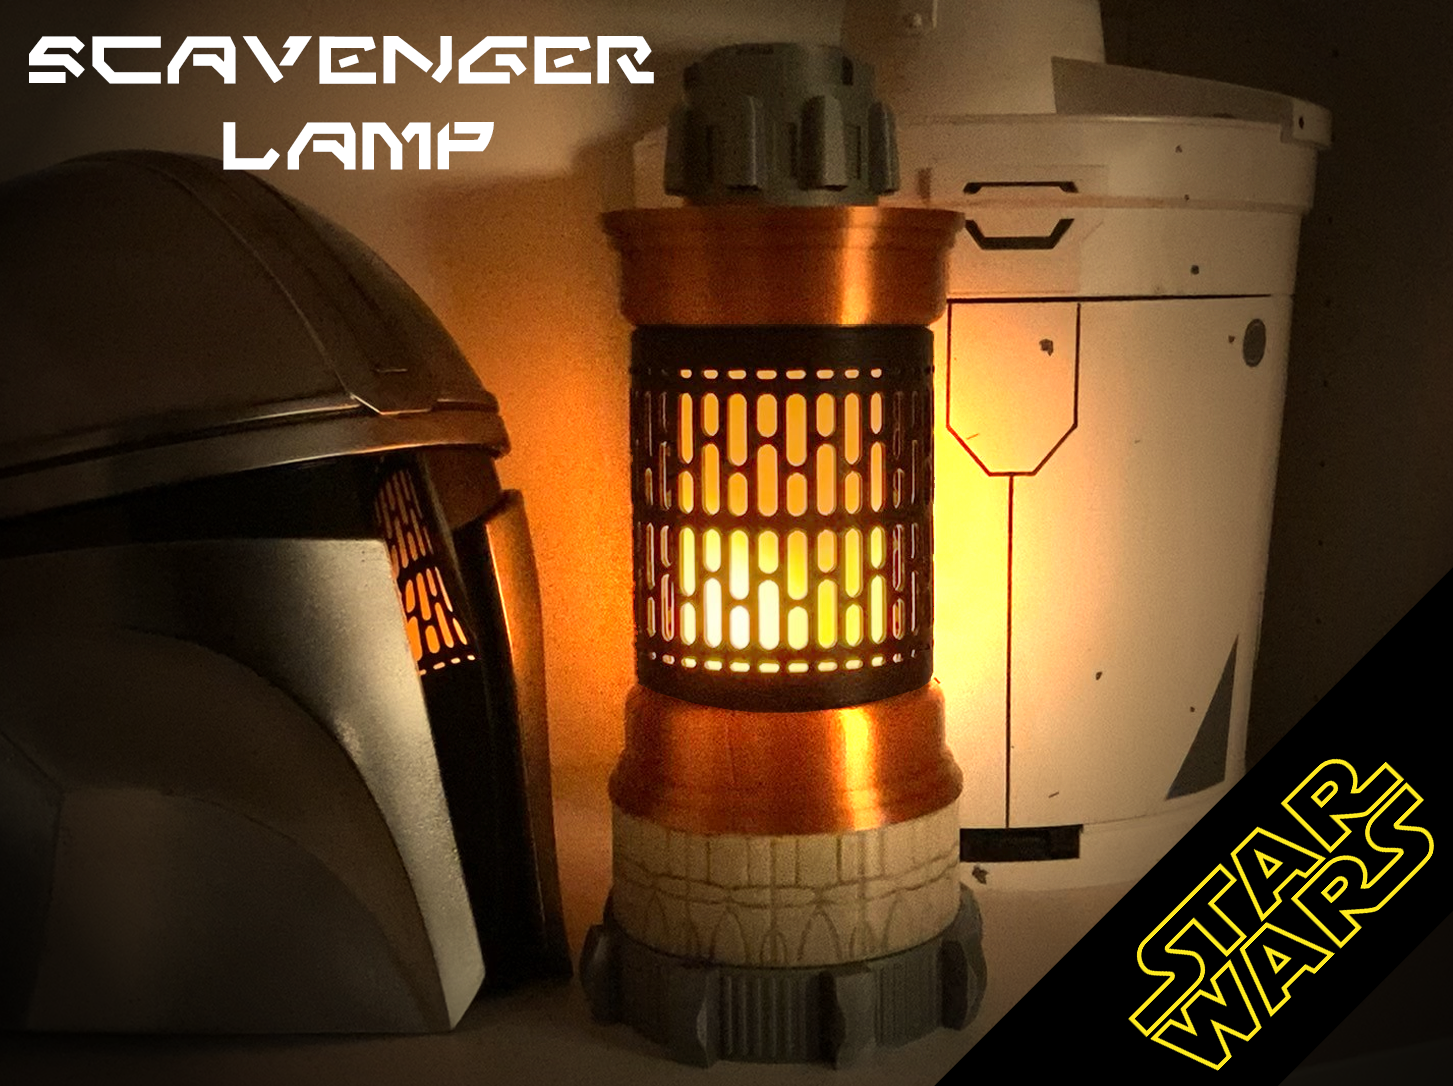
Illuminate Your Space with a Jawa's ingenious creation – This lamp is crafted by Jawa's from galactic scrap, bring the force to your personal space. For interchangeable parts see Star Wars Jawa Scavenger Lamp Modular Parts 2 Overview This model comprises 6 modular rings that effortlessly screw together for easy assembly. The modular design offers the flexibility to print parts in distinct colors and interchange components seamlessly. Drawing inspiration from iconic in-universe designs such as Death Star wall panels, Lightsaber bases, Millennium Falcon seats, to thermal detonator caps, each part of the lamp exudes a distinctive Star Wars flair. Designed to accommodate the CFGROW LED Flame Effect Light but can be adapted to support a diverse range of lighting options. Printed parts count: 6 Key Features Modular design Simple Screw fit assembly Drop-in light solution Star Wars inspired design Flicker effect light Battery operated with remote Printing Details Recommended filaments: Photographed model was printed in PLA+ & Silk PLA Hotend: 0.4mm Hardened Steel Total Print time: <12 hrs Printing Tips: The following parts can be printed successfully using the provided print profile and no supports but will experience some small flaws in the internal overhangs; these are not visible and do not affect the function: Ring 1 Ring 2 Screen Ring 4 For flawless printing, turn on supports for all. Ring 3 and Top Cap require supports as in the print profile. Makers Showcase Assembly These are the 6 component parts Rings 1 & 2 simply screw together Rings 2 and 3 easily screw together, with Ring 3 serving as the base for the light. To enhance stability, I placed a self-adhesive metal disc to the base, as the base of the used light is magnetic. While this aids in securely holding the light in place, it's important to note that it's not mandatory, as the fit is snug without it. Screw the screen into ring 3 before placing the light inside as this will give you more freedom to assemble. At this stage you can place the light inside the screen, it will fit securely in base ring 3 and if you place a metal disc inside it will snap in to place. With the light inside you can now screw ring 4 to the top of the screen. Finally you can screw the top ring in to place on ring 4. Disassembly is straightforward in case you need to remove the light for charging or to switch off, it is recommended to opt for the remote version, allowing convenient control from a distance.