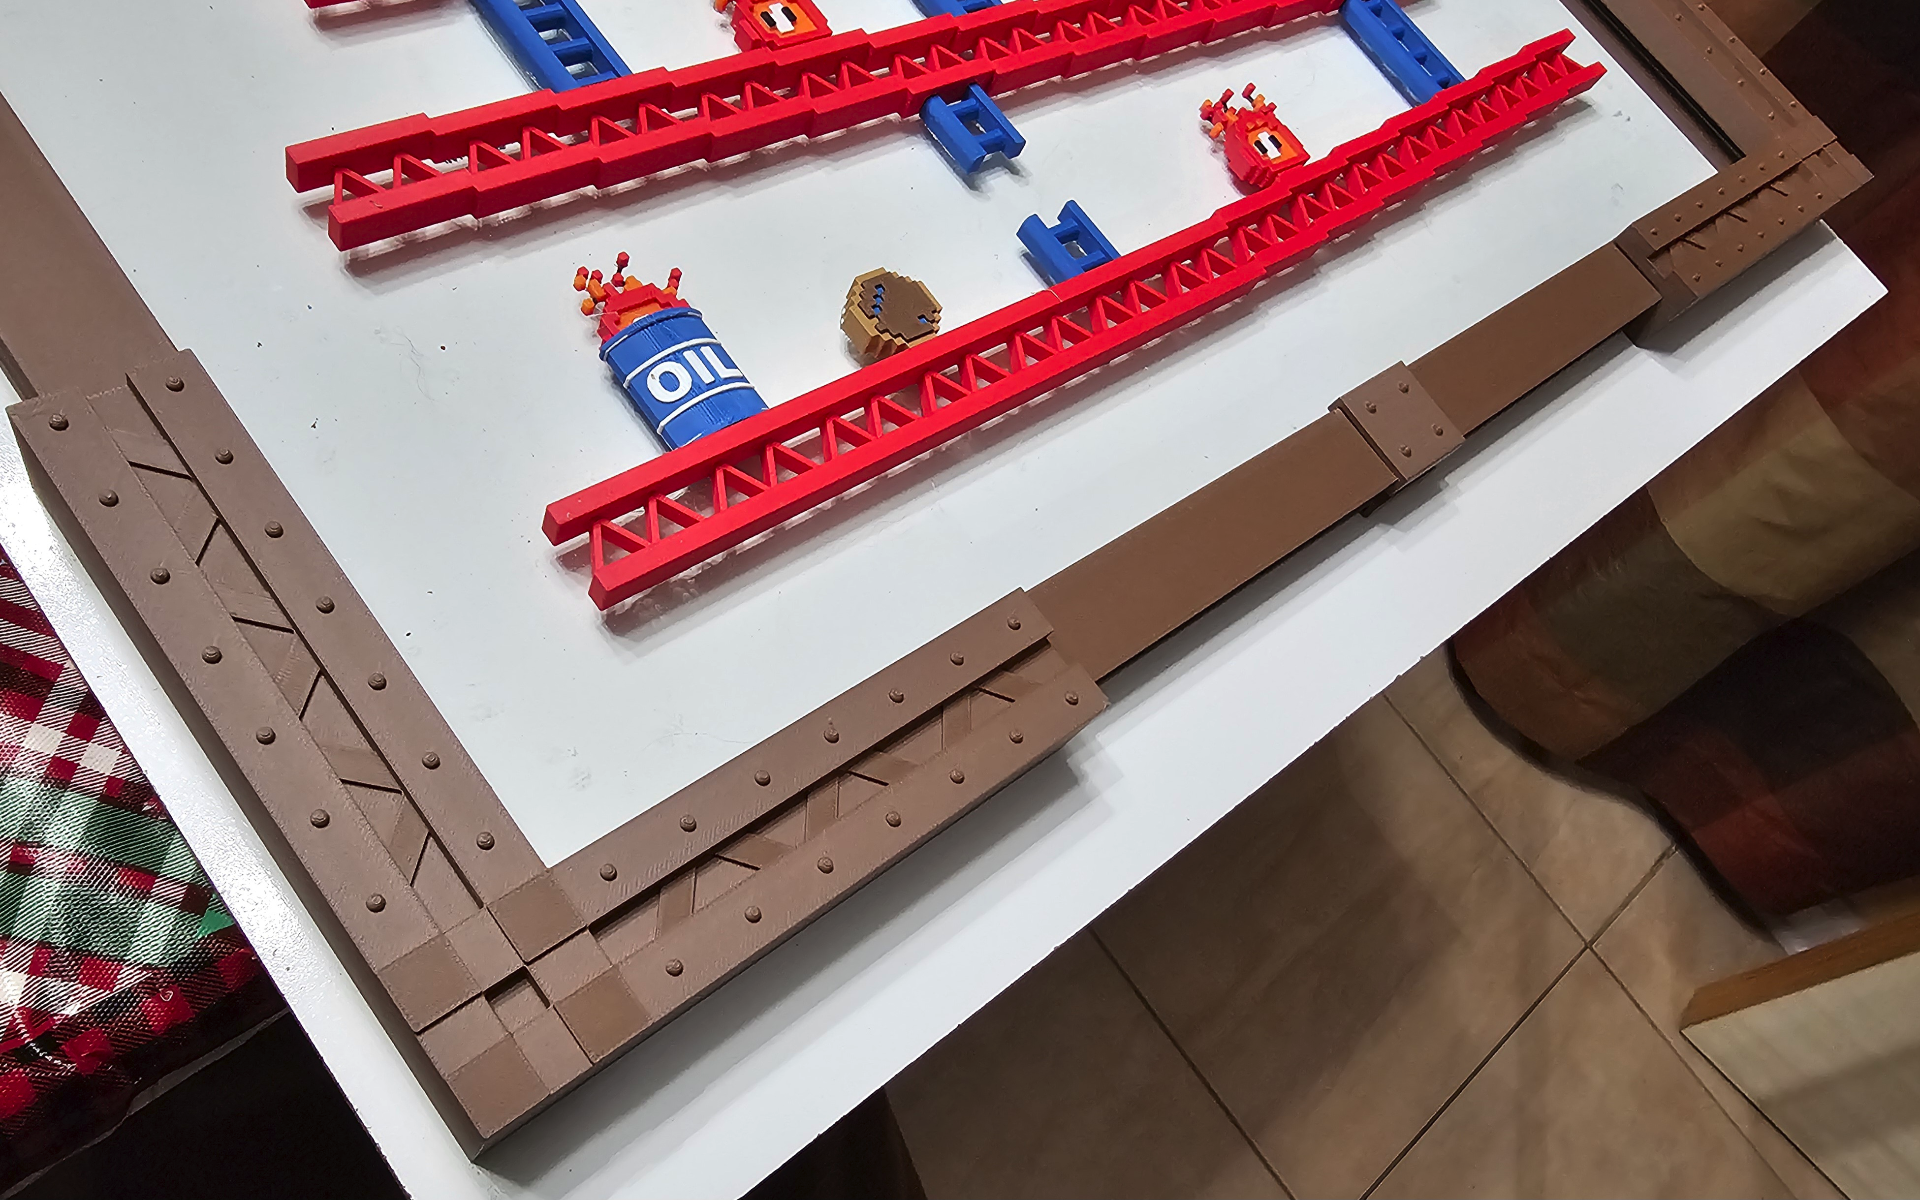
About this 3D model
This project is an optional accessory for the Donkey Kong Arcade 3D Playfield project. That project can be seen here: https://makerworld.com/en/models/168687#profileId-185255 Although I created this specifically for the Donkey Kong project it could be used in other creative ways. The design consists of four corner pieces which are machined to accept eight I-Beam extensions. The eight I-Beams can be connected with joiners that look like riveted gussets to make any desired length. The gussets are a uni-directional design and will not interfere with the inner channel of the frame. Joiners will also conceal the outer visible perimeter. The I-Beams are designed to be cut to form a frame size you require. I-Beams attached to corner pieces should be glued in place. The pieces that attach near gussets/concealers do not necessarily need glue. I chose to keep my gussets un-glued just in case I had to disassemble in the future. I used foil tape to keep frame members from moving. My frame pieces had a fairly tight fit. Your print results may vary. Use your best judgement on final assembly and keep safety first when hanging objects from a wall. I hope you enjoy my work! Print Settings Printer brand: Bambulabs Printer: Bambu P1S Rafts: No Supports: Yes Resolution: Standard Infill: 15% or less Filament color: Army Brown Filament material: PLA Matte Notes: This is a long print, so you don't want your investment of filament and time to go to waste. Make sure your hot plate is spotless, using Dawn dish soap and water, if using a textured PEI plate. I personally do not use adhesives with my textured PEI plate but your choice of filament and other machine settings may dictate a different strategy. The I-Beams can be cut to size with a miter saw or hacksaw once printed, to get a precise fit. If you know the exact size needed you can cut them in the slicer application also. The corner pieces and gap concealers will cover any small gaps. Make sure to install gaps covers in the correct orientation before using any glue. The gap concealers should wrap around the outside perimeter of the frame. The opening of the slot for the plexiglass and a backer board is 9.25mm. This design will require supports due to large overhangs. Do not try to print without enabling supports in the slicer. Different printers will have different tolerances and different filaments will have different shrink potential as they cool. I would recommend printing one corner piece and one I-Beam so you can evaluate how the pieces will fit, using your machine setup. With my printer and my choice of PolyTerra filament, the pieces fit snug. Post-Printing The elements of this design should fit together snug. If they fit too tight you may need to do some sanding. Do not force fit as it may split the joints. A small amount of E6000 Multi-Purpose adhesive should form a good bond between the pieces. How I Designed This I drew the elements of this design in Fusion360.