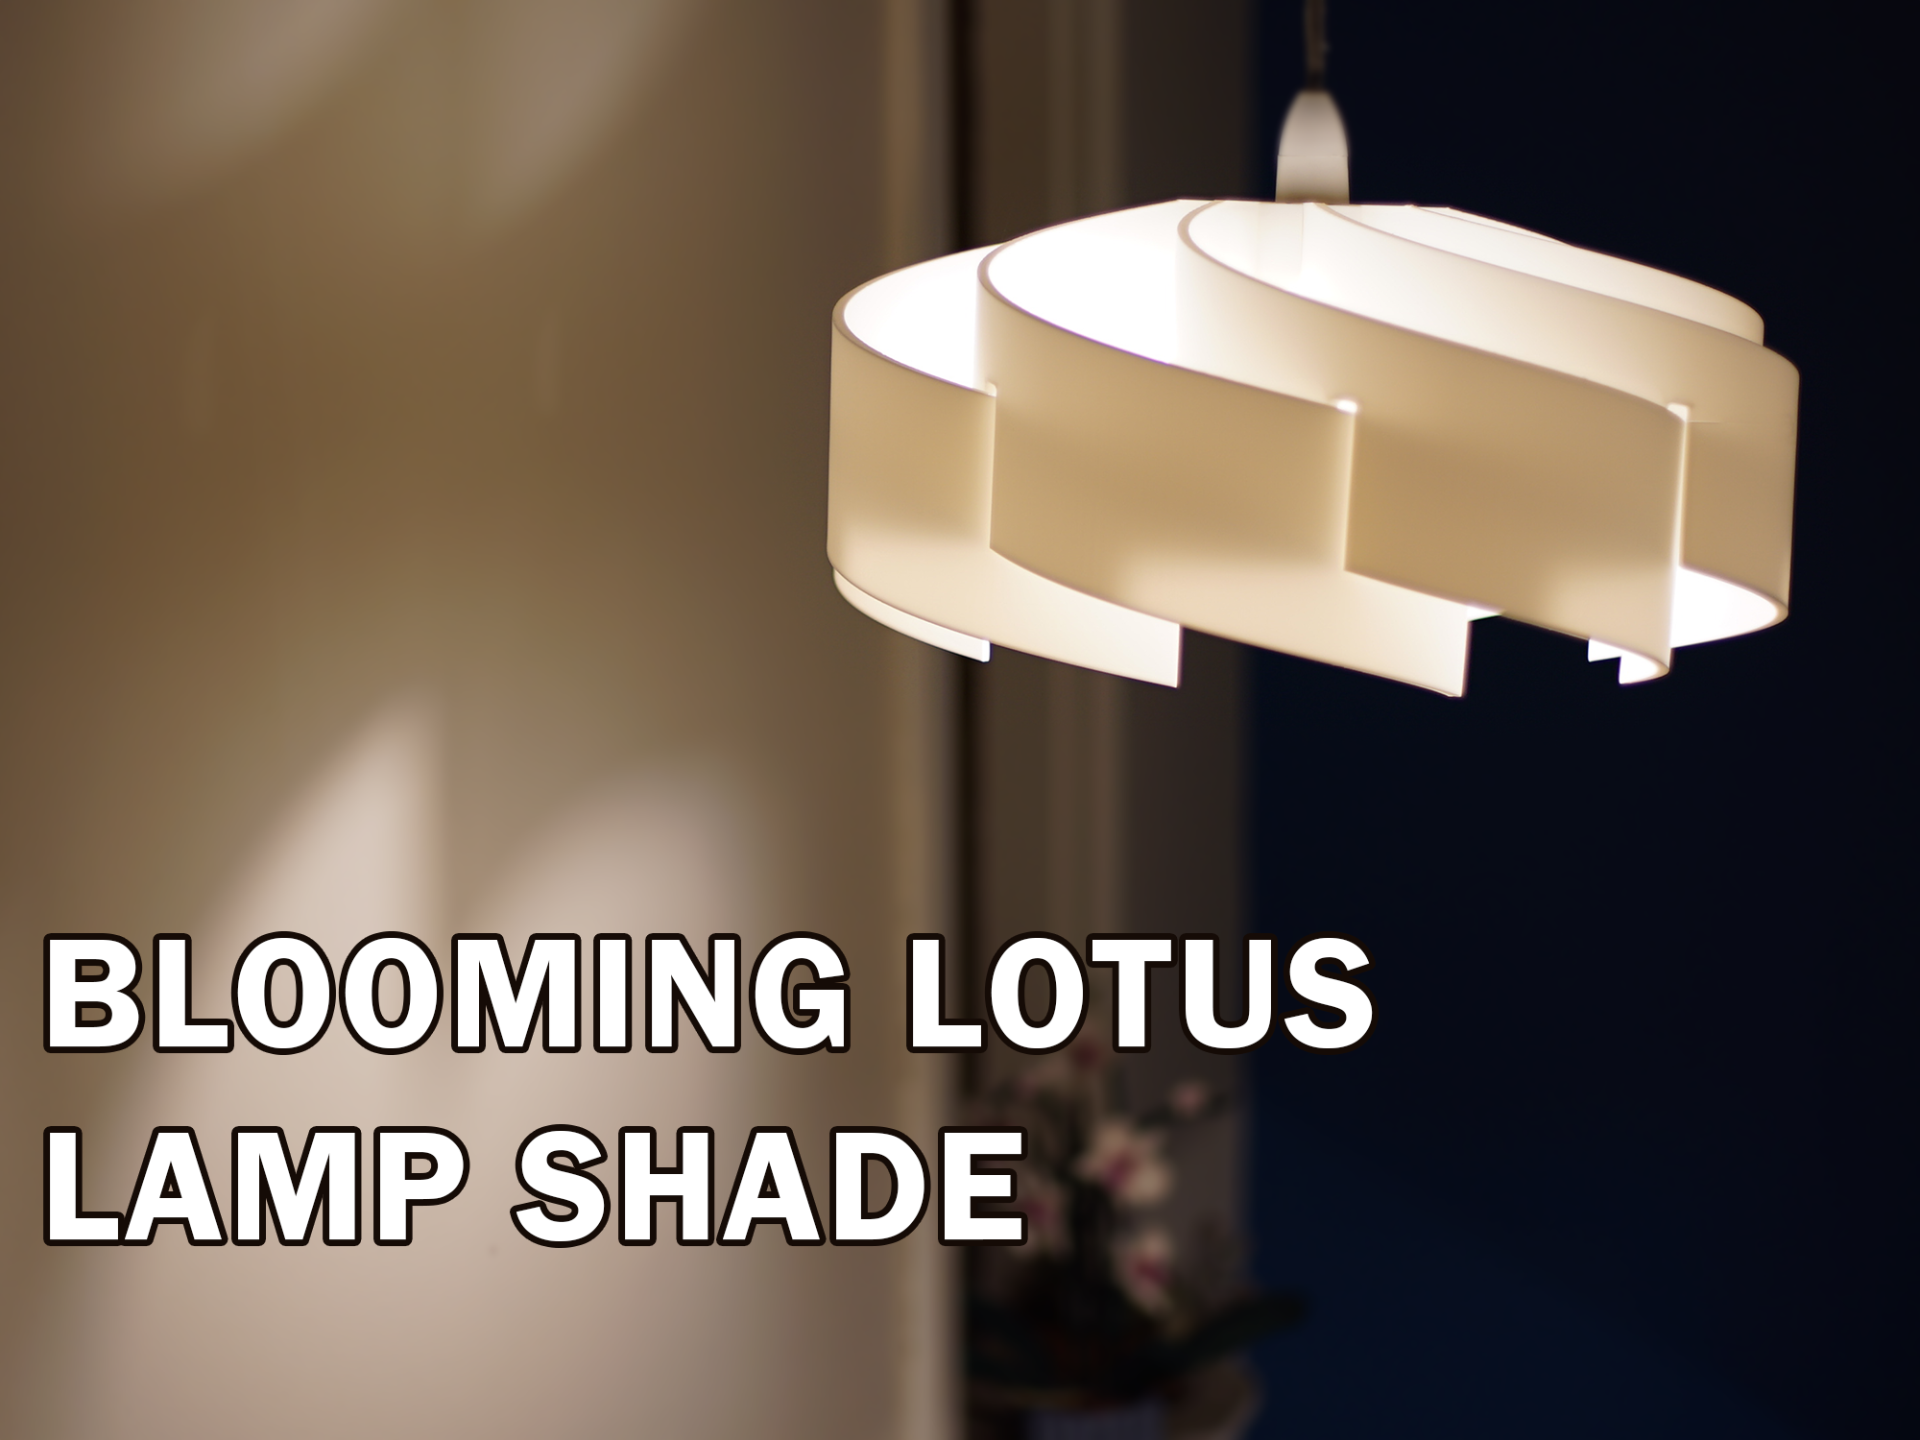
About this 3D model
Blooming Lotus Lamp Shade G'day Everyone! Thank you for having a look at my submission for the ‘Let there be light’ Makerworld design contest. I would like to introduce the Blooming Lotus Lamp Shade. Inspired by my love for geometric patterns, this lampshade had the fundamentals of the mathematical pattern ‘Seed of Life’ or ‘Vesica Piscis’ equation with some tweaks. The result is a symmetrical and eye-catching design with strongly shaped shadows to throw flavor into your room. Update 18/07/2024: Added commercial licensing through Ko-Fi; https://ko-fi.com/jackalolz Update 08/02/2024: Changed existing printing profile to 'Mode 1'. Added 'Mode 2' with different mounting options. This print is a large one. Here are some quick-fire facts Two printing plates with nine prints in total 45 Hours of printing Over 1.2KG of filament Push-fit joins - No glue, bolts or magnets The result is a 46.5cm squared wide lamp shade that is something to behold and admire. Before continuing and especially before printing, I am going to identify a few hazards for your personal health and safety. Falling - The installation of this lamp shade was designed for lighting bulbs either hanging or secured to the roof. Please only use a ladder on a stable surface with appropriate footwear to avoid any slips or falls from heights. Electrical - The lamp shade installation process will involve disconnecting the light bulb from the socket. Please ensure the light switch is turned off before attempting the installation process. If you are not confident please do not attempt to install this yourself. Heat - Domestic lightbulbs can range from low to high wattage, the higher the wattage the more heat (usually). Please consider what type of plastic you wish to print along with what light bulb you will be using in conjunction with this lamp shade. Please monitor the heat of the lampshade post installation to minimize the risk of melting and possible fires. These disclaimers are not designed to stop you from printing. They are here to identify the possible risks in unlikely events and to better protect you and I from harm. With all that out of the way, on to the fun! Step One: How does it work? As seen in the quick GIFs above, the lampshade comes with two mounting options Mode 1 : The circle mount sits snugly on the light bulb socket housing. When the light bulb is reinserted and secured the mount can sit on top of the light. Mode 2 : The mount sits between the plastic housing of the fixture and is secured by the plastic screw cap MODE ONE RECOMMENDATION: I strongly recommend you measure your bulb housing and resize the mount object to the correct fit of your fixture. It is safer to have the weight rest on the bulb housing than on the bulb itself. A Fusion360 file has been uploaded to the raw files and is downloadable for all possible mount modifications. At the time of upload, the mount diameter is 37.4mm which is large enough to fit all bulb housings in my space. If you print my uploaded profile without making any modifications, your lamp shade will most likely be resting against the light bulb rather than the bulb housing. Temperature-resistant adhesives are another possibility for securing the mounting bracket to the bulb housing without making STL modifications. Step Two: Printing My Design: Pick your desired mounting option. Both Mode 1 and Mode 2 prints have models for PLA and PTEG options to start printing straight away. Plate 1 and Plate 2: PLA Plate 3 & Plate 4: PTEG TLDR: PLA Printing Plate Mount: 40% Gyroid Infill, 2 Walls, 0.2 Layer with 0.4 nozzle Arms: 0% Infill, 2 Walls, 0.2 Layer with 0.4 nozzle Following my uploaded design this print includes: Mounting Bracket Print Plate - 3.1 hrs with 64.5g used. Print once. Circle Arms Print Plate - 5.1 hrs with 142g used. Print eight… (yes), EIGHT times combining a total of 41 hours of printing with 1.14kg of filament used. Note From Designer: Unfortunately due to my stock and the timeframe of this contest, I was unable to make this model in PTEG like I would have wanted. This model has been tested and printed in PLA. If someone prints this in PTEG before I get my re-supply please let me know any findings or issues that I can update this model with. Infill Options: Printing with my settings will result in the pictures found above showcasing the model. I knew I was a fan of the transparency and the crisp wall shadows, but you can let your design run wild. Here is an example of infill being used with the lampshade. Generating an infill will produce visual patterns on the lampshade. I am unsure if these patterns will show up on the surrounding walls of your room but feel free to let your favourite pattern run wild. From my experience, this test piece with 5% infill added an hour of print time so make sure it's what you want. I opted for the 0% infill for a few reasons; primarily the transparency and with wanting the lightest weight possible to reduce forces applied to the light bulb and bulb housing.