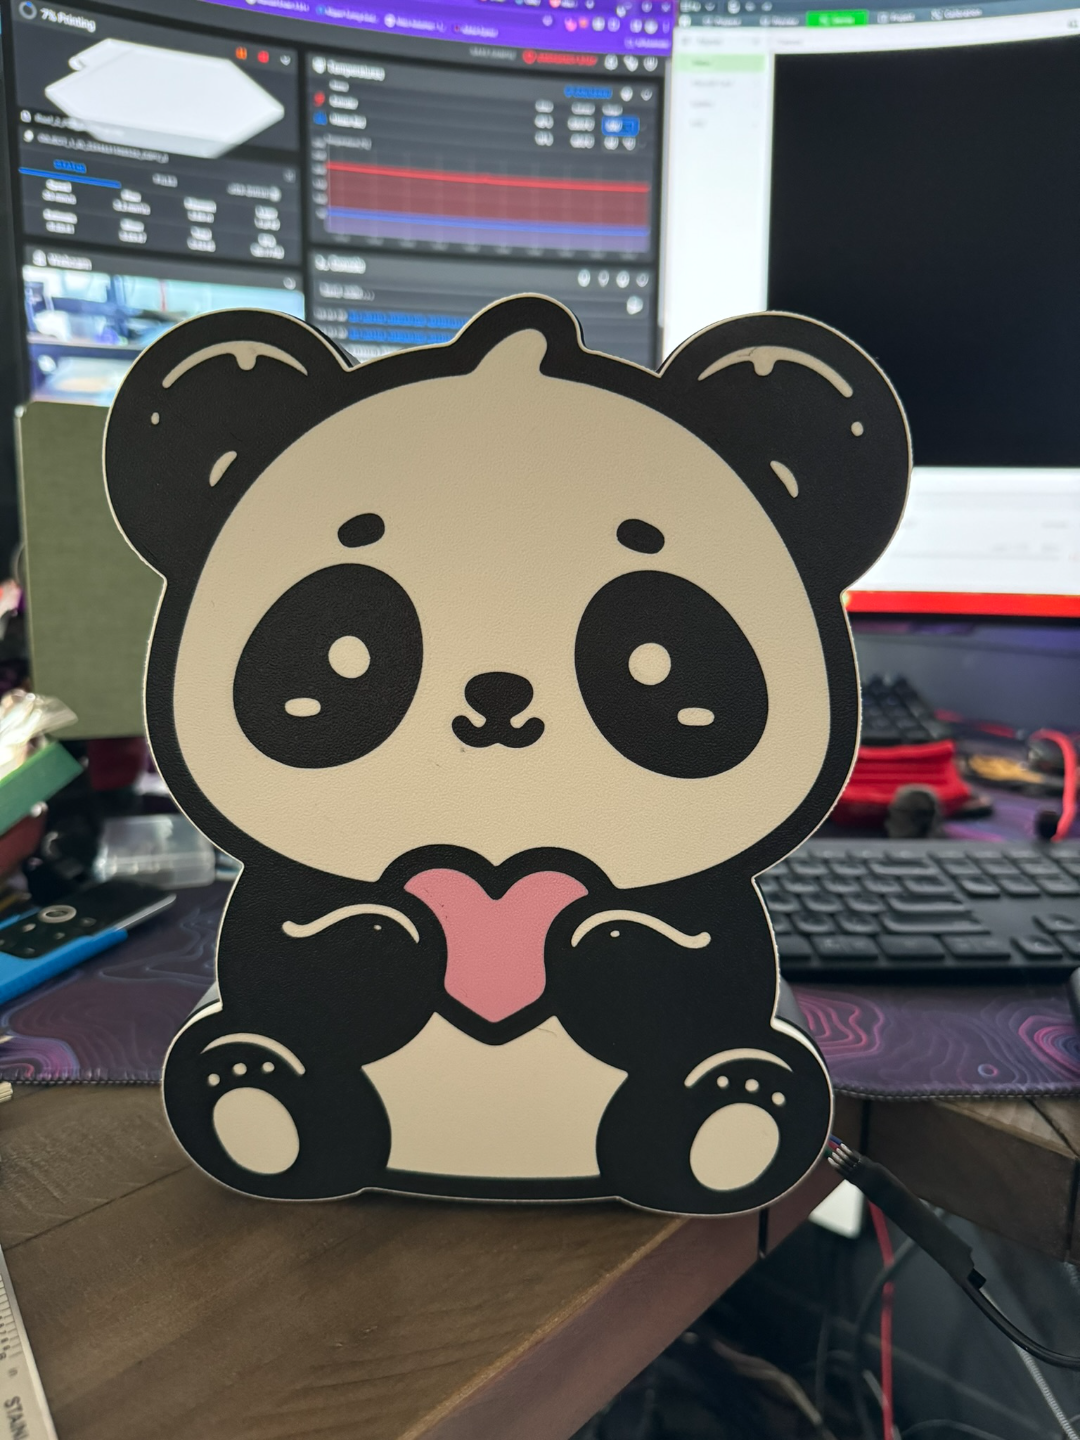
About this 3D model
Cute panda I made for my niece's birthday and as a Valentine's Day gift. I used a pink heart since that is her favorite color. My profile also has a cut out for the light I used but this can be easily modified since I added it to the slicer. Enjoy! Filaments used: Overture Matte White Overture Matte Black Overture Pro Pink WARNING! Remove the purge line at the beginning of the print! Don't forget to adjust the size of the part modifier if you will be using a different light or if you are printing from the still: Materials and tools: Glue gun aluminum tape led strip ( This is a link to the one I used) soldering iron (optional) Recommendations: Use a textured PEI sheet Use the print profile, it has quite a few setting changes that help achieve the best results make a hole for the USB strip wherever you like it best with a soldering iron, drill, or in the slicer. My profile has one made to fit the strip I used. Use the aluminum tape on the inside of the backplate to help with light diffusion glue the LED's at the back edge (bottom) of the "back box"; placing them too close ruins the diffusion and the individual LED's become visible. Bambu Studio Settings: I always recommend using the print profile I provided since it has settings with which I've gotten the best results. Here are the main slicer settings I recommend: preferences (ctrl + P) → activate developer settings → Quality →Advanced → First Layer Flow Ratio: 1.04 Quality → Wall generator → Arachne Quality → Wall transitioning threshold angle → 50º Strength → Advanced → Infill/wall overlap → 20% Quality → Advanced → Avoid crossing walls Increasing retraction / reducing temperature can help reduce wisps Order color printing from lightest to darkest color