About this 3D model
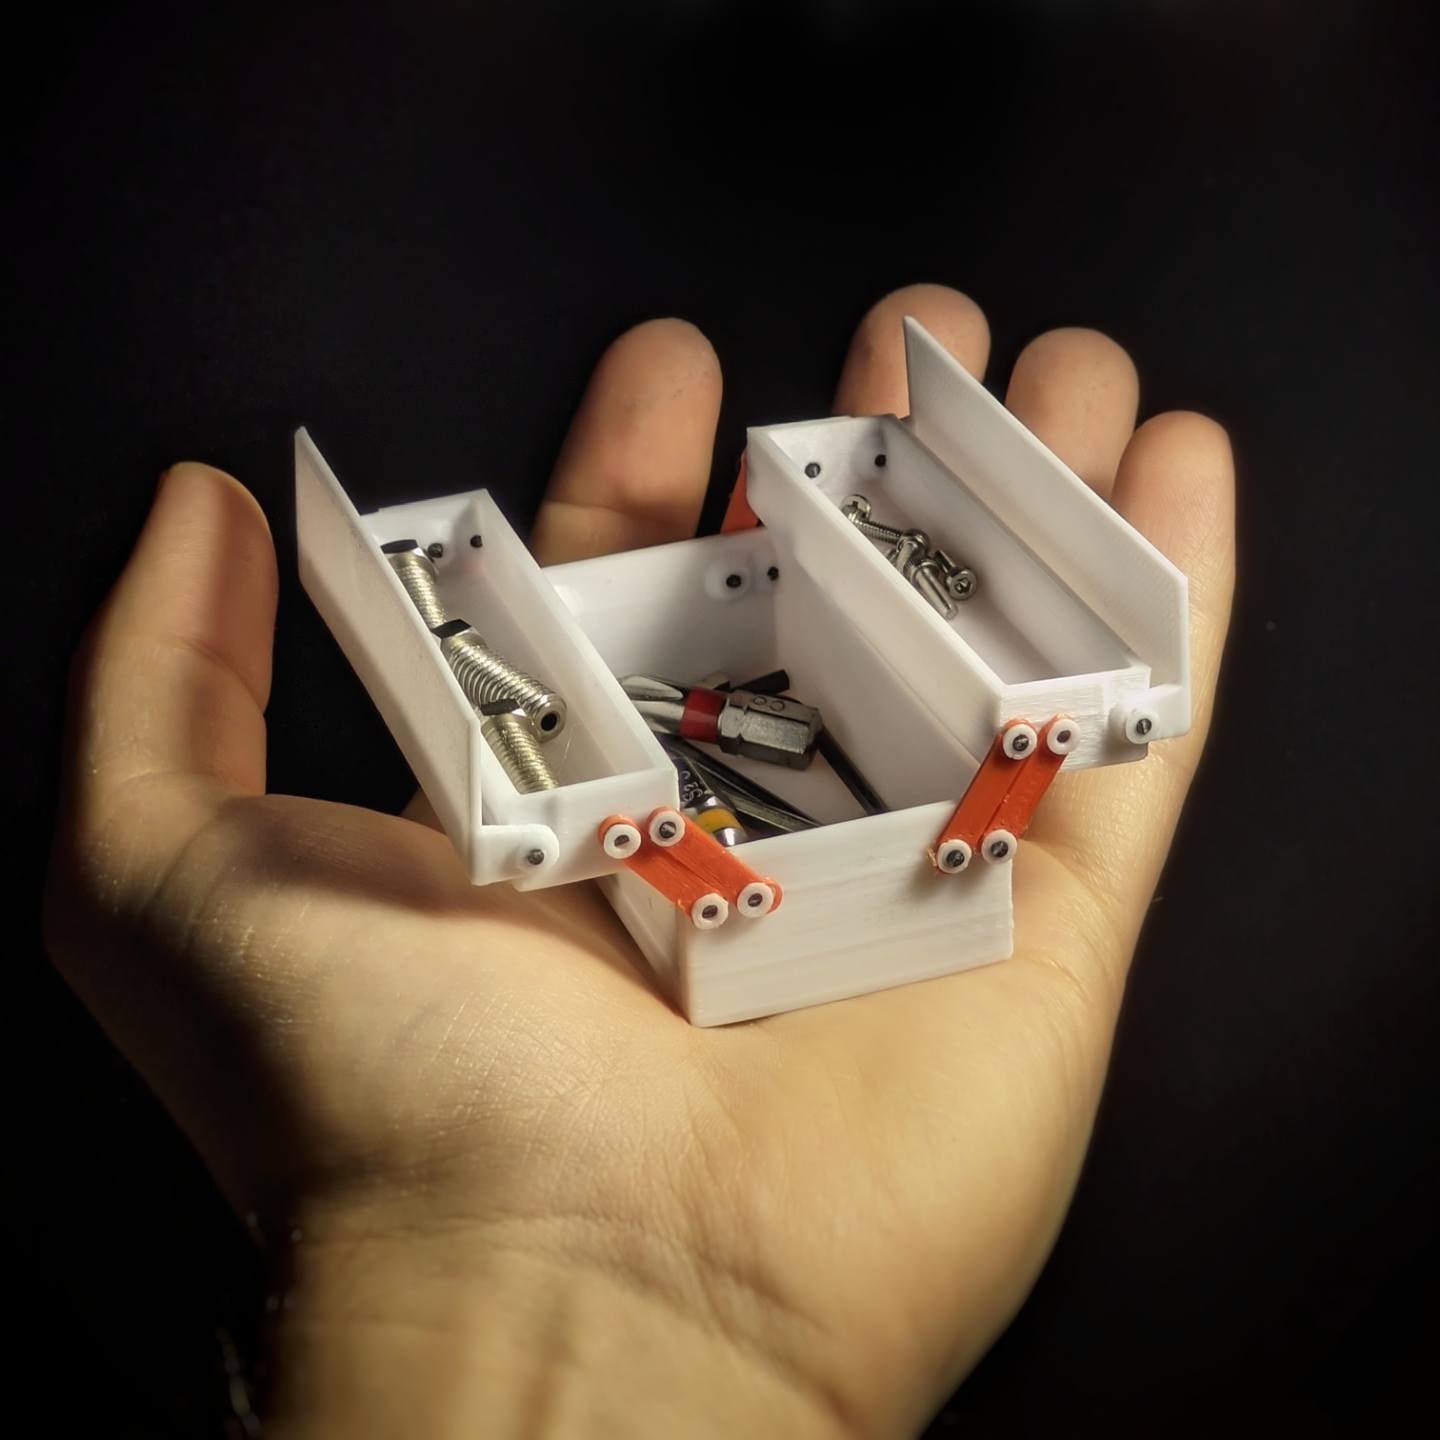
CHECK OUT THE MATCHING WORKSHOP TROLLEY TOO For the enthusiasts who adored the miniature Workshop Trolley, get ready to complement it with the "Cantilever Workshop Toolbox" – a meticulously crafted mini toolbox that's not only cute but functional. This petite organizer is the perfect partner to the trolley, designed to hold all your 3D Printing tools and accessories with finesse. Features: Dual Hinging Top Drawers: This toolbox boasts two top drawers with a hinging mechanism, allowing easy access to your small tools and parts. The drawers swing open smoothly and are secured by a snug-fitting lid. Matching Dimensions: Crafted to pair seamlessly with the Workshop Trolley, this toolbox matches in size and style, making it a harmonious addition to your miniature workshop set. Filament Assembly Pins: The clever use of filament as assembly pins for the hinges and lid ensures a snug fit and adds to the charm of this DIY project. Specialized Assembly Tool: Included is a custom tool designed to facilitate easy assembly, making the building process as enjoyable as using the toolbox itself. Perfect for Miniatures: Ideal for storing and organizing tiny screws, nuts, bolts, and other 3D printing accessories Assembly Guide for 3D-Printed Toolbox with Working Hinge You need: 1x Base 2x Topcover 2x Topcase 8x Hinge 20x Pin (if you have problems printing, use PinGrid) Print Topcover, Pin and Hinge very slow (Recommended: 20mms) Step 1: Insert the Filament Take a long piece of filament and insert it into the the holes (Tipp: Use rotating motion as it is a very tight fit) Cut of the ends. Around 5mm is plenty to work with Step 2: Repeat with all filament shafts Step 3: Attach the Hinges Align the hinges with the filament shafts Step 4: Use the Assembly Tool With the assembly tool , press the printed pins into the holes to ensure they are fully inserted. The tool is designed to fit over the filament and help you apply even pressure without damaging the print. Congratulations, your 3D-printed toolbox with a working hinge is now assembled!