About this 3D model
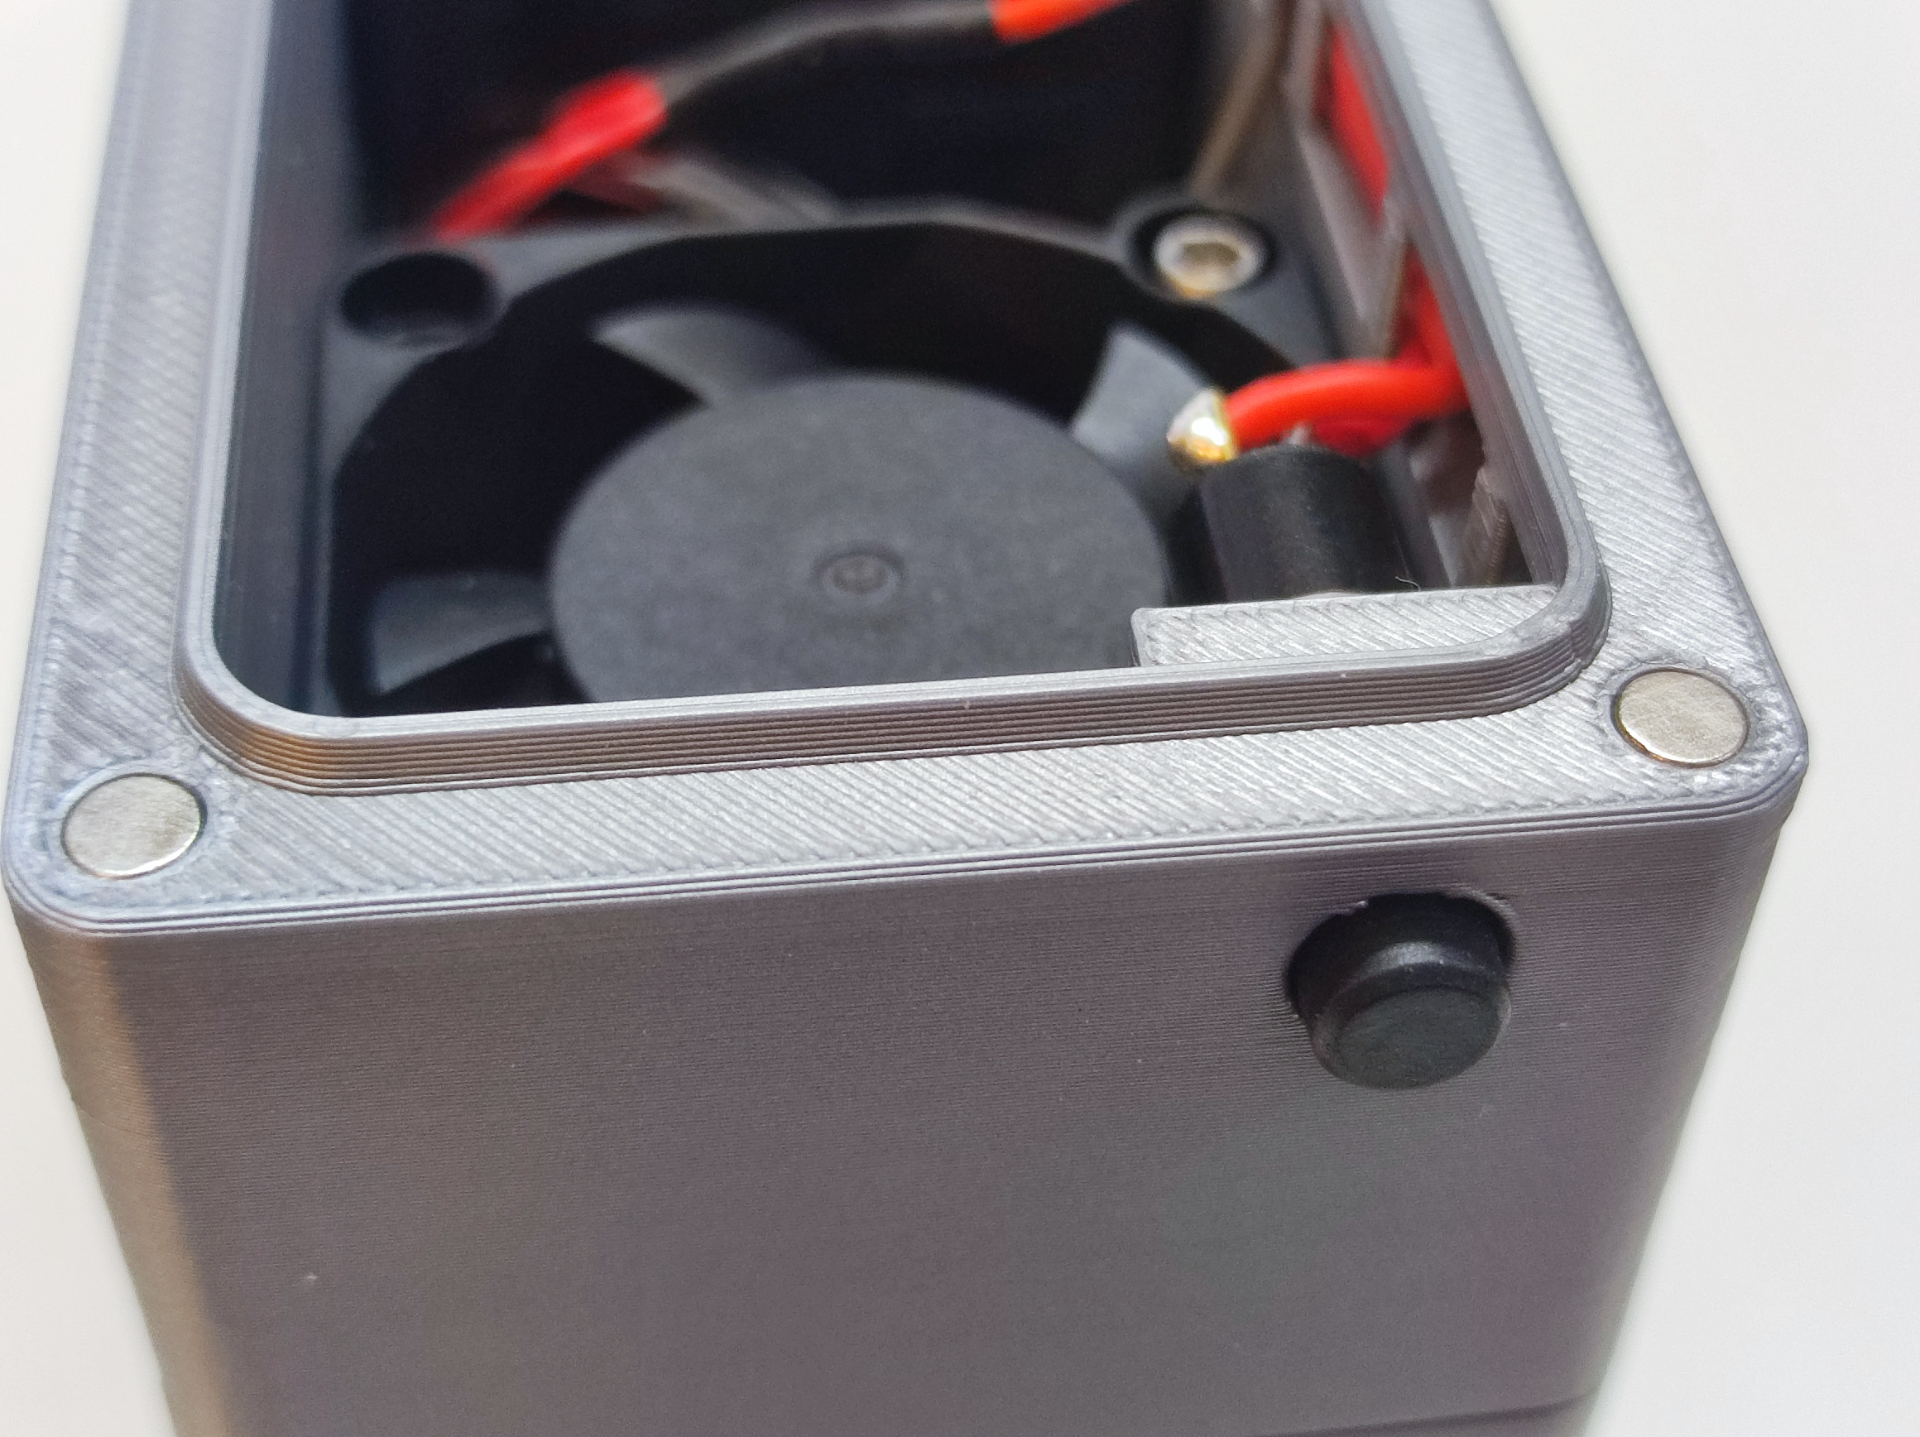
==========中文========== 修改: 1. 增加理线槽(基于technerd和chrisax212的remix) https://makerworld.com/zh/models/100794 https://makerworld.com/zh/models/48367 2. fan case增加按钮开关 盘1: 测试块, 与原作相同, 未作修改 盘2: 修改后的模型 盘3: 测试用模型 *重要: stl和3mf文件中的尺寸是原作者thrutheframe设计图的原始尺寸(fan case尺寸为52.8 x 112.8 x 34.6) 由于我用ABS打印, 考虑冷却收缩补偿, 我的实际打印尺寸为100.50% 建议先打印盘1, 再对尺寸进行补偿 BOM: 按钮开关: PBS-10C-2 / PBS-110 自锁型 (开孔7毫米) 风扇: 只支持4020 我发现每个开关都有细微差异, 安装空间非常极限, 因此建议先打印盘3进行安装测试, 节省时间和耗材 ==========ENGLISH========== Modification: 1. Add wire management trough (based on remix of technerd and chrisax212) https://makerworld.com/zh/models/100794 https://makerworld.com/zh/models/48367 2. Add push button switch to fan case Plate 1: Test block, same as original work, no modifications Plate 2: Modified model Plate 3: Model for testing *IMPORTANT: The dimensions in the stl and 3mf files are the original dimensions of the thrusteframe's design (fan case dimensions are 52.8 x 112.8 x 34.6) Since I print with ABS, considering cooling shrinkage compensation, my actual printing size is 100.50% It is recommended to print plate 1 first and then compensate for the size. BOM: Push button: PBS-10C-2 / PBS-110 self-locking (mounting hole 7mm) Fan: only supports 4020 I found that each switch has slight differences, and the installation space is very limited, so it is recommended to print plate 3 first for installation testing to save time and filaments.