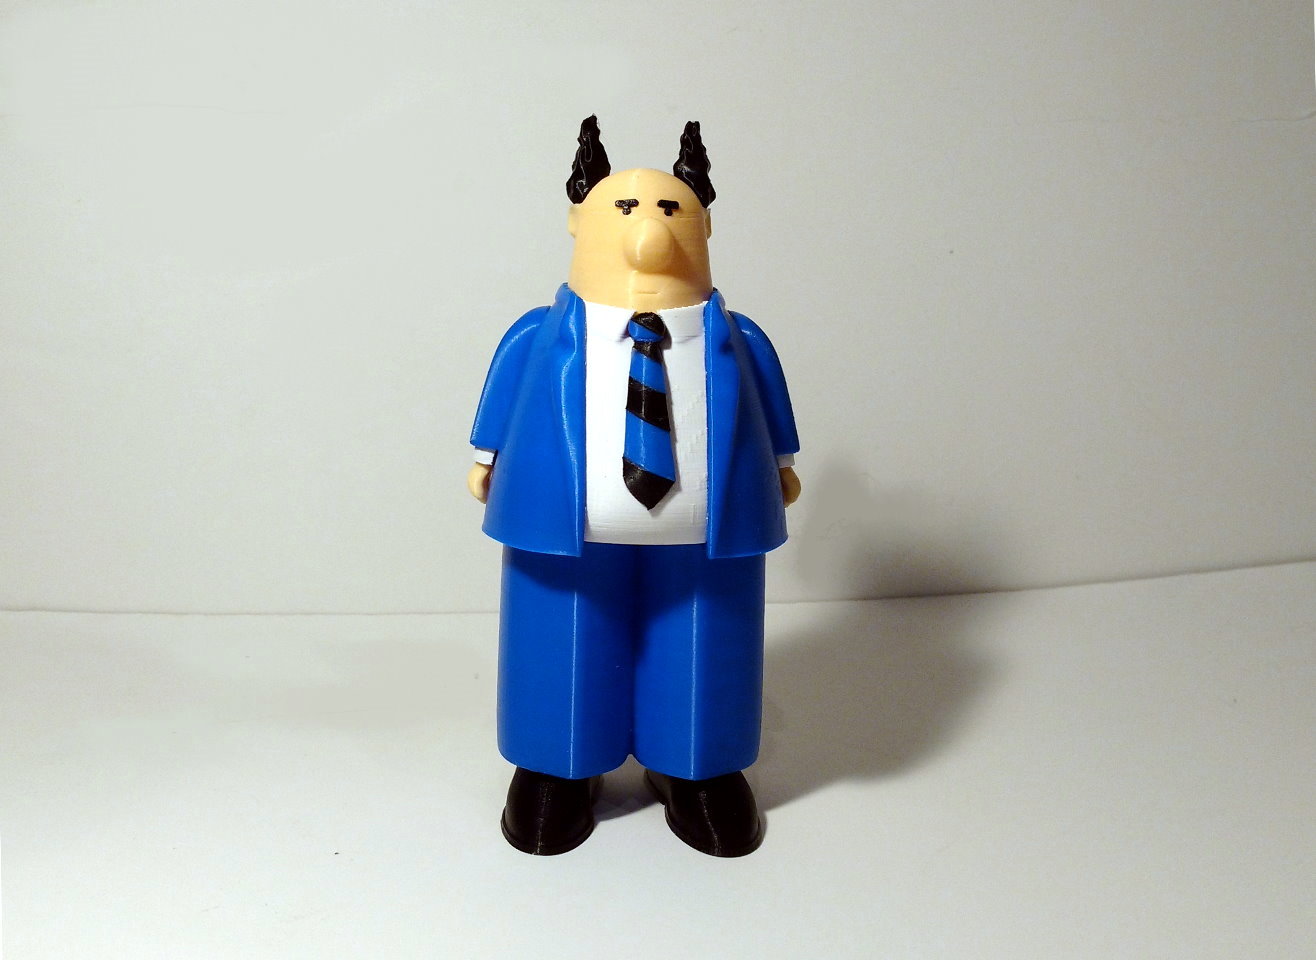
About this 3D model
Pointy Haired Boss from the comic strip 'Dilbert' by Scott Adams. In the comic strip, the Pointy Haired boss provides a fountain of wisdom, which you need to avoid at all costs. No supports are required. If you have the right filament colors, no painting is needed. The completed model is 200mm tall after assembly. This model is in proportion to my Dilbert series. Enjoy! Print instructions Rafts: No Supports: No Resolution: .2mm Infill: 10% Notes: See below for tips in preparing the model for assembly Building the model Colors (there are no multiple printed pieces) Following are the colors that I used: .. Beige/Skin: boss_head boss_hand_right boss_hand_left .. Black: boss_shoe_right boss_shoe_left boss_hair boss_tie_a boss_tie_c boss_tie_e boss_tie_g boss_eye_left boss_eye_right .. Blue: boss_jacket boss_arm_left boss_arm_right boss_pants boss_tie_b boss_tie_d boss_tie_f .. White boss_shirt boss_sleeve_right boss_sleeve_left Printing and assembly tips Printing Tips: 1-No special printing tips are needed, other to make sure that the first layer squish (if you have one) is completely cleaned off any piece that may seem not to fit. .. 2-Just like in my Dilbert model, since the tie is made up of smallish pieces, people with 'fat fingers', like myself, might make a mess when gluing the pieces of the tie together. I decided (based on my wife's suggestion) to include a small hole through all the tie pieces to help in positioning them while gluing. I pushed a piece of slightly sanded 1.75mm filament through all the pieces to help position them as I glued one at a time. Stringing the tie pieces together is not required, just possibly more convenient for some people. .. Assembly tips -The diagram below will help in assembling the model. -The model is meant to be glued together. -The shirt needs to be snapped in through the jacket. Clean the first layer of the shirt thoroughly first. -The socks are part of the shoes and should fit into the jacket almost fully. Again, be sure to clean the hole for the socks, which is the first layer of the jacket. -Since the eyebrows/eyes are small, the holes in the head can be considered more as a placement guide than actually fitting snugly in. Clean off as much of the first layer brim as you can, concentrating on the spot between the eye and the eyebrow to ensure the eye is more rounded. When gluing, press on the eye portion, the eyebrows are supposed to be a bit bushy and stick out more than the eye. This is a minor detail and noted just to avoid any frustration or confusion during the build. -Assembling the model is straight forward. Just be sure to glue all of the tie pieces together to create the full tie separately. I suggest attaching the completed tie to the rest of the model as the last step.