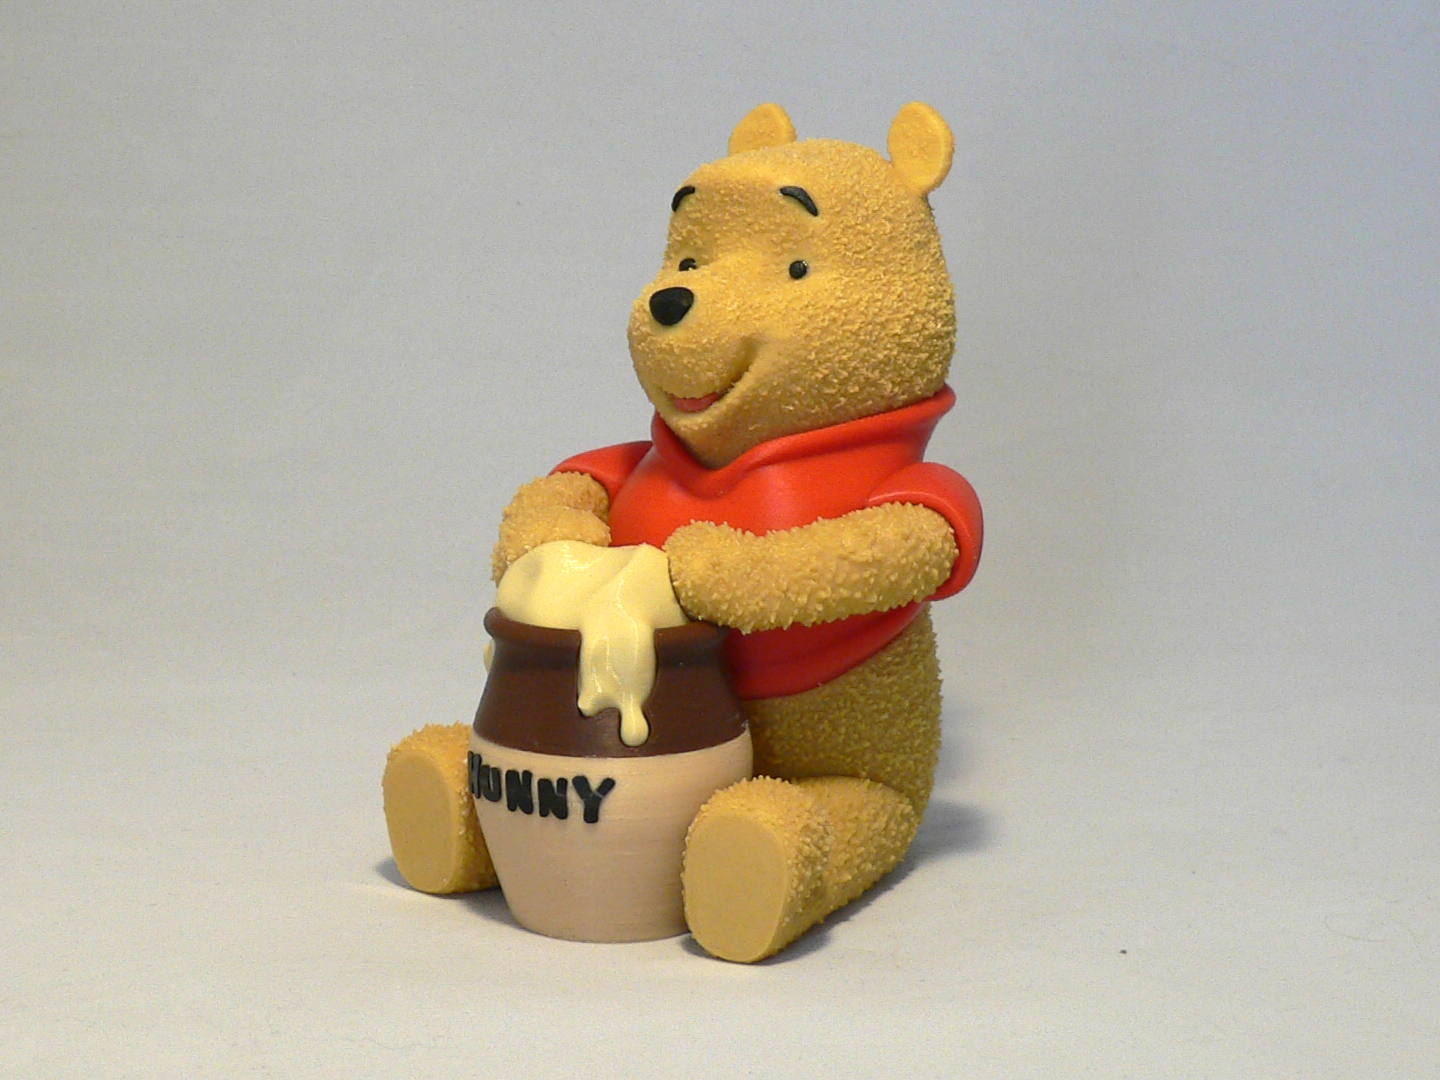
About this 3D model
Winnie-the-Pooh, also called Pooh Bear, is a fictional anthropomorphic teddy bear created by English author A. A. Milne. A. A. Milne named the character Winnie-the-Pooh after a teddy bear owned by his son, Christopher Robin Milne, who was the basis for the character Christopher Robin. The rest of Christopher Robin Milne's toys – Piglet, Eeyore, Kanga, Roo, and Tigger – were incorporated into Milne's stories. Two more characters, Owl and Rabbit, were created by Milne's imagination, while Gopher was added to the Disney version. No supports are required. If you have the proper filament colors, no painting is needed. The assembled model is 140mm tall Enjoy! Print instructions Rafts: No Supports: No Resolution: .2mm Infill: 10% Notes: Refer to the notes below for helpful printing and assembly instructions. Building the Model Colors (there are no multiple printed pieces) Black: nose eyebrow_right eyebrow_left eye_right eye_left hunny_text .. Red: shirt_new tongue sleeve_right sleeve_left .. Gold: head body_new arm_right_new arm_left leg_right leg_left .. Dark Brown: jar_top .. Light Brown: jar_bottom .. Woodchip (color worked out for me): honey Printing and assembly tips Printing tips 1-As with most of my models, I strive to make all the pieces support free. The interesting thing about this model is that I initially could not design the head piece completely support free around the mouth area. When it came time to print the head, I'm so used to not using supports that I forgot to add the supports to the mouth area. The head printed fine anyway, with a few loose strands in the mouth section that get covered by the tongue.stl part anyway. 2-The parts should fit nicely when printed cleanly or with a slight first layer squish. 3-Please note that due to the texture on all the body parts, print time is increased. Be patient printing those parts. 4-Due to the texture complexity of the body parts, slicing may take longer than expected. Again, be patient and you should have no issue with your slicer. Assembly tips: 1-The left/right eye pieces are slightly different, but are small enough to be interchangeable. I post all my parts exactly as modeled. 2-The hunny_text letters are intentionally printed reversed. I find that they fit better with the flat side facing out. Since the letters are being attached to a slightly curved surface it is a good idea to bend the individual letters slightly before gluing them on to the jar. 3-Refer to the assembly diagram for putting the model together. The model is meant to be glued.