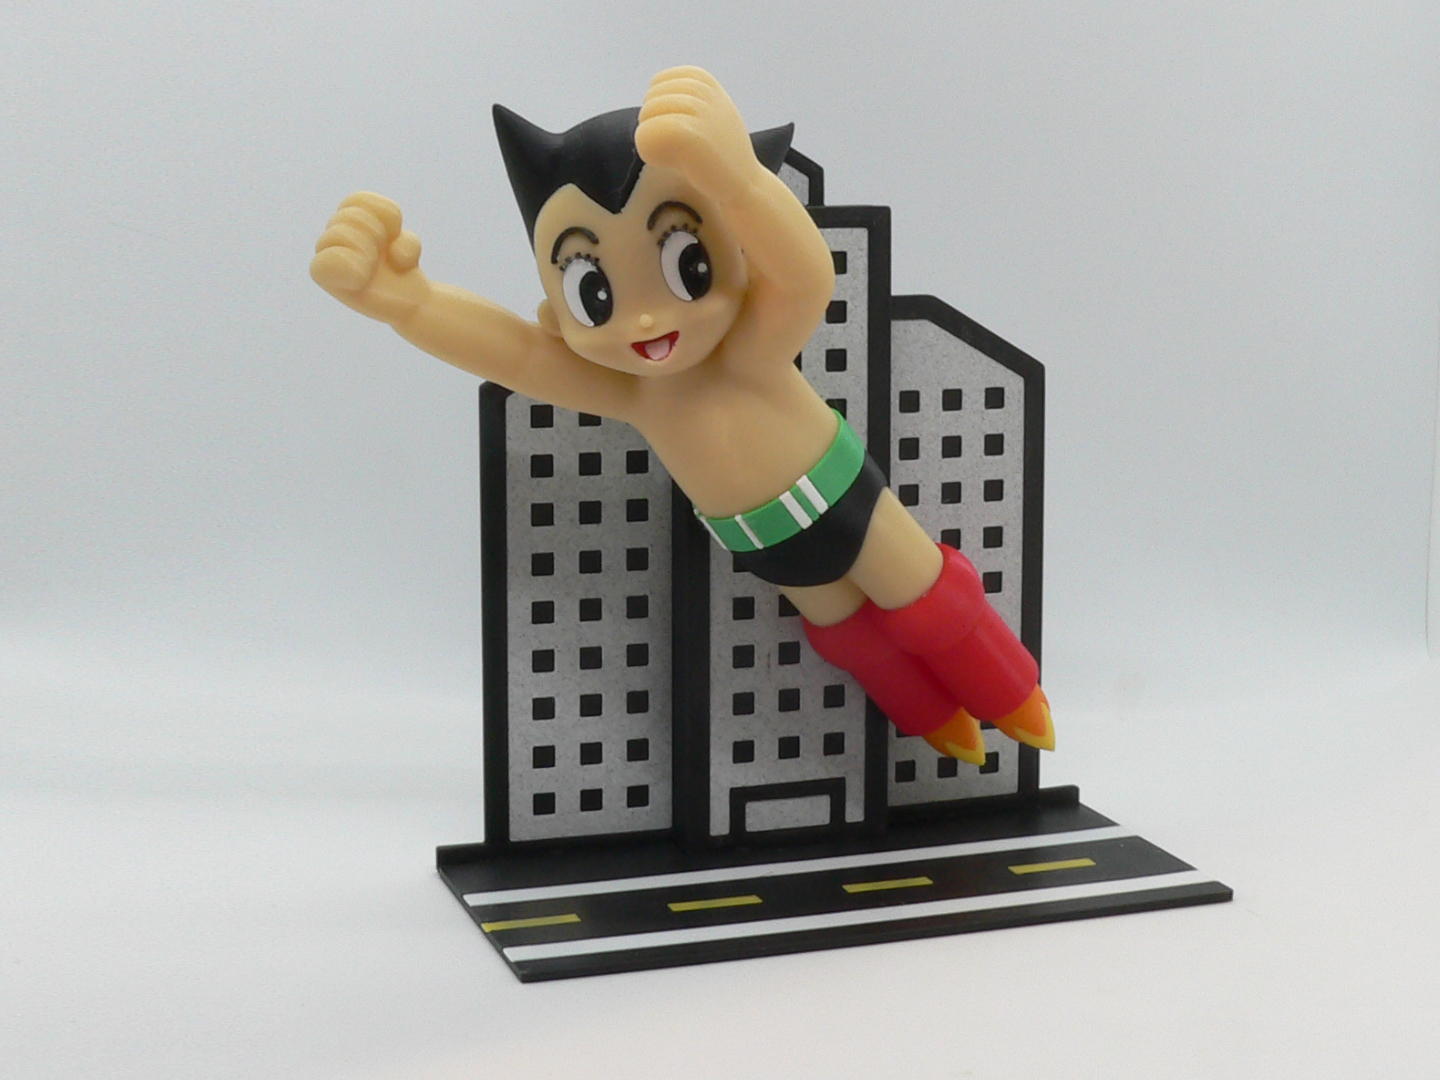
About this 3D model
Astro Boy, known in Japan by its original name Mighty Atom, is a Japanese manga series written and illustrated by Osamu Tezuka. He is an android young boy with human emotions who is created by Umataro Tenma. Astro was sold to a robot circus run by Hamegg, but is saved from his servitude by Professor Ochanomizu. Astro becomes a surrogate son to Ochanomizu who creates a robotic family for Astro and helps him to live a normal life like an average human boy, while accompanying him on adventures. No supports are required. Two pieces contains built-in supports. Optional parts without the built-in supports are also supplied if you want to use your slicer supports (see notes below). If you have the proper filament colors, no painting is needed. The assembled model is 190mm tall. Enjoy! ........................................................................................................... Special shoutout to maker Benoît Lussier for providing QA printing and quality feedback. ...................................................................... **Print Instructions:** Supports: body.stl and hair.stl requires some supports, see notes Resolution: .2mm Infill: 15% *************** For all my models: Do not enable 'Detect bridging perimeters'. This is a parameter that PrusaSlicer 2.6 enables by default. Do not enable 'thick bridges' Do not set 'arachne' for perimeter generation. PrusaSlice selects this option this by default Do not enable 'detect thin walls'. *************** ...................................................................... **Building the model** Colors Black: (Paramount3D PLA - Black) eyebrow_right eyebrow_left eye_black_right eye_black_left hair (optional part) hair_with_supports pants .. Matte Black: (Paramount3D PLA - Matte Black) building road .. Skin: (Paramount3D PLA - Universal Beige) body (optional part) body_with_supports legs .. Yellow: (Paramount3D PLA - Simpson Yellow) flame_yellow (contains two identical pieces) road_yellow_stripe (contains four identical pieces) .. Orange: (Paramount3D PLA - Mclaren Orange) flame_orange (contains two identical pieces) .. Red: (Hatchbox PLA - True Red) mouth boots .. Green: (Hatchbox PLA - True Green) belt .. White: (Overture PLA - White) eye_white_left eye_white_right belt_whites (contains five DIFFERENT pieces, see notes) eye_dots (contains two identical pieces) road_white_stripe (contains two identical pieces) .. Pink: (CookieCad PLA - Pale Pink) tongue .. Stone: (Devil Designs PLA - Marble Dark) building_stone_top building_stone_bottom building_stone_left building_stone_right building_stone_middle .. Any color: (hidden piece): pin_belt pin_boots (contains two identical pieces) .. ........................................................................................................... **Printing and assembly tips** Printing tips: Due to slicers being continuously updated with new features and default profiles being changed over time, I've found some incompatibility with some new parameters that some slicers now enable by default. These parameters affect the printing quality of some parts of models that I post. To ensure continued ease of printing: **************************** 1- Do not enable 'Detect bridging perimeters'. This is a parameter that PrusaSlicer 2.6 enables by default which adversely affects built-in support separation. 2- Do not enable 'thick bridges'. This parameter also severely affects built-in support separation. 3- Do not enable 'detect thin walls'. This parameter affects some of the finer details of some parts. 4- Do not set 'arachne' for perimeter generation. PrusaSlicer selects this option by default which also affects some of the finer details of some parts. **************************** 1 - Two parts are supplies with built-in supports as well as without built-in supports: body.stl requires supports under the left ear only. hair.stl requires supports from the bed only in the back half. 2 - There are some pieces that may need brims or rafts, use your discretion. When setting up my prints I prefer to be conservative to ensure the least chance of a print failure, especially since the base of many parts are hidden when inserted into another part. *I did not use any raft or brims in this project 3 - belt_whites contains five DIFFERENT parts. They are arranged in the order of placement around the belt. I had no issue printing or fitting these parts, but during QA, Benoit had some issues and suggests that you print two copies of belt_whites in case you have an issue fitting/breaking them. 4 -Some parts are quite small. I purposely print a full second set of some of the small parts since they are easy to lose. The small parts assemble easily enough with a pair of tweezers and a very tiny bit of sticky glue. *Note: a piece of 1.75mm filament can be used in place of eye_white_dots if needed. 5 - When removing parts from the printer bed, it's a **VERY** good idea to place left/right parts into separate containers to help with the a