About this 3D model
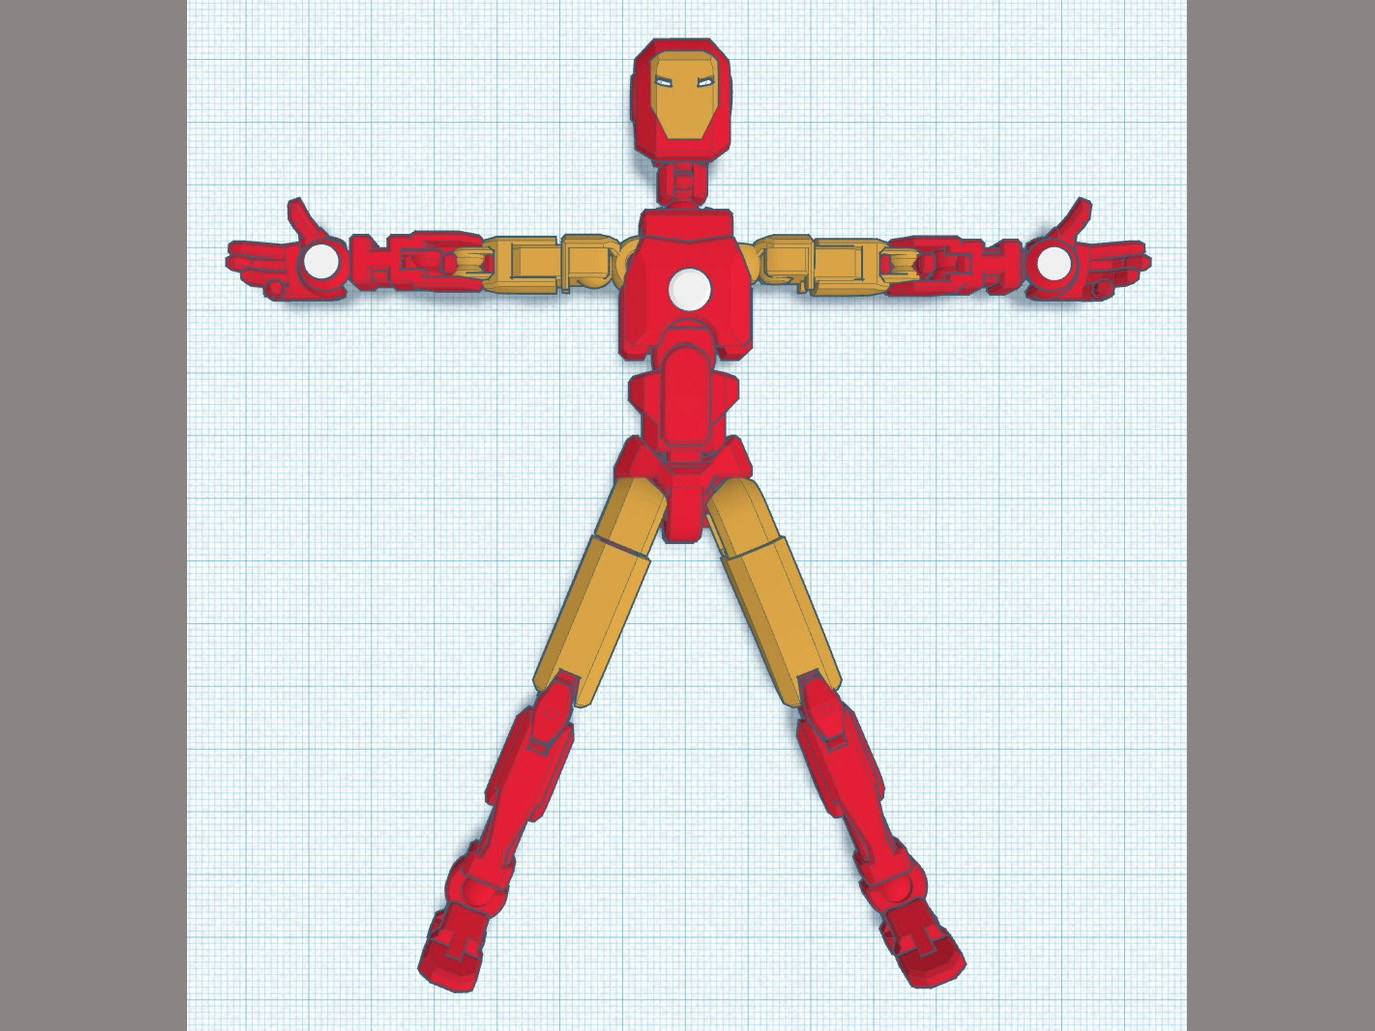
Update 10. Dec. 2023: Helmet V2.x Easier to print Closed version for painting on Open version + Visor for multicolor printing Update 18. Nov. 2023: Improved helmet Warnings and troubleshooting guide added Based on DUMMY 13 Beta - Oct. 2023 DUMMY 13 Printable Jointed Figure © 2023 by Lucky 13 Toys is licensed under CC BY 4.0 Used the head to design a mask Remixed the armor and hands You will need the original DUMMY 13 model. Get yours from the link above. Description Now to the content of Iron DUMM , sorry Iron Man. Helmet for a yellow head (open version) Helmet for a white head, or painted eye area (closed version / visor) Hands with repulsor inlays Armor with inserted ARC reactor Other parts are standard parts that are just printed in different colors (see pictures) Get more: https://makerworld.com/en/u/2185604356/collections/561808 Print: 0.15mm layer height as default Print the helmet with brim @ 0.10mm layer height (see 3MF file) The hands need support below the repulsor! The repulsors are very small and are made of a single bottom layer. This can make printing difficult. Use print glue if necessary After printing, apply alcohol to the repulsors and bend the PE sheet again and again At some point it should be possible to remove the parts without deforming them This trick worked for me the first time I tried it Helmet V2.x: Multicolor version: Slide the head into the Helmet like described below Sand/clean the visor Push the visor in by first pushing it in at the top and then along the entire length It should hold without glue, but you can also glue it from the inside Iron Man is wearing the multicolor version in this picture and holds the closed version. Helmet: Check the inside to see if it has been printed cleanly and remove any filament debris that is sticking out Has the brim been removed cleanly? The elephant foot can cause the inner rim to be a little too narrow, just sand the inner rim down a little or work it with a knife Slide the head into the helmet and press it in with gentle force on the chin Hands: If the repulsor does not fit into the hole in the hand, carefully widen the hole with a scalpel or similar Apply small droplets of glue and glue in the repulsor. The new shape makes the hand a little more rigid, but with a little careful force it can still be placed on the forearm. Make sure that there are no debris or brim on the forearm/hand. Otherwise you could break the hand! If the repulsor is semi-transparent, simply paint it with a paint pen before or after gluing