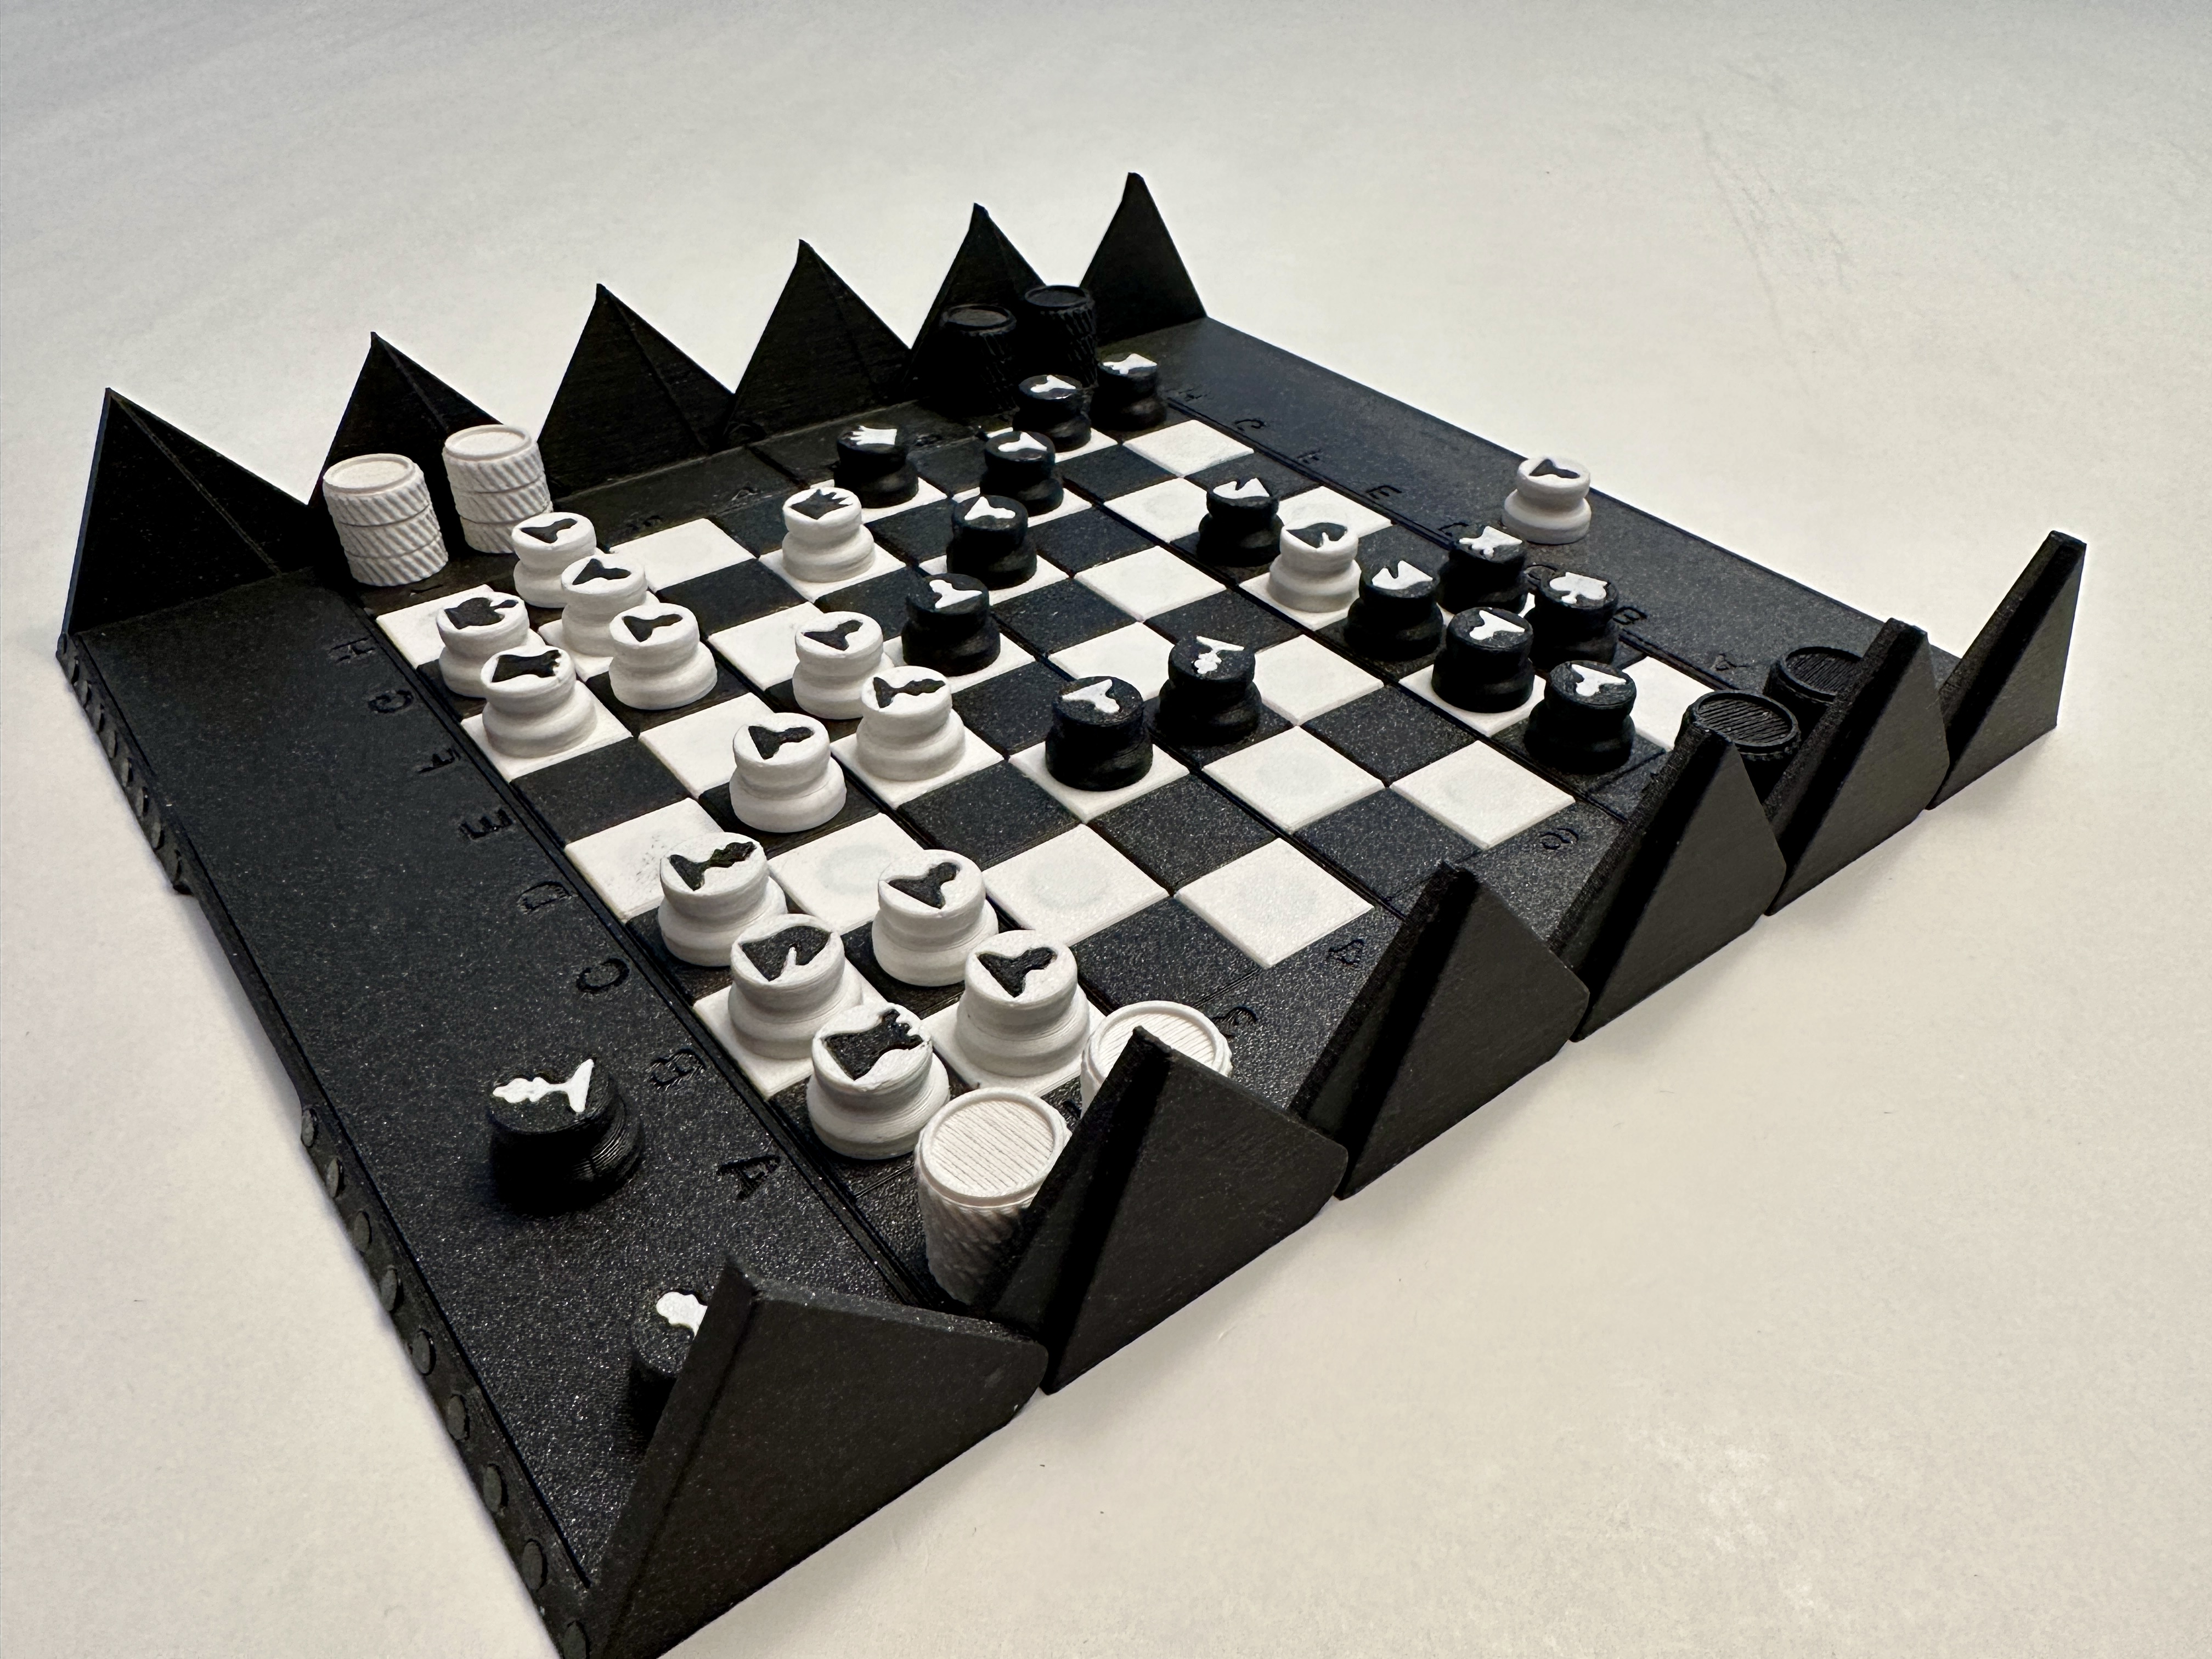
About this 3D model
Background: First of all, this was inspired by a commercially available product. However, as reviewers indicated, the pieces do not stay in place as intended, and does not include checkers pieces. So, the challenge to design a portable chess and checkers set that would allow players to have a match anywhere, and roll it up after a match or even in the middle of the match and resume the match at a later time. This is great for students to play in between classes, or during break, or anyone who loves a nice chess match. The approximate dimensions of the chess/checker set when rolled up is ~3.5in ø (~86mm ø) x ~ 8in (~204mm). Weighs ~453g (~16oz). This is what a 24oz (700ml) water bottle looks like next to it. The chess pieces are 15mm ø x 10mm, which is about 6 US dimes in height and below is what it looks like next it. The checker picks are 15mm ø x 6mm, which is about 4 US dimes in height and below is what it looks like next to it. Project considerations: The main body of the chess board is 233.7mm x 204mm. Because the main body uses print-in-place design for all the moving parts, this will unfortunately not fit on a Prusa mini. This barely fits on my Prusa mk3s+ because it was printed with 8m brim. UPDATED : Smaller version now available. Main body is 211.95mm x 190.32mm. I printed this entire project using Prusament ASA on my Prusa mk3s+ inside an enclosure. The default print profile with brim still had a partial failure due to wrapping. So many changes were made to the default Prusament ASA profile help equalize the structural pulling forces between the perimeter and the infill (detailed print settings below). Your experience may vary :) Challenges: ASA/ABS is known to wrap during printing. Enclosure is highly recommend for this project if ASA/ABS filament is used. Keeping the polarity of all the magnets while attempting to glue things together with epoxy was the main challenge. ***VERY IMPORTANT*** All the pieces and the play surface magnets MUST BE aligned in attraction orientation . Working with 5 minute epoxy and strong neodymium magnets were challenging. Magnets would want to move the tiles during the glue up process. So, you'd have to work quickly and accurately (making sure the magnet orientation is correct). I had a few pieces that I had to reprint because the magnet flipped during glueing process. Required materials to complete this project: 214 - 10mm x 1.7mm neodymium magnets. Amazon have quite a few sellers all have these magnets listed as 10mm x2mm. However, their actual dimensions are 10 mm x ~1.7mm. This Amazon Link is what I used. Smaller board option - 212 - 10mm x 1.7mm neodymium magnets. Amazon have quite a few sellers all have these magnets listed as 10mm x2mm. However, their actual dimensions are 10 mm x ~1.7mm. This Amazon Link is what I used. 24 - 4mm x 1.7mm neodymium magnets. Amazon have many sellers all have these magnets listed as 4mm x2mm. However, their actual dimensions are 4 mm x ~1.7mm. This Amazon Link is what I used. Any 5 minute epoxy or glue of your choice for the material used in printing. I didn't go with CA (cyanoacrylate aka super) glue as it does not have any working time, additionally, if a bit too much glue is used, the risk of creating a white haze on the part was very likely. This Amazon link is what I used. Step for completing the project: (This is my approach, but your milage may very) Print the main body. Test all the print-in-place hinges are working properly by rolling up the chess board ensuring that the chess board will close properly. Print the rest of the black tiles, chess, checker pieces and all of its spacers. Using a #1 x-acto knife, carefully remove the supports from the chess pieces, and save these supports pieces as the inlay pieces for the white chess pieces. This part is completely optional. The designs of the pieces can just be painted too. Change to white filament (might consider wiping the nozzle clean and extra purge to ensure all the black filament residue are cleared out of the filament path) Print the rest of the white tiles, chess pieces and all of its spacers. Using a sharp #1 x-acto knife, carefully remove the supports from the chess pieces, and save these supports pieces as the inlay pieces for the black chess pieces. This part is completely optional. The designs of the pieces can just be painted too. Test fit all the tiles to the main body. Test fit every inlay for every chess piece to ensure proper fit. Glue all the magnets to the underside cavity of the tiles. Again, very important that all the magnets in this step are correctly oriented. Glue all the magnets that holds the rolled up play surface. Again, very important that all the magnets are in correct orientation so it would hold the rolled up play surface closed. Glue all the white inlays to the black chess pieces, and black inlays to the white chess pieces. Allow glue to cure completely for steps 8 - 11. (epoxy ~24 hours) Glue all the play surface tiles to the main body. Th